IKEA GREENHOUSE CABINET · 5 MIN READ
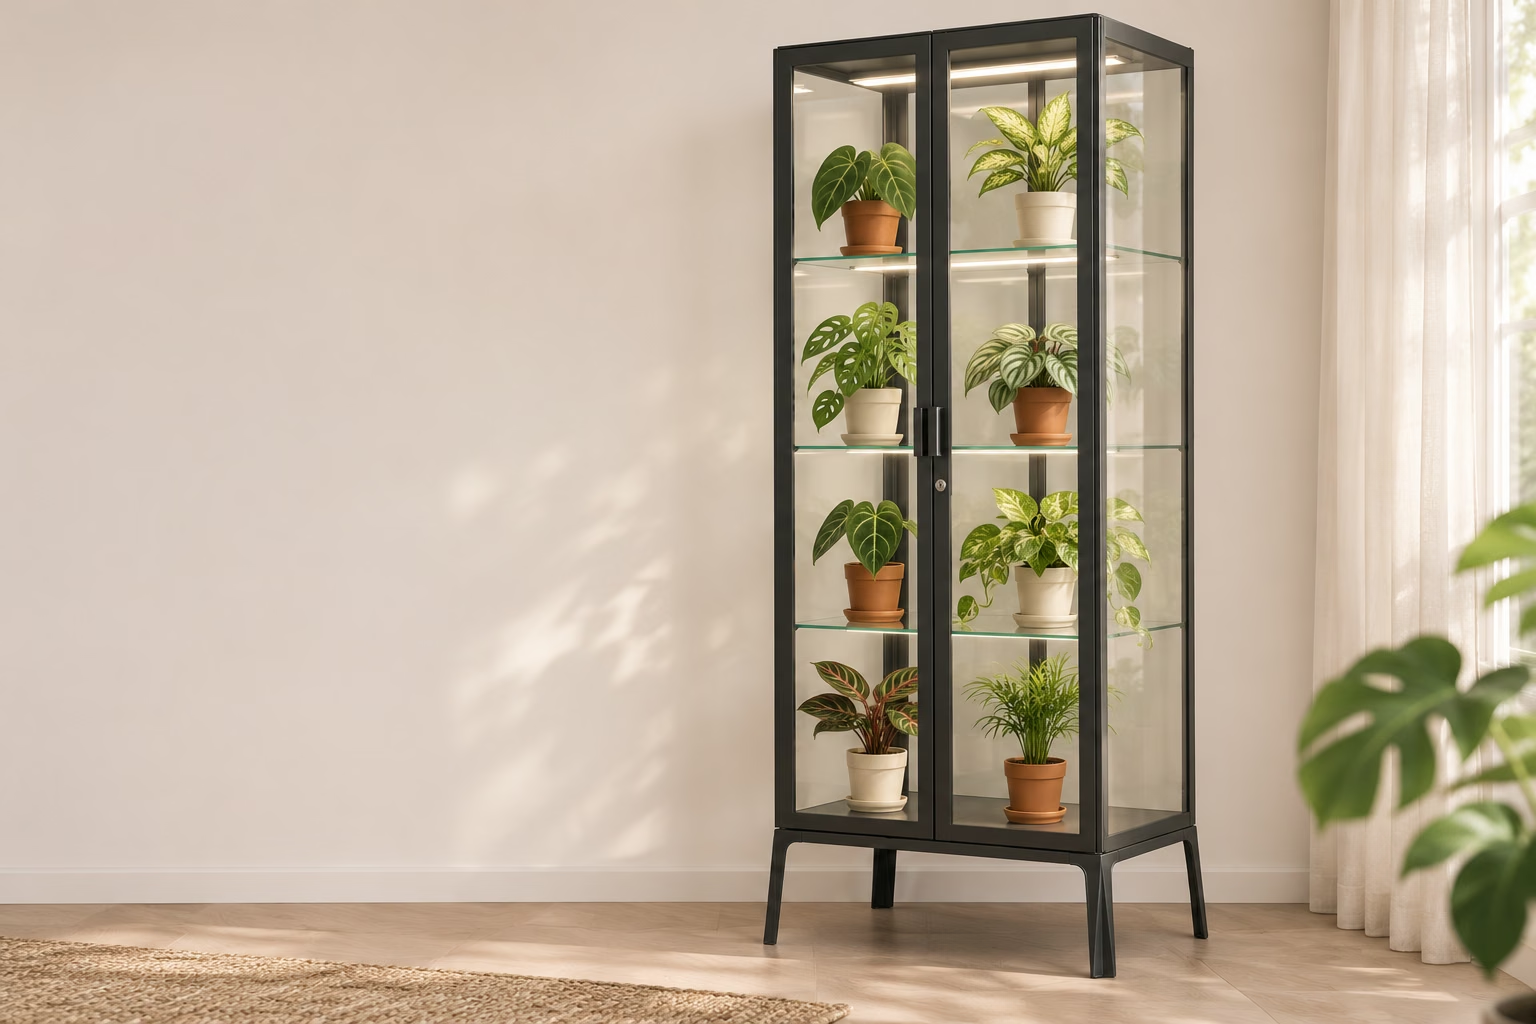
An IKEA cabinet.
A home for your plants.
A little light. Room to grow. A plant cabinet that works with your home.
Make a planLight the leaves, leave breathing room and make every pot easy to reach. Start with these five parts of a ventilated plant display.
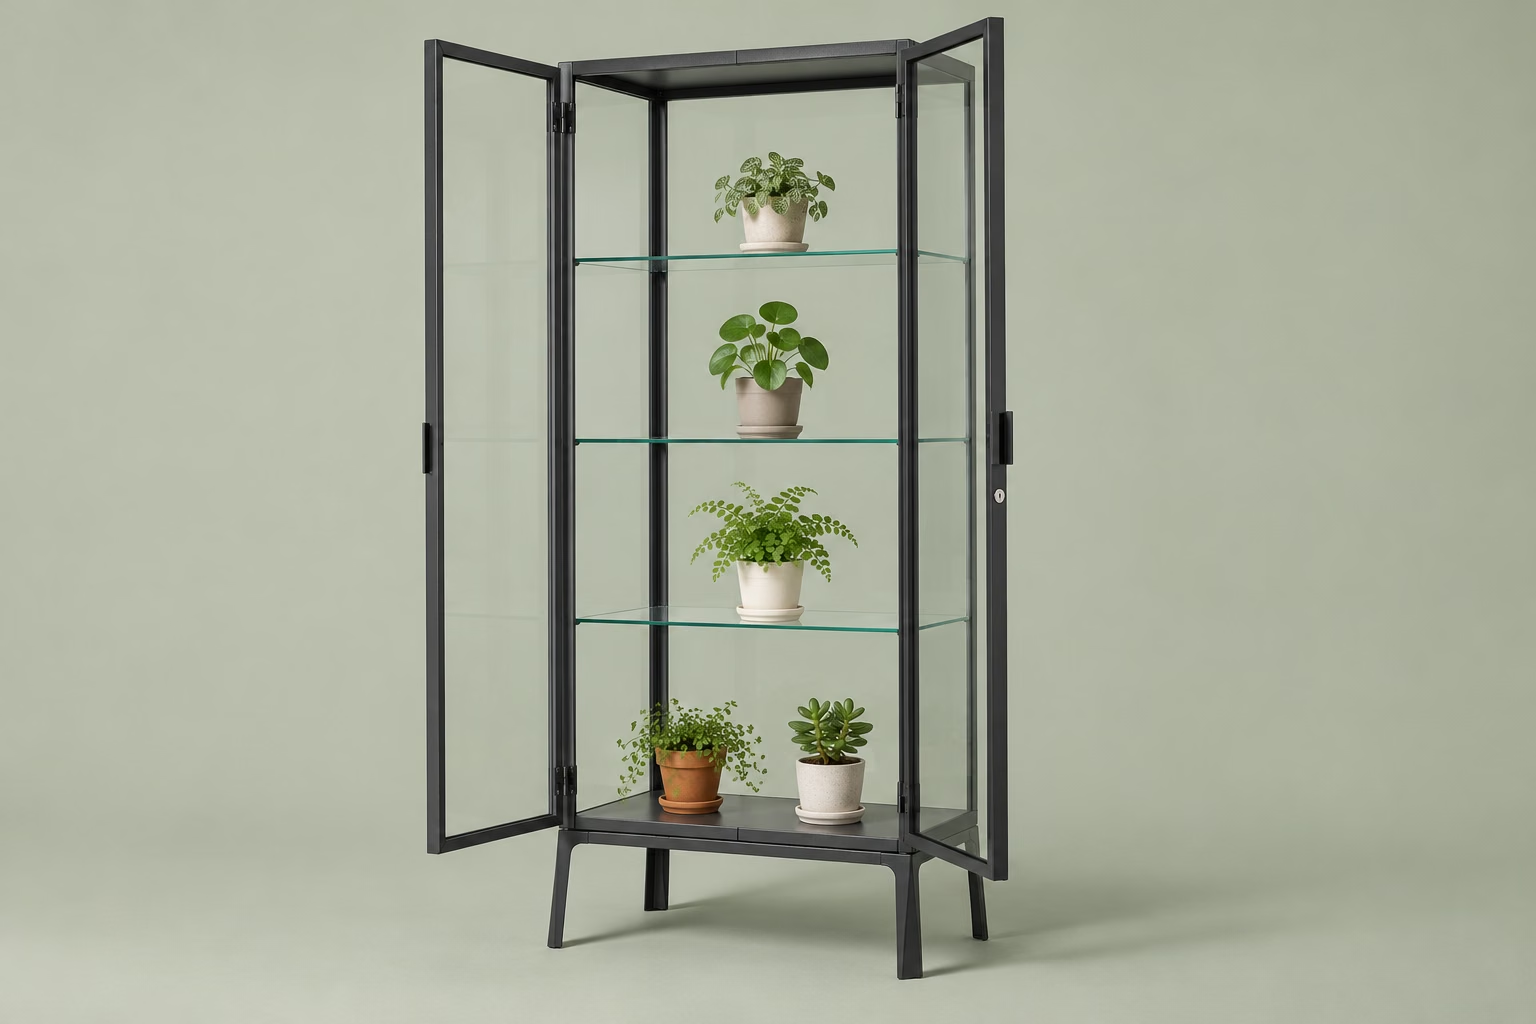
- Room above the leaves
- Space between pots
- Doors that open freely
01 / Space & plants
Plan the cabinet around the plants.
Measure the usable shelves and plan around the plants’ mature size—not just the cabinet’s outside dimensions.
Check shelf load with wet pots included, anchor the cabinet as instructed and keep glass intact. The images are layout concepts, not model-specific installation plans.
Setup notes & sources
Choose plants with compatible light and moisture needs, then sketch their positions. Allow room for pots, trays, growing leaves, light fixtures and lifting plants out. Measure the usable shelf space, not just the cabinet’s outside dimensions.
Check your exact cabinet’s instructions. IKEA’s tall MILSBO 303.964.48 has adjustable glass shelves and a top cable outlet, and requires secure anchoring. Check the shelf load limit with wet pots and accessories included. Keep the glass intact and protect its edges; another IKEA model may have different openings and limits.
Sources: IKEA: MILSBO cabinet
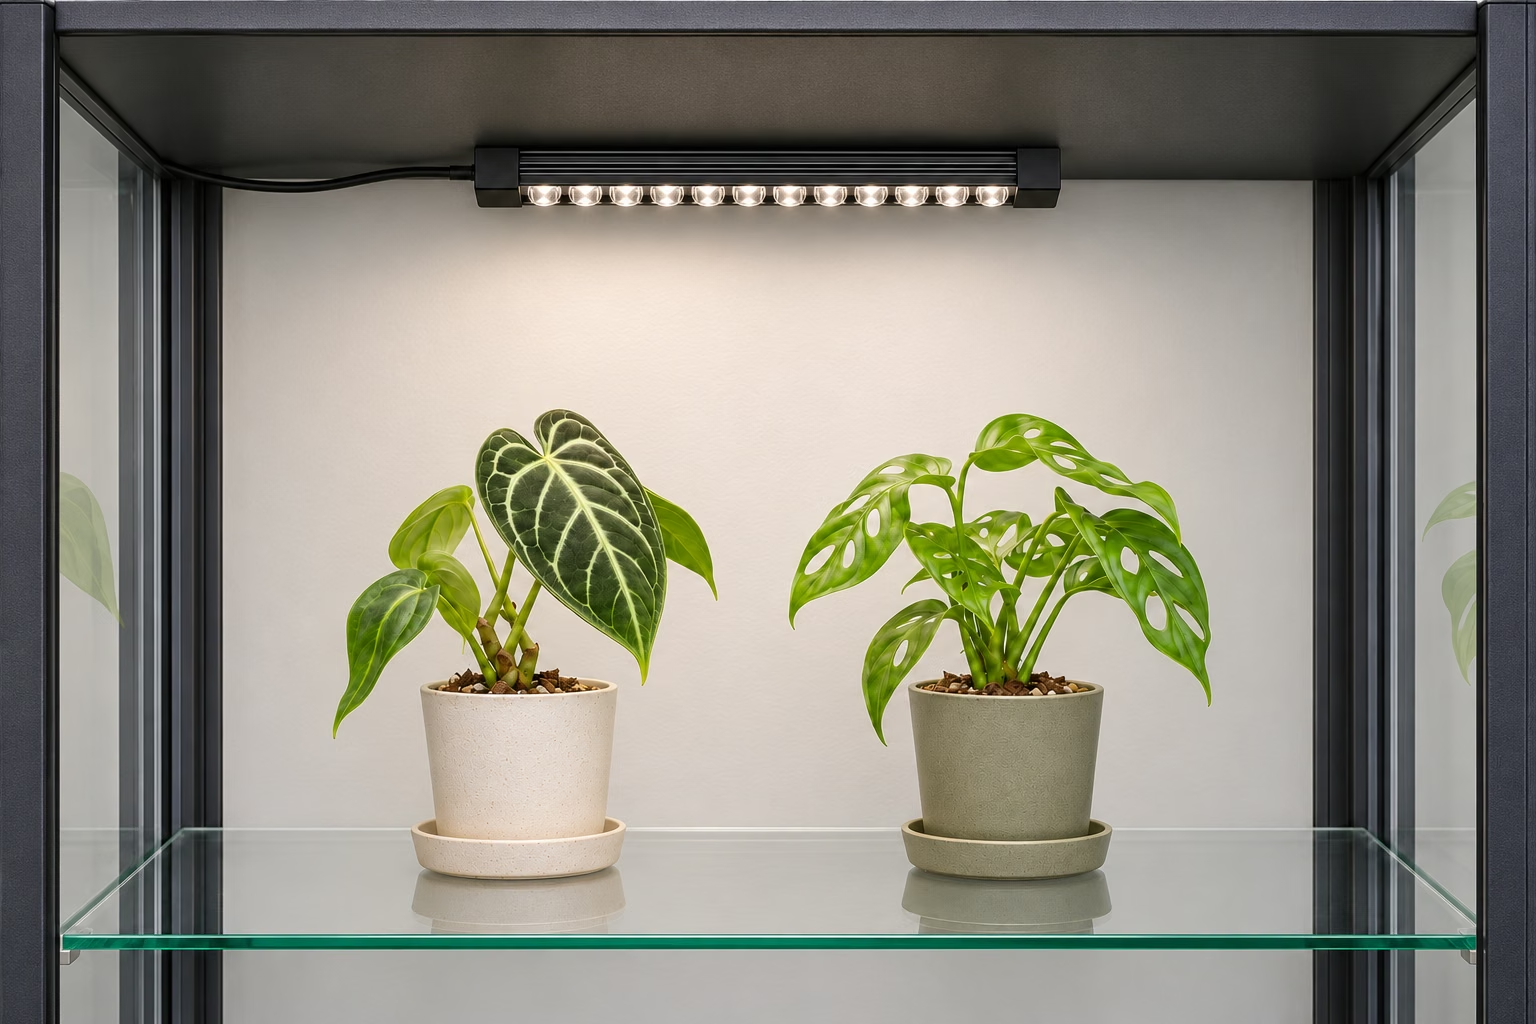
- Light above the foliage
- Clearance as plants grow
- A plant-appropriate schedule
02 / Light & timing
Put the light where the leaves are.
Light each planted shelf. Match distance and timing to the plants and fixture; a light with built-in scheduling needs no extra timer.
The S11 light bars have an IP65 rating, but its manual excludes wet atmospheres. This is not approval for a misted cabinet. Keep controls and power connections dry and follow the manual.
Setup notes & sources
An illuminated cabinet can still have shaded leaves. Plan lighting for each planted shelf, allowing for taller plants and the shelf above. Match the distance and schedule to the plants and fixture, then adjust as the plants grow.
Short light bars can be easier to place than one large lamp. Check the mounting surface, cable reach and environmental limits before choosing a kit. The IONBEAM S11 includes dimming and scheduling, so it does not need a second plug timer.
Sources: University of Minnesota: indoor plant lighting · AC Infinity: IONBEAM S11 · AC Infinity: IONBEAM manual · BN-LINK: U47 timer
A compact light-kit option
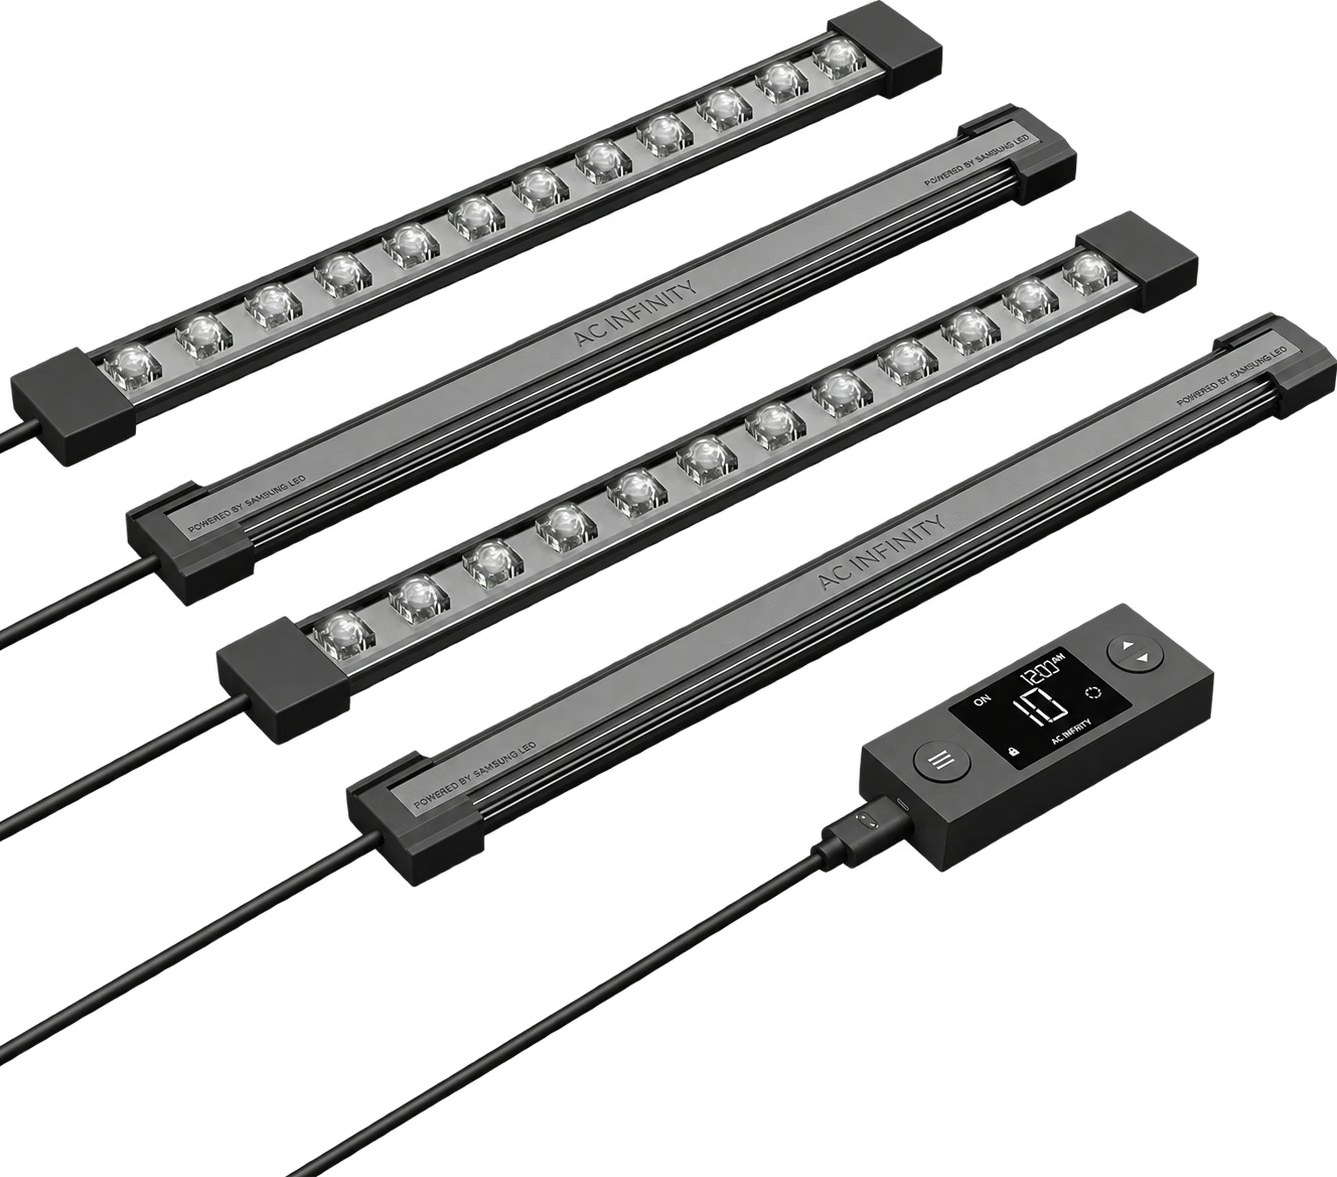
AC Infinity IONBEAM S11
Short bars with local dimming and scheduling let you arrange light around planted shelves.
Fit & limits
Confirm bar placement, suitable mounting surfaces and cable reach. Follow the manual’s moisture restrictions.
For lights without a timer · Optional
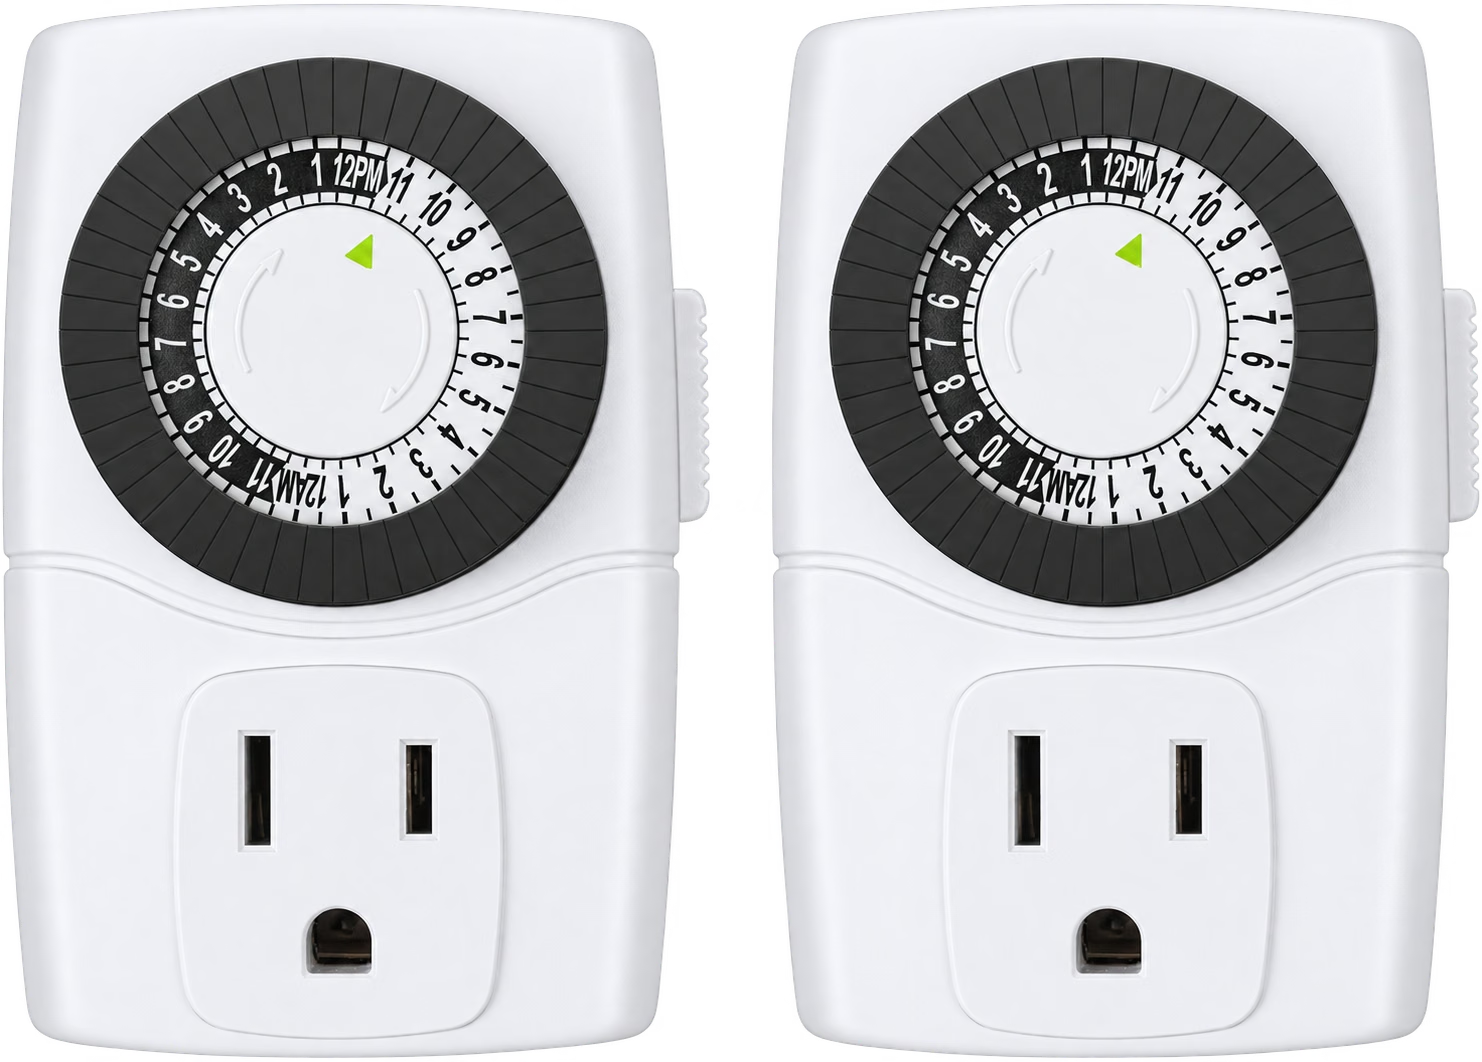
BN-LINK U47 Mechanical Timers
A repeating daily schedule can simplify an existing light setup. Skip this if your light already schedules itself.
Fit & limits
Check the connected load and whether the light restarts correctly. Use a dry indoor outlet; check the clock after a power interruption.
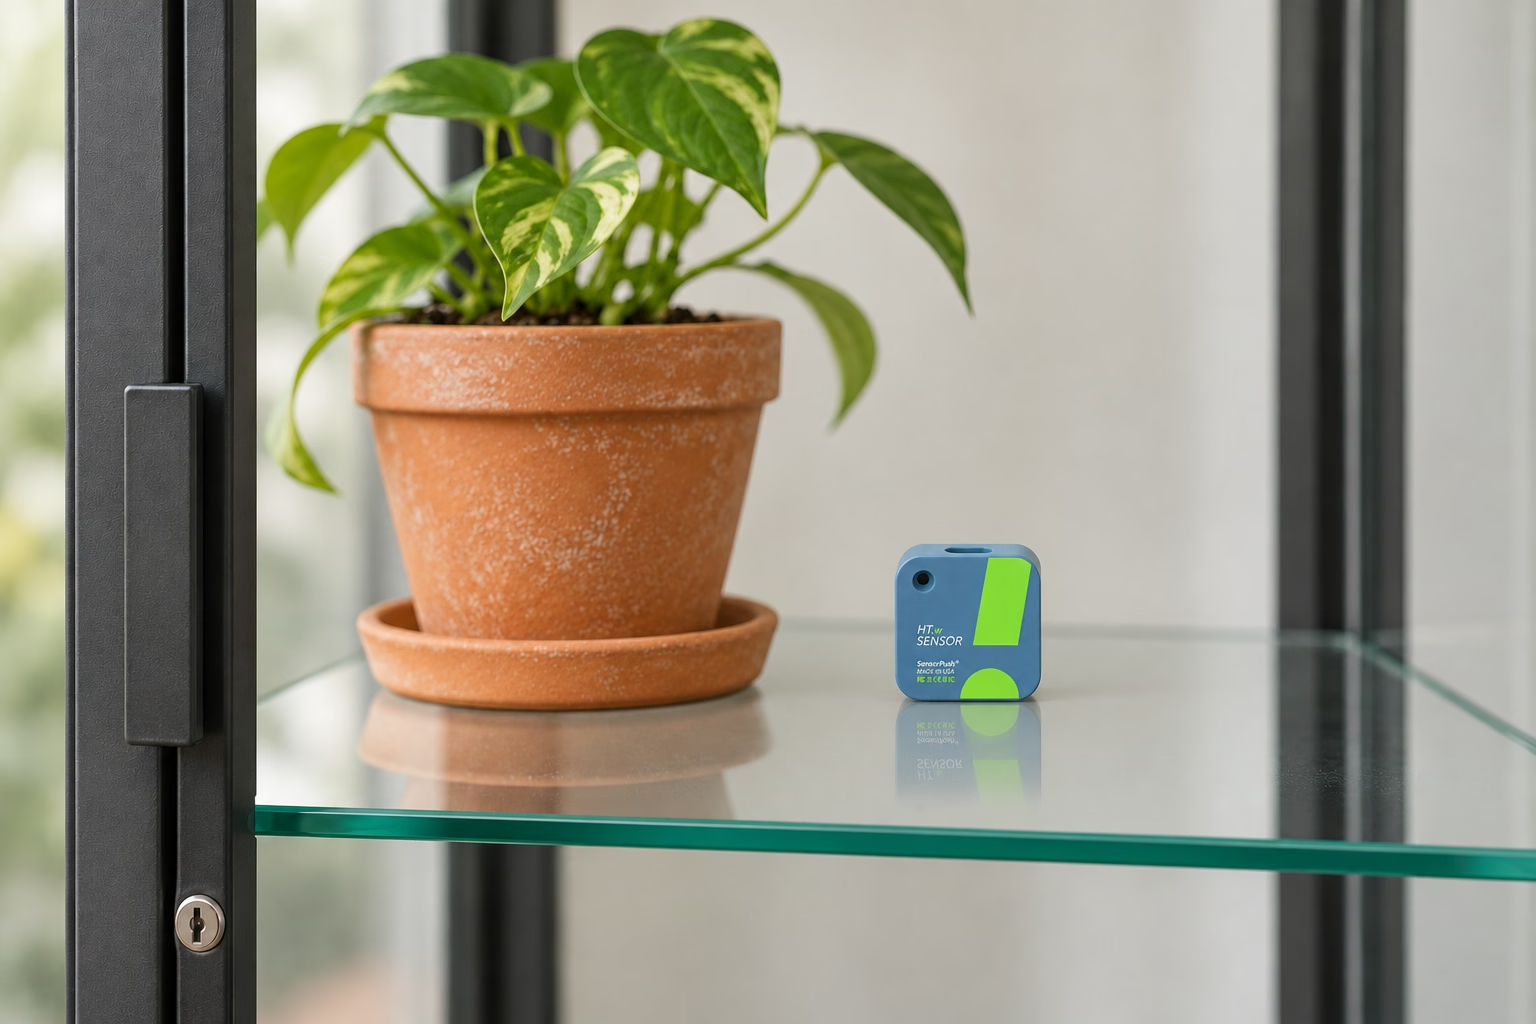
- At plant level
- Away from wet pots
- Vents left exposed
03 / Humidity & observation
Measure before you seal.
Take readings through lights-on and lights-off periods. Observe first; seal a particular gap only when there is a reason.
Humidity needs vary by plant. Persistent condensation calls for reassessing moisture and air exchange; a sealed, misted terrarium needs a different equipment plan.
Setup notes & sources
Observe temperature and humidity with plants in place, including lights-on and lights-off periods. There is no single humidity target for every plant. Place the meter where it represents the planted space, with its openings exposed rather than against a warm light or wet pot.
A basic meter is enough to start. Logging helps when you want to see what happens between checks. Make changes gradually: if a particular gap needs closing, match the weatherstrip profile to that gap, check that the door closes freely and leave a workable ventilation path.
Sources: Penn State: humidity and houseplants · SensorPush: HT.w · Frost King: foam weatherseal
For readings between check-ins · Optional
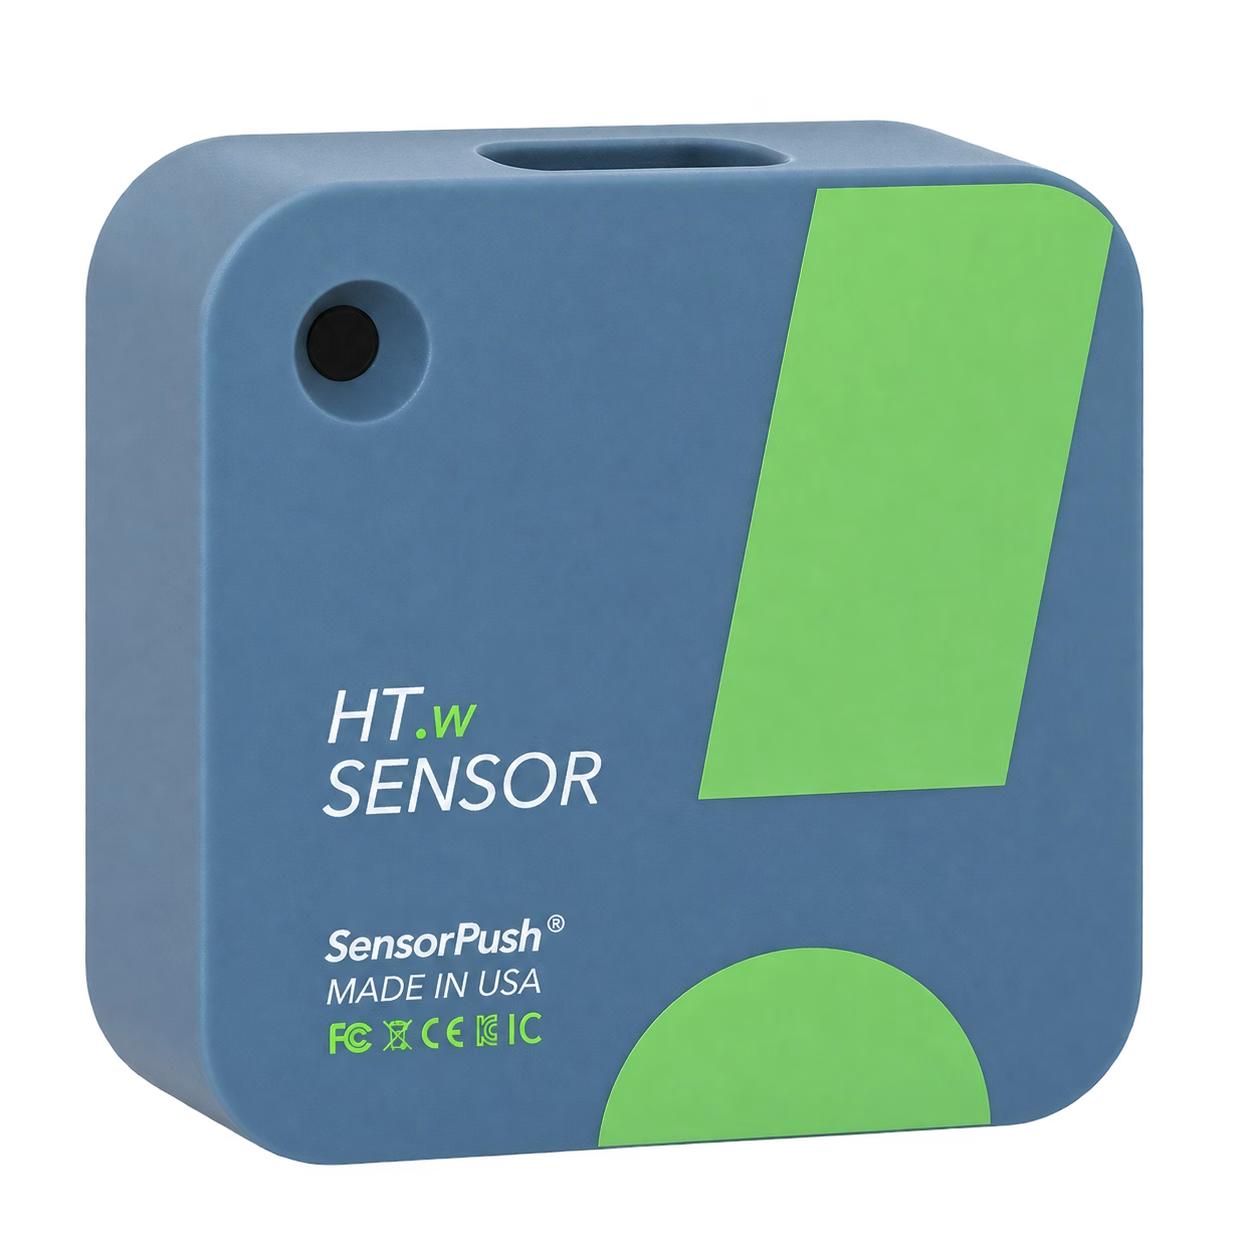
SensorPush HT.w
SensorPush HT.w stores temperature and humidity readings for phone graphs. An already-owned meter may be enough.
Fit & limits
It has no screen; internet access needs a separate gateway. Prolonged exposure above 80% RH can affect accuracy.
For a specific gap · Optional

Frost King R338H Foam Weatherseal
Frost King R338H is one foam profile to consider after observing the cabinet.
Fit & limits
Measure the gap and check adhesive suitability. It is not an IKEA-specific kit or a reason to seal every opening.
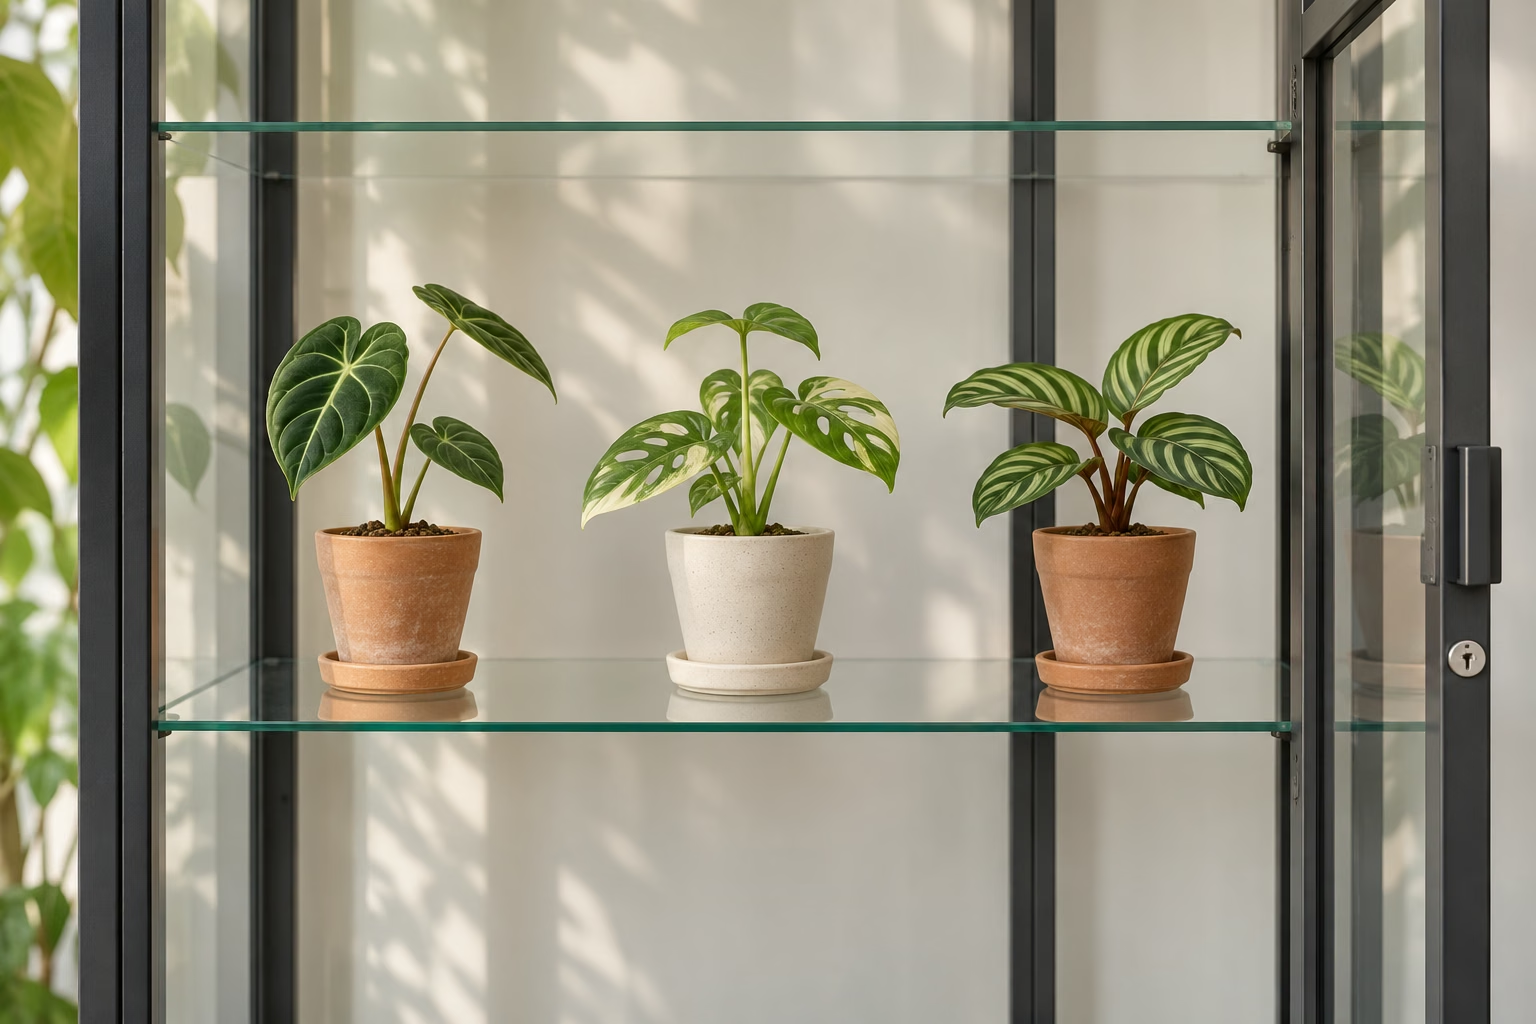
- Gaps between foliage
- A clear air path
- A way in and out
04 / Air movement
Leave room for air to move.
Leave room between plants and a path for fresh air. A fan moves air inside; it does not turn a sealed box into a ventilated space.
The MULTIFAN S3 is an electronics-cooling fan with a stated 35–85% RH operating range, not a waterproof terrarium fan. Keep it away from spray and condensation; use differently rated equipment if needed.
Setup notes & sources
Leave gaps between pots and foliage before adding a fan. Aim for gentle circulation through the planted space, with a way for air to enter and leave. Circulation inside a sealed box is not ventilation.
A fan can help a layout that needs more movement, but it does not automatically regulate humidity. Keep its intake and outlet clear of glass, leaves and pots, and choose equipment for the conditions you actually measure.
Sources: University of Maryland: algae and fungal growth · AC Infinity: MULTIFAN S3 · AC Infinity: MULTIFAN manual
Conditional circulation option · Optional
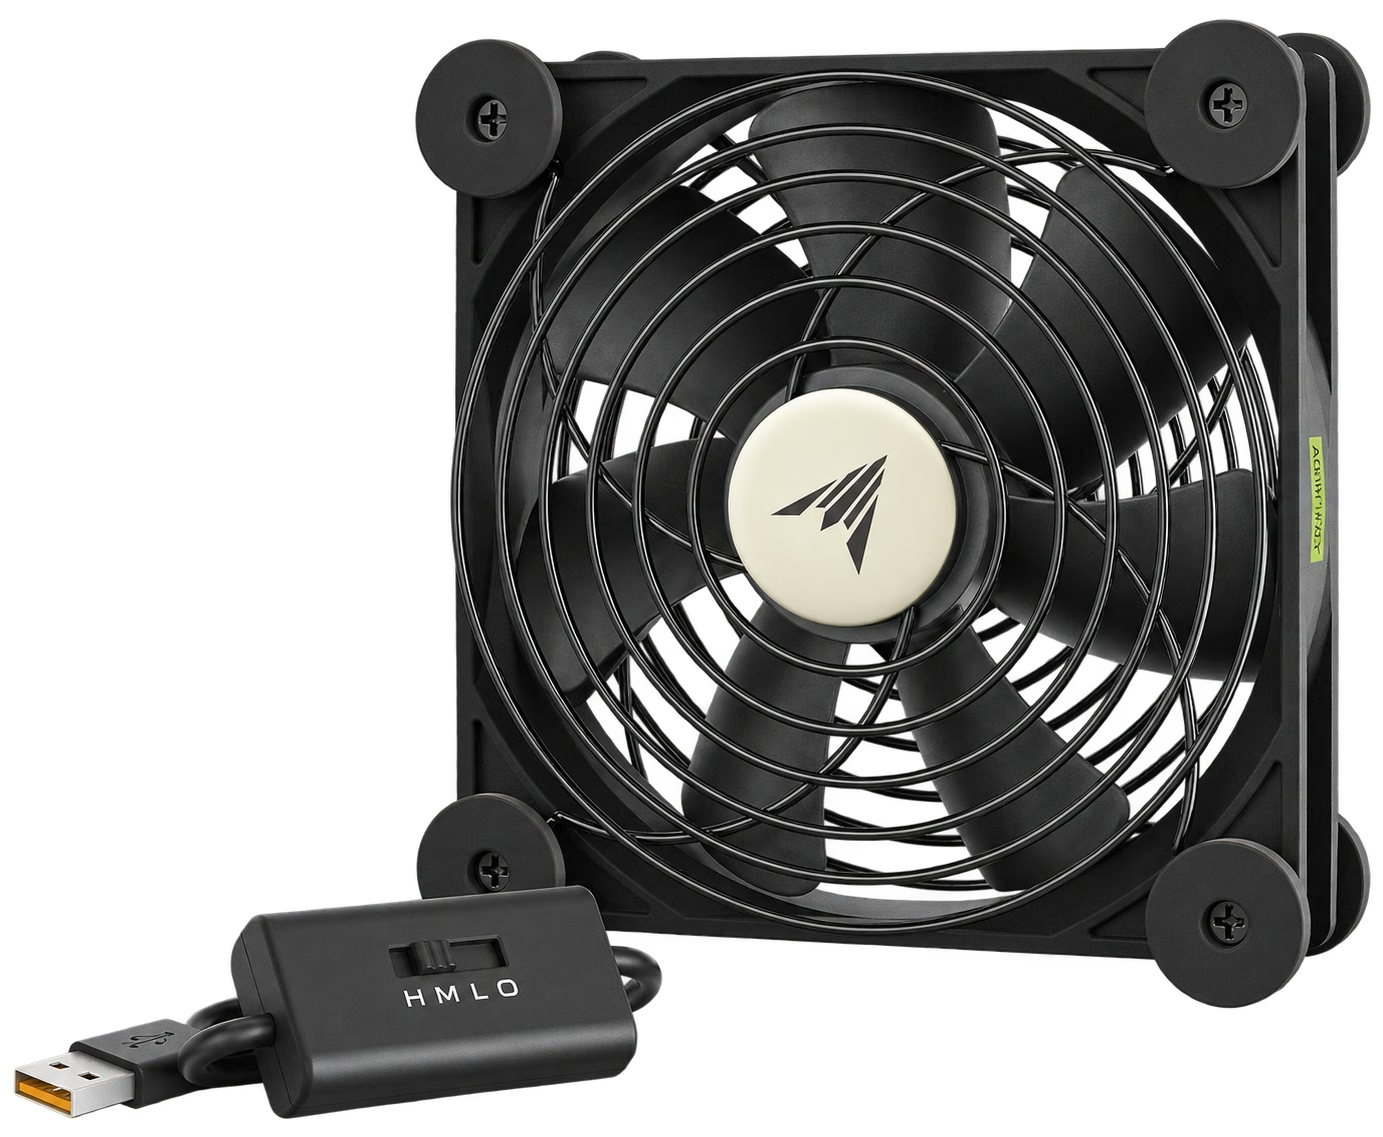
AC Infinity MULTIFAN S3
Adjustable speed in a guarded frame for a suitable dry installation.
Fit & limits
Check its operating limits and keep both faces clear. It does not sense humidity, and no waterproof rating was verified.
- Easy-to-reach pots
- A tray for runoff
- Water away from power
05 / Cables & watering
Make the routine easy.
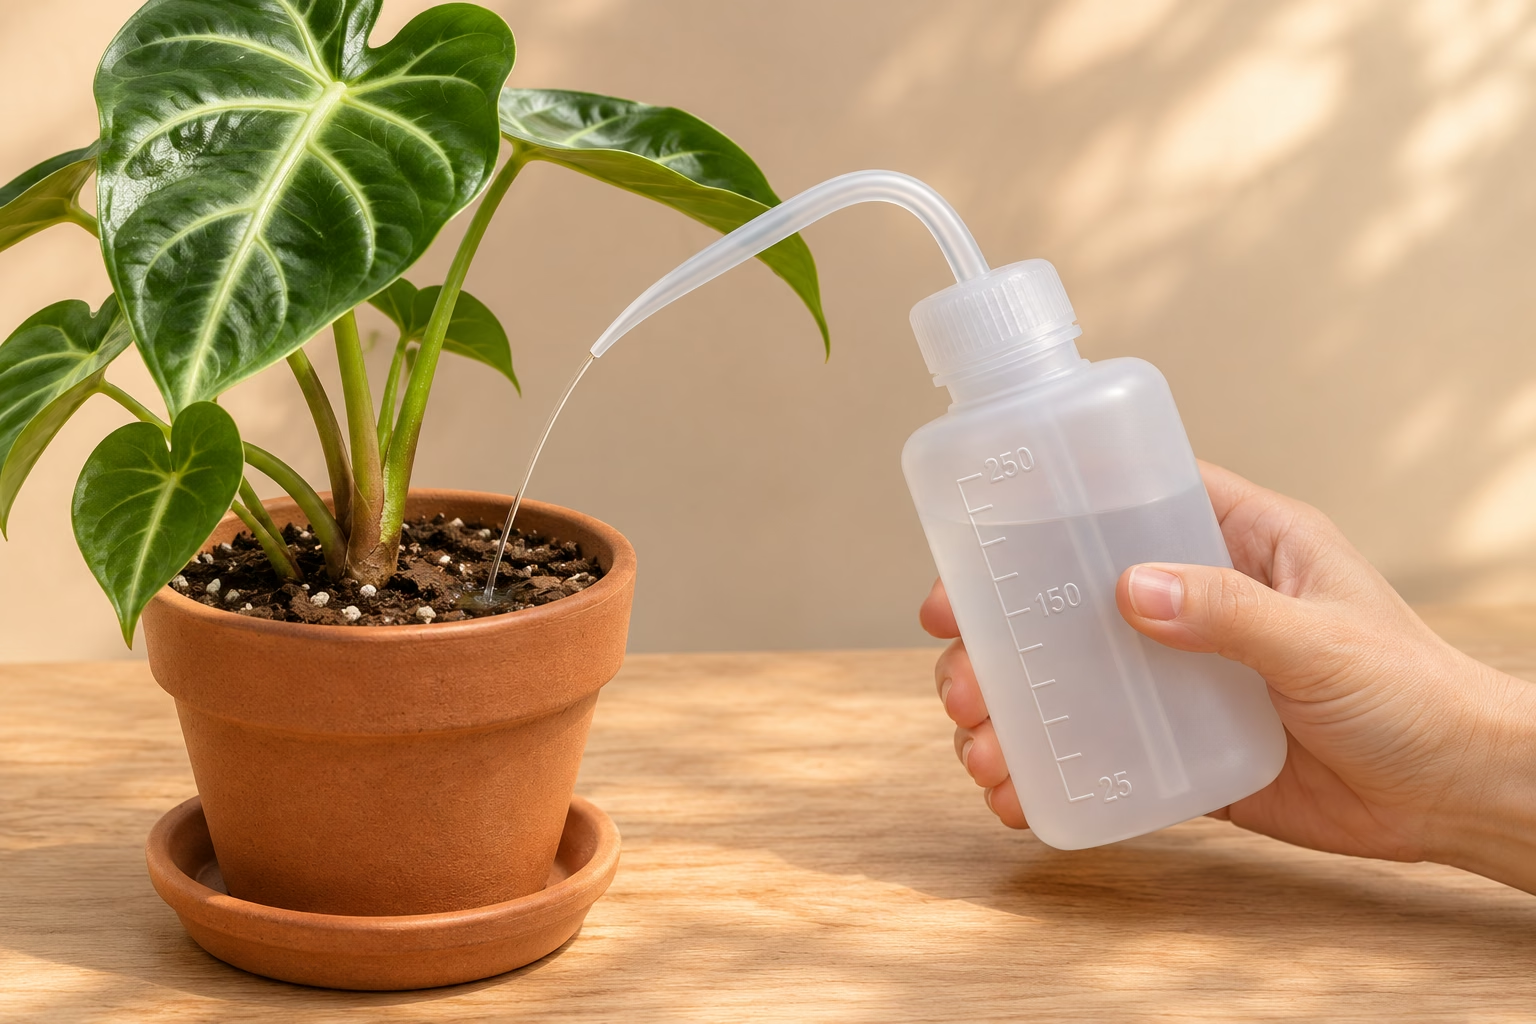
Keep cords out of door paths and power connections dry. Water on a tray—or lift the plant out when that is easier.
After a change, check shelf readings, leaf clearance, door movement and drainage again. Change one part at a time so you can see what helped.
Setup notes & sources
Plan the cords before adding plants. Use intended cable openings where available, keep cords out of the door’s closing path and leave access to controls. Keep power connections dry and accessible. Reusable ties organize slack; use the proper mounting hardware for fixtures.
Give pots suitable drainage and a way to catch runoff. Water for the plant and potting mix, then manage the excess. A narrow spout can help with a small pot; taking a larger plant out to water may be simpler.
Sources: AC Infinity: IONBEAM manual · Gardner Bender: beaded cable ties · BEADNOVA: squeeze watering bottles · Oklahoma State: houseplant care
For adjustable cable routing · Optional
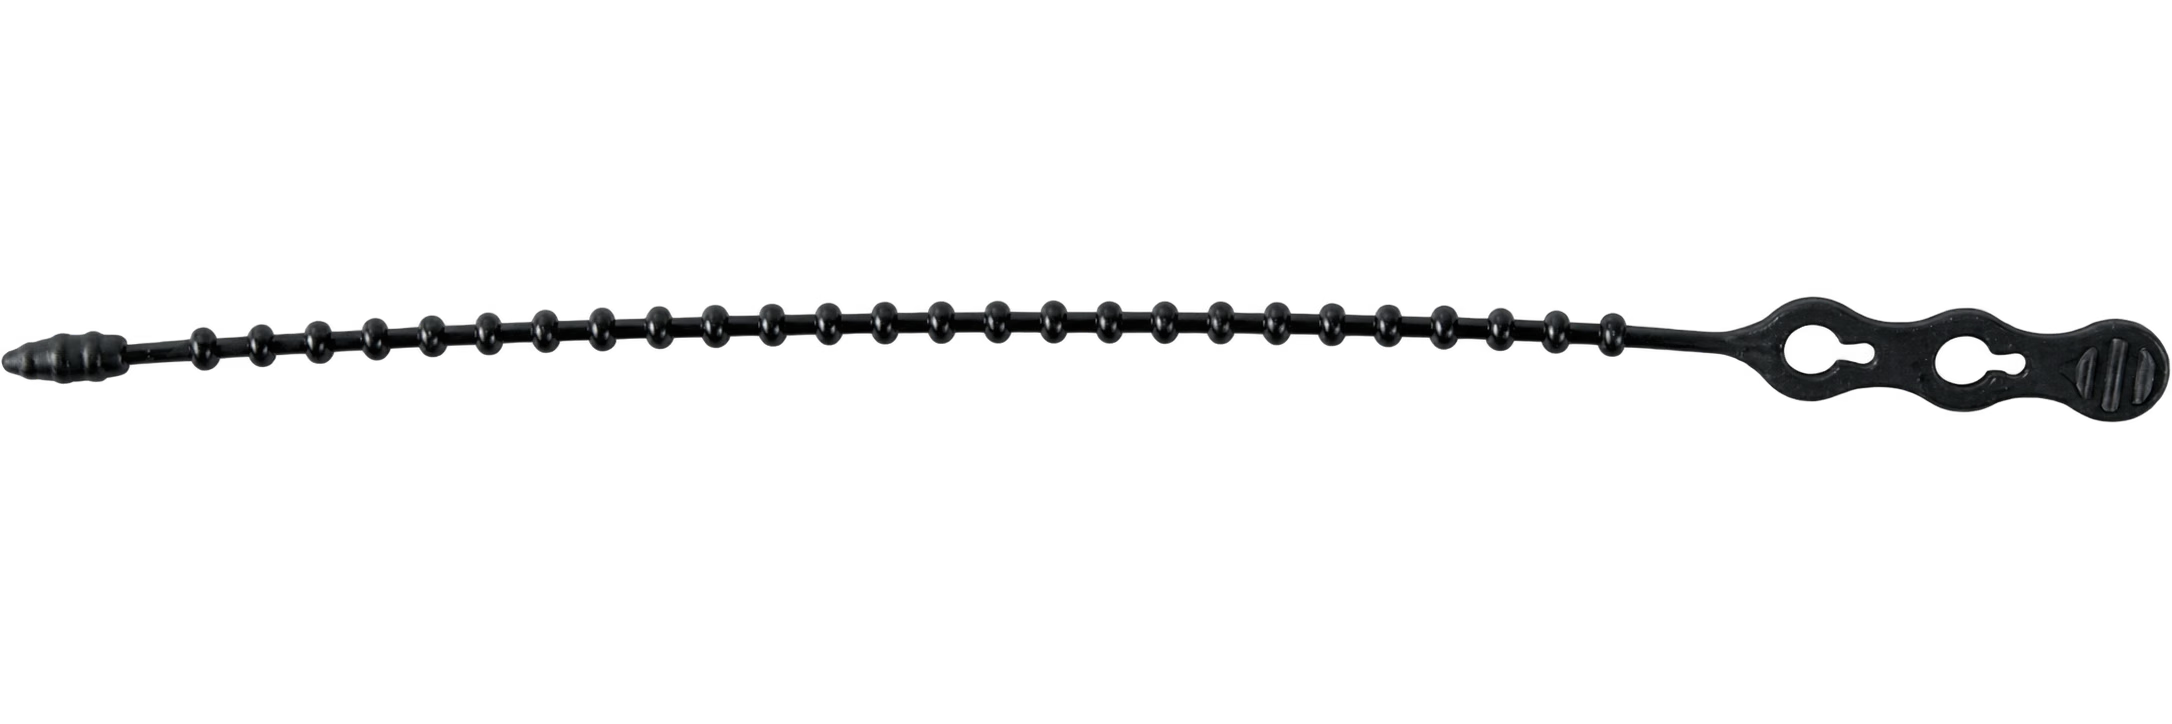
Gardner Bender Beaded Cable Ties
Gardner Bender beaded ties can be released when you rearrange the cabinet.
Fit & limits
Use them for cable organization, not as substitutes for the light or fan’s mounting hardware.
For watering small pots · Optional
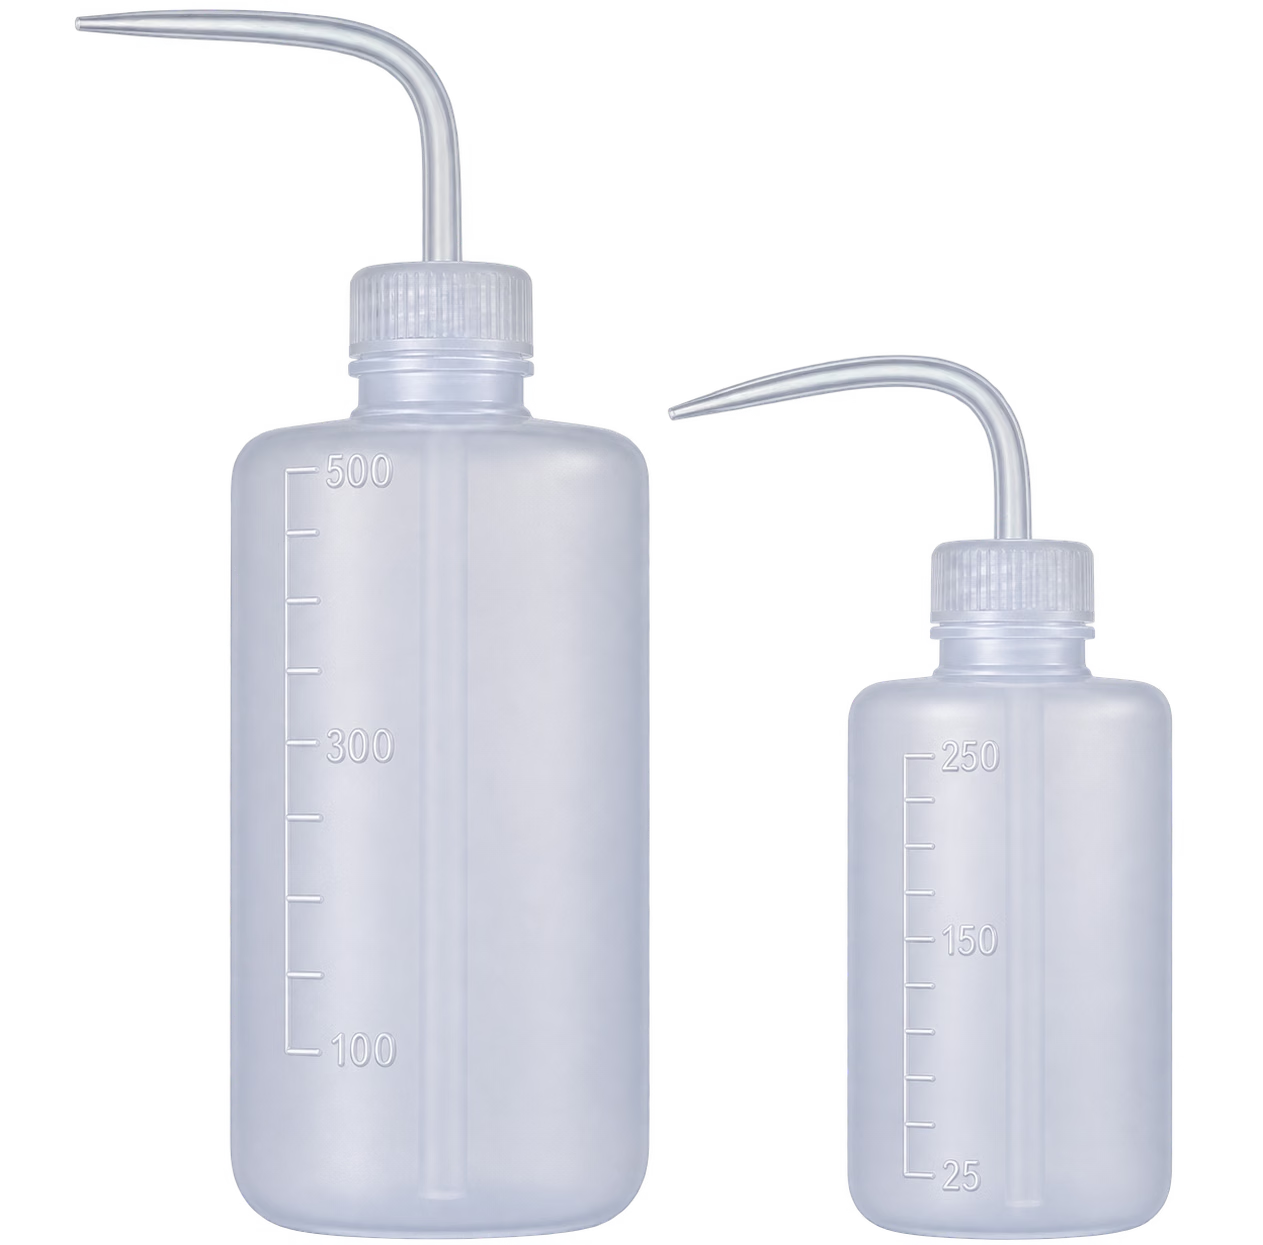
BEADNOVA squeeze bottles direct a small amount of water through a narrow bent spout.
Fit & limits
Useful where access is tight. They do not replace drainage; use your existing watering can if it already works.
YOUR STARTING CHECKLIST
Build the basics.
Add the rest when it helps.
Start with these.
- A stable, usable space
Assemble and anchor the cabinet as instructed. Allow for wet pot weight, plant growth and access.
- Light, observation and air
Choose suitable lighting and mounting, take temperature/humidity readings and retain ventilation.
- A manageable watering routine
Fit pots and runoff trays; keep power connections dry and controls accessible.
Add for a reason.
- History and more circulation
Add a logging sensor or a suitable fan when observations show a useful role.
- Seals and scheduling
Weatherstrip only a measured gap. Add a separate timer only if your light needs one.
- Small conveniences
Reusable ties and a narrow watering spout can make rearranging and care easier.
Sources & further reading
Manufacturer instructions and horticultural references used for this guide. Layout illustrations show concepts; product photographs link to the exact reviews. Product prices retain the observation dates shown beside them.
- IKEA: MILSBO cabinet ↗
Model 303.964.48: assembly, anchoring, shelves, cable outlet and glass care. These details do not establish greenhouse suitability.
Source checked - University of Minnesota: indoor plant lighting ↗
Match light intensity and duration to plant needs; application-specific distances are not universal.
Source checked - AC Infinity: IONBEAM S11 ↗
Light-bar design, local dimming and scheduling, and IP65 construction.
Source checked - AC Infinity: IONBEAM manual ↗
Wet-atmosphere restrictions, mounting and cord protection. Read alongside the product specifications.
Source checked - Penn State: humidity and houseplants ↗
Humidity needs differ between plants; enclosures retain local moisture.
Source checked - SensorPush: HT.w ↗
Stored readings, screenless operation, gateway requirements and prolonged high-humidity accuracy limits.
Source checked - University of Maryland: algae and fungal growth ↗
Avoid persistently moist potting media and provide air circulation between pots.
Source checked - AC Infinity: MULTIFAN S3 ↗
Adjustable USB cooling fan and stated operating humidity range. No waterproof rating verified.
Source checked - BN-LINK: U47 timer ↗
Indoor repeating schedule and load-dependent electrical ratings.
Source checked - Frost King: foam weatherseal ↗
R338H profile specifications. Actual cabinet fit and adhesive suitability still need checking.
Source checked - AC Infinity: MULTIFAN manual ↗
Ventilation needs an inlet and outlet; fan speed is selected manually.
Source checked - Gardner Bender: beaded cable ties ↗
Reusable beaded-tie design for cable organization.
Source checked - BEADNOVA: squeeze watering bottles ↗
Bent-spout bottle pair; manufacturer page identifies the existing reviewed product.
Source checked - Oklahoma State: houseplant care ↗
Watering depends on plant and growing conditions; drainage and excess-water management matter.
Source checked