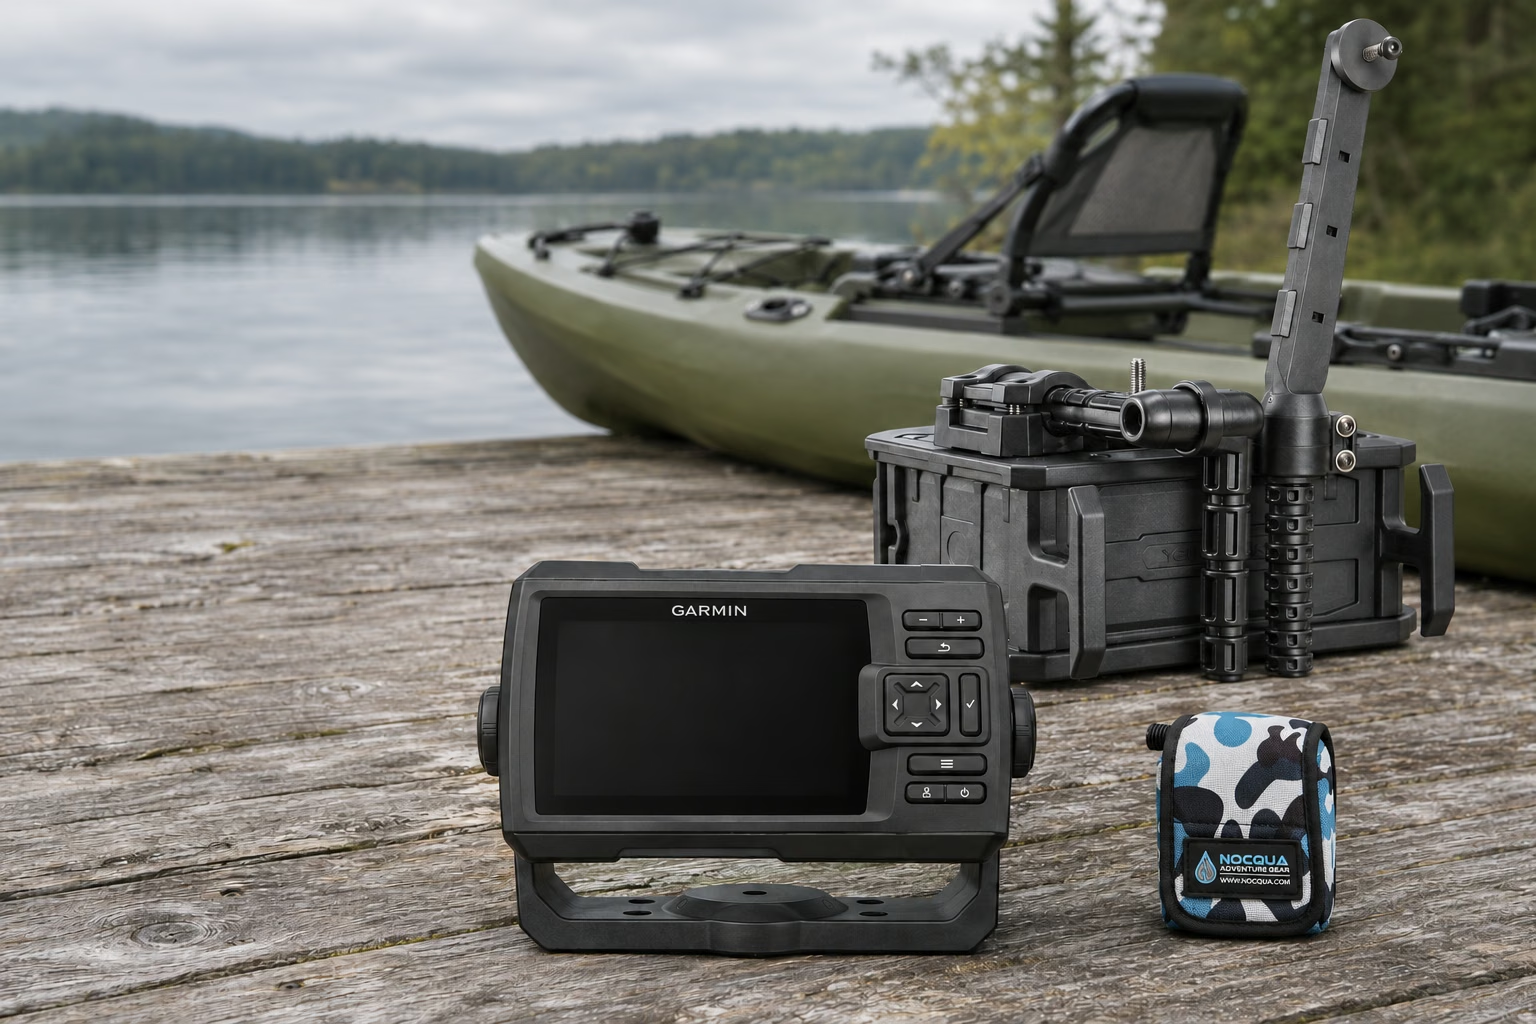
A practical kayak setup · 4 MIN READ
A small boat.
A setup that packs away.
A screen you can reach. Cables out of the way. Equipment that comes home with you.
Make a planStart with the kayak you own. Match the track, display bracket, transducer and power connection, then keep the arrangement simple enough to remove after a trip.
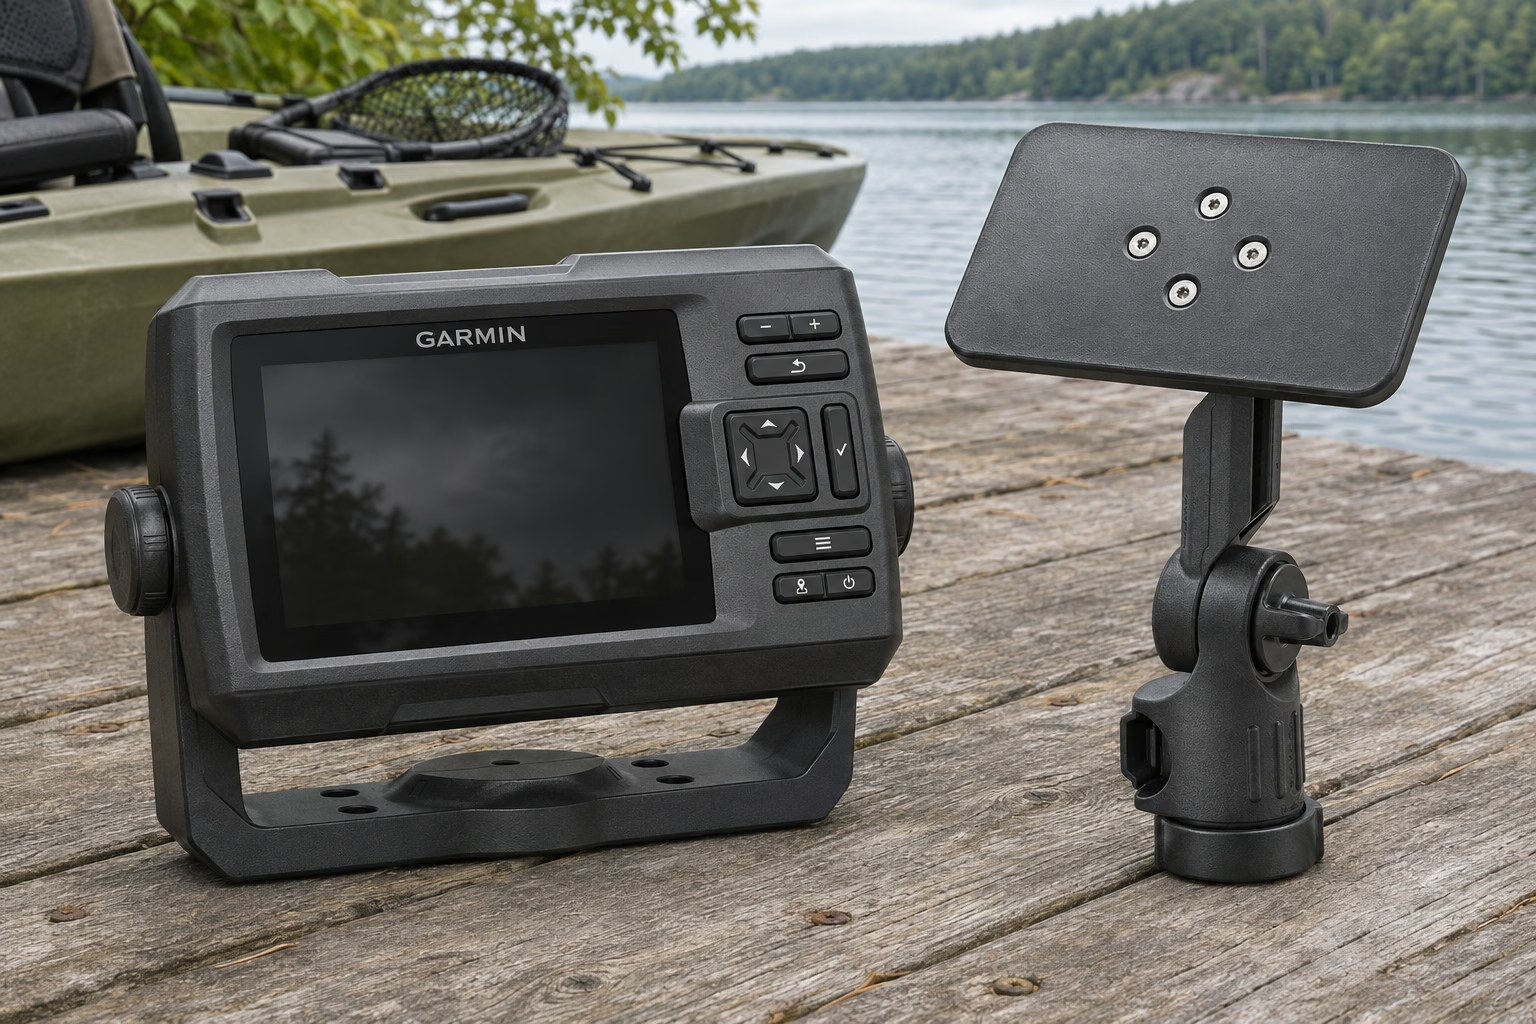
- Readable from the seat
- Clear of knees and paddle
- Bracket and track checked separately
01 / Screen & mounting
Start from the seat.
Place the screen where you can read and reach it without crowding your knees or paddle stroke. Match the bracket and track separately; a familiar brand name does not establish that the mounting parts fit.
The FFP-1007 is a DIY plate, not a ready-made Garmin adapter. Verify the bracket footprint, hole positions and track fit before buying or drilling.
Setup notes & sources
Sit in the kayak and try the screen position before fixing anything. Leave room for paddling, legs, entry and a relaxed cable loop. Keep an existing display if it already does the job. The STRIKER Vivid 5cv is one compact option for traditional sonar and ClearVü views below the boat.
A display’s bracket and the kayak’s track are two different interfaces. YakAttack’s FFP-1007 provides a blank platform for a bracket that fits its usable surface. You must lay out and drill the display holes and supply suitable fasteners. The factory screws at its center attach the plate itself; they are not a universal display pattern.
Sources: Garmin: STRIKER Vivid 5cv specifications · Garmin: Vivid 5, 7 and 9 installation instructions · YakAttack: Universal Mounting Plate FFP-1007
A compact display option · Optional
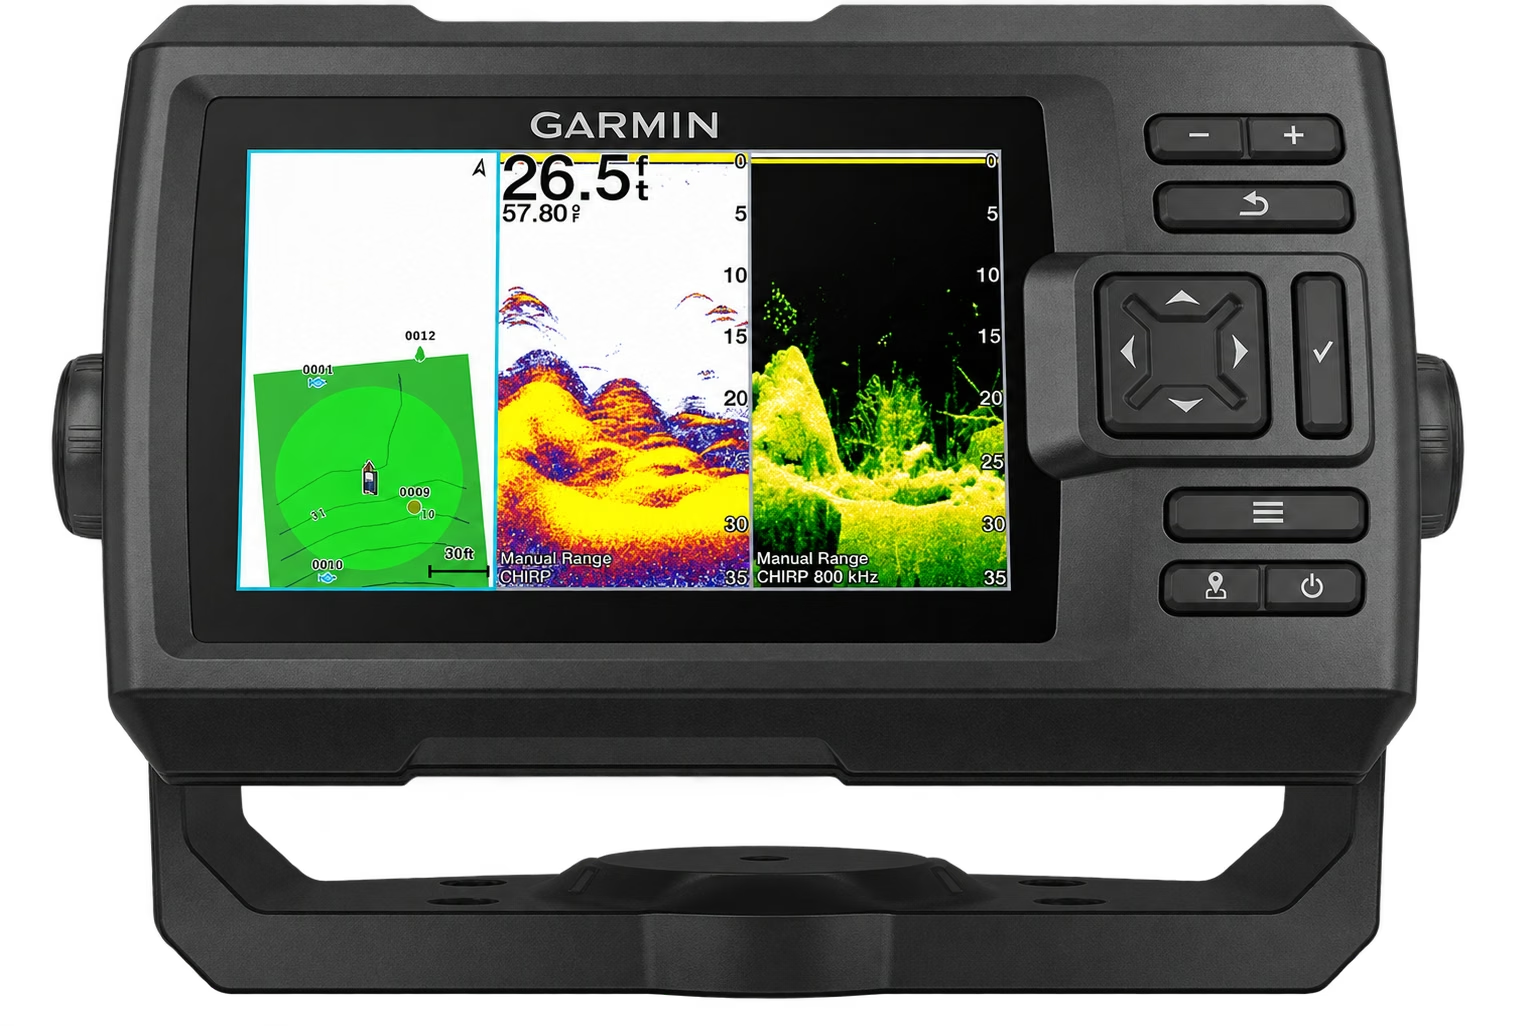
Garmin STRIKER Vivid 5cv
Traditional sonar and ClearVü in a landscape display with physical controls; the selected US package includes a GT20-TM transducer.
Fit & limits
A battery and kayak mounting arrangement are separate. It does not provide SideVü or ready-made navigation charts.
A DIY bracket platform · Optional
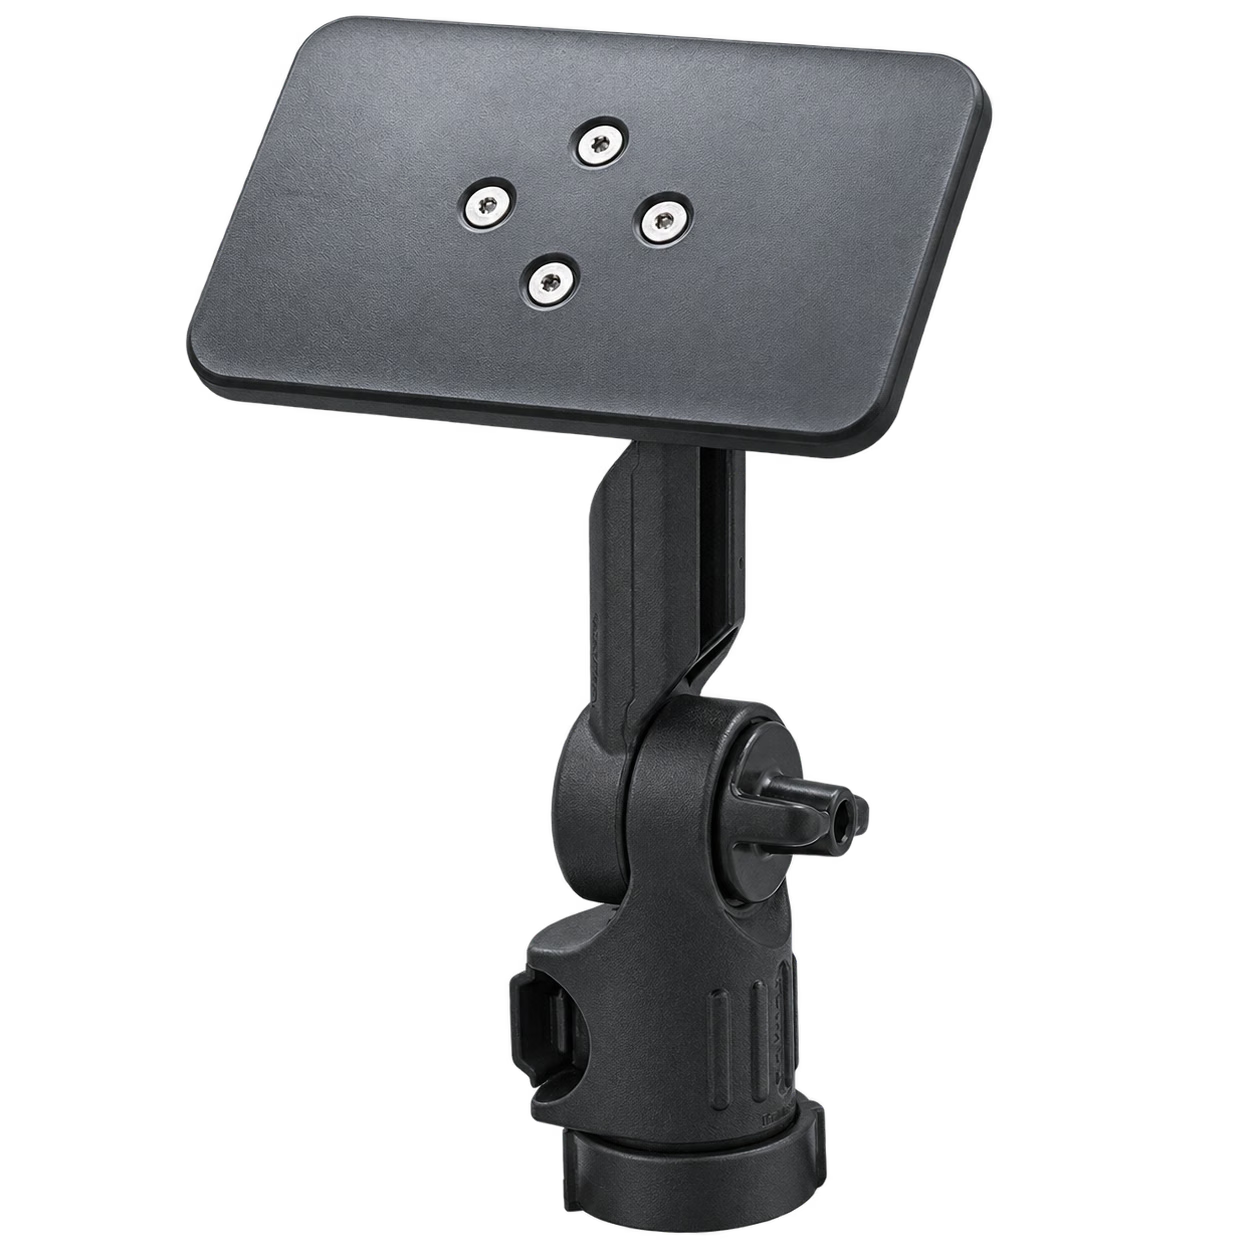
A blank plate on a removable LockNLoad base lets you lay out a suitable display bracket.
Fit & limits
Check the usable plate and drill your own bracket holes. Display fasteners and track are separate; some track systems need an adapter.
- Enough usable track
- A clear path past the hull
- Fold before landing
02 / Track & transducer
Give the arm room to fold.
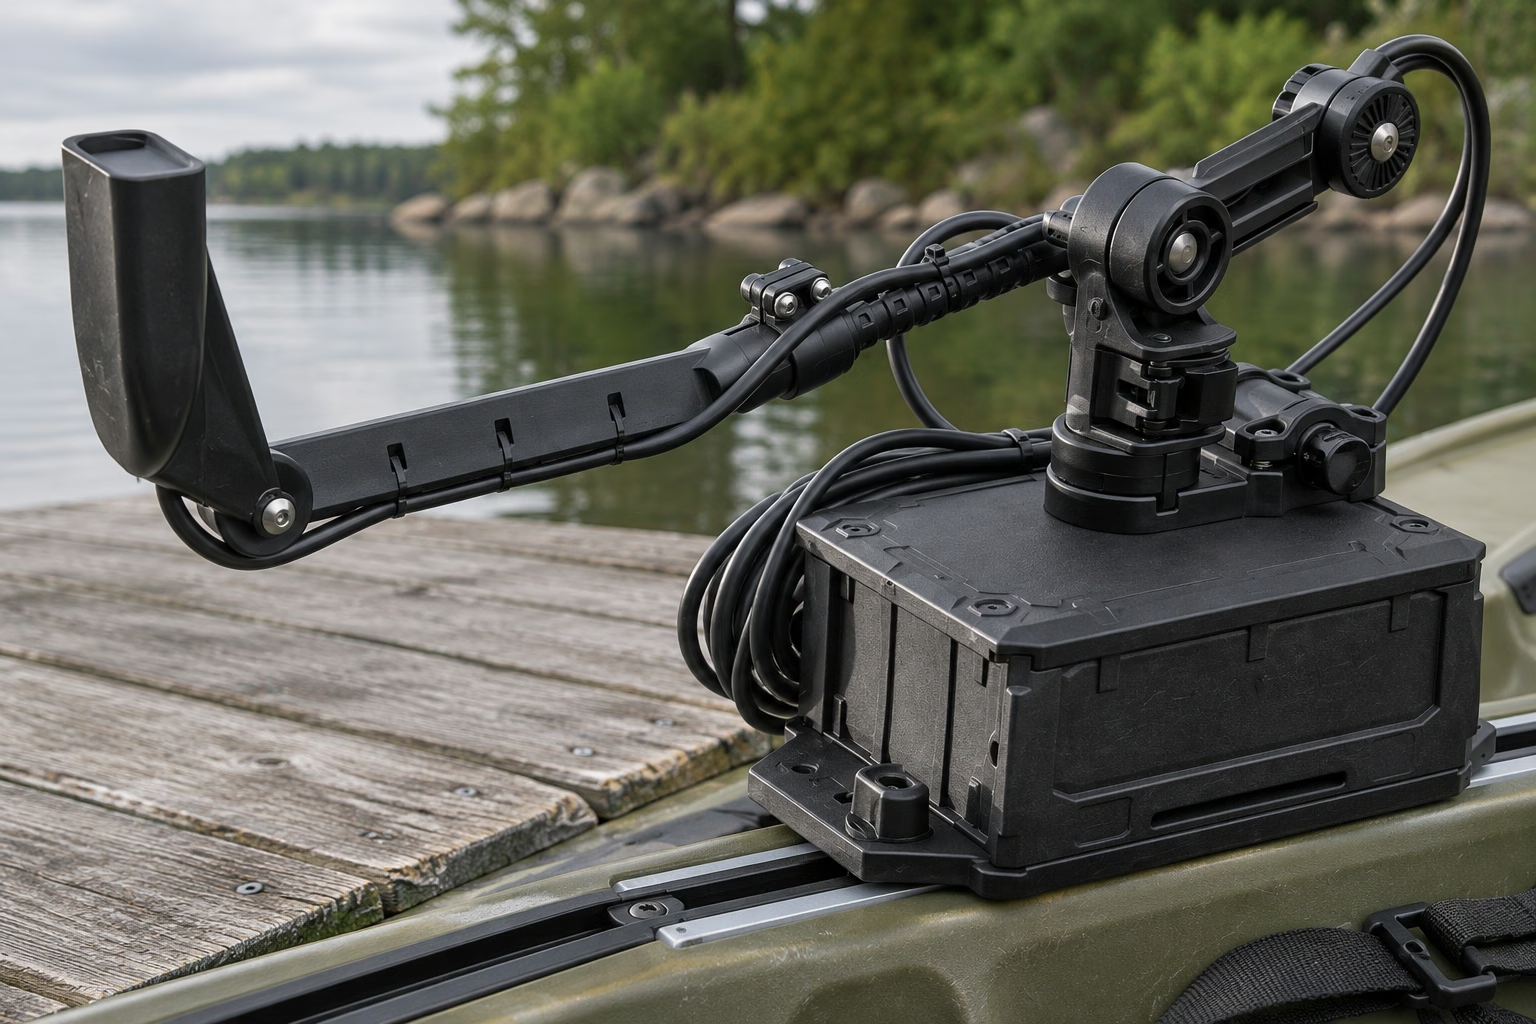
A folding arm can make the transducer easier to remove and stow. Check the usable track, the deployed position and the full swing back toward the kayak before committing to an over-the-side arrangement.
Confirm your exact transducer attachment and hull clearance. The pictured folding mechanism does not establish that every transducer fits, and the box is not an immersion-proof battery enclosure.
Setup notes & sources
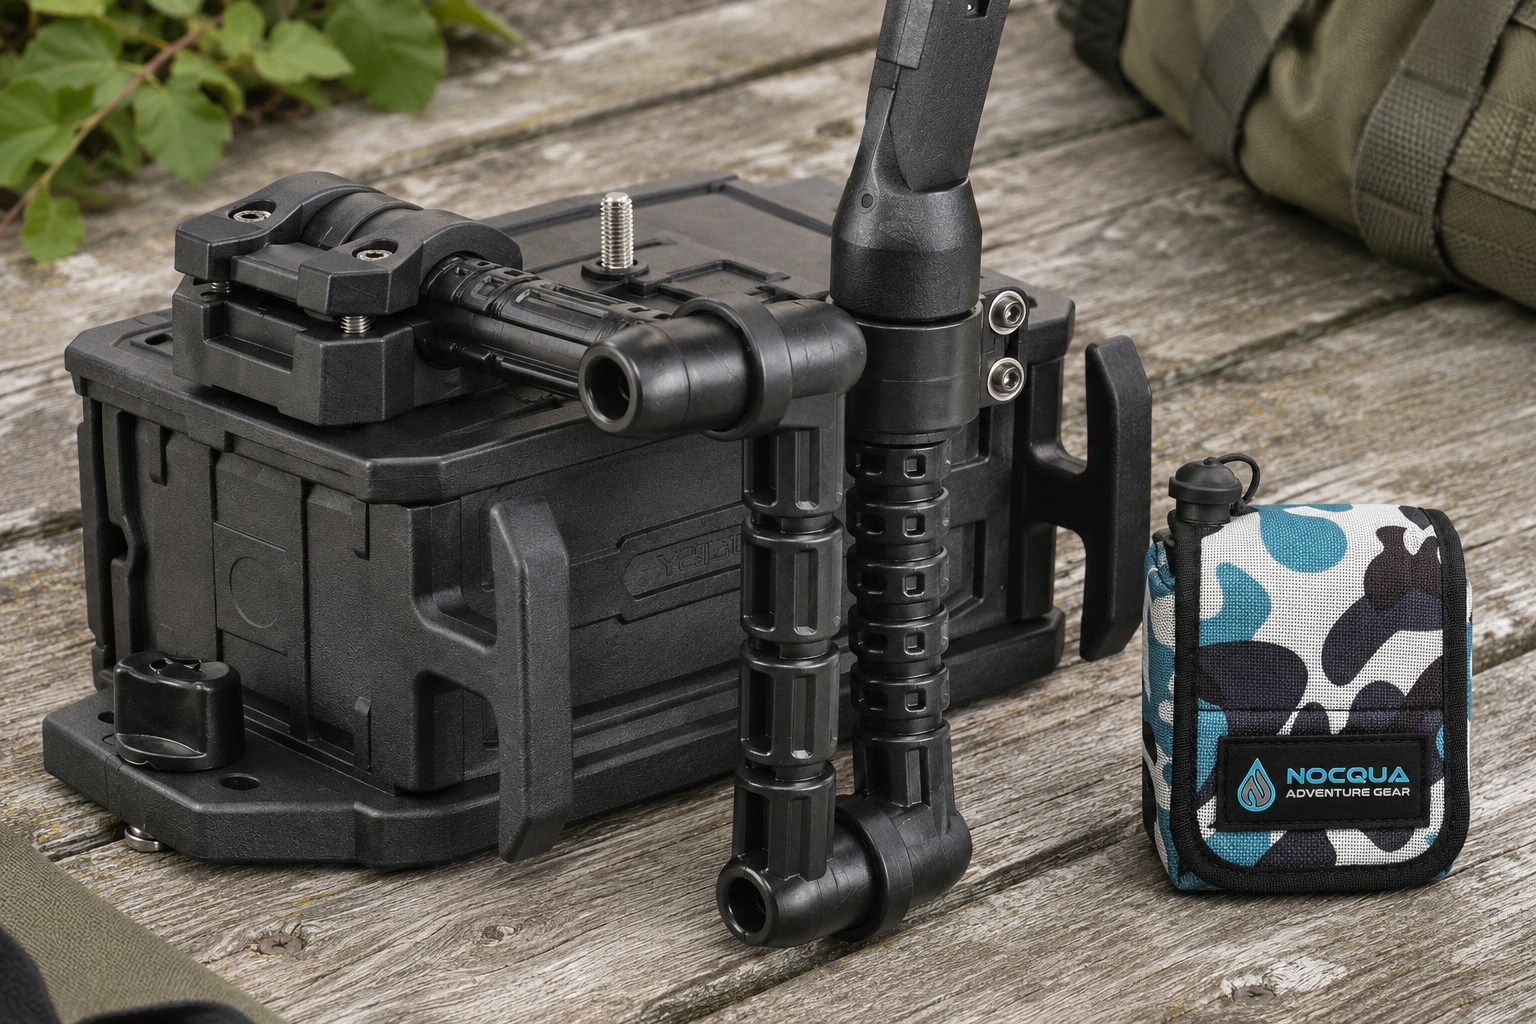
The CellBlok and SwitchBlade combo brings the battery compartment and folding arm together on a suitable track. It needs at least 10.5 inches of usable track, with space around its two attachment knobs. The battery, screen mount and track are separate; a short rail can rule this arrangement out.
Check the transducer’s attachment hardware and its path past the hull, seat and paddle. Follow its instructions for orientation and clear water flow. Fold and secure the arm before landing or transport. YakAttack lists common track systems, but FeelFree, 3 Water and Jonny applications require the appropriate adapter.
Sources: YakAttack: CellBlok and SwitchBlade combo · YakAttack: SwitchBlade deployment arm · Garmin: transom-mount transducer instructions
For a removable track assembly · Optional
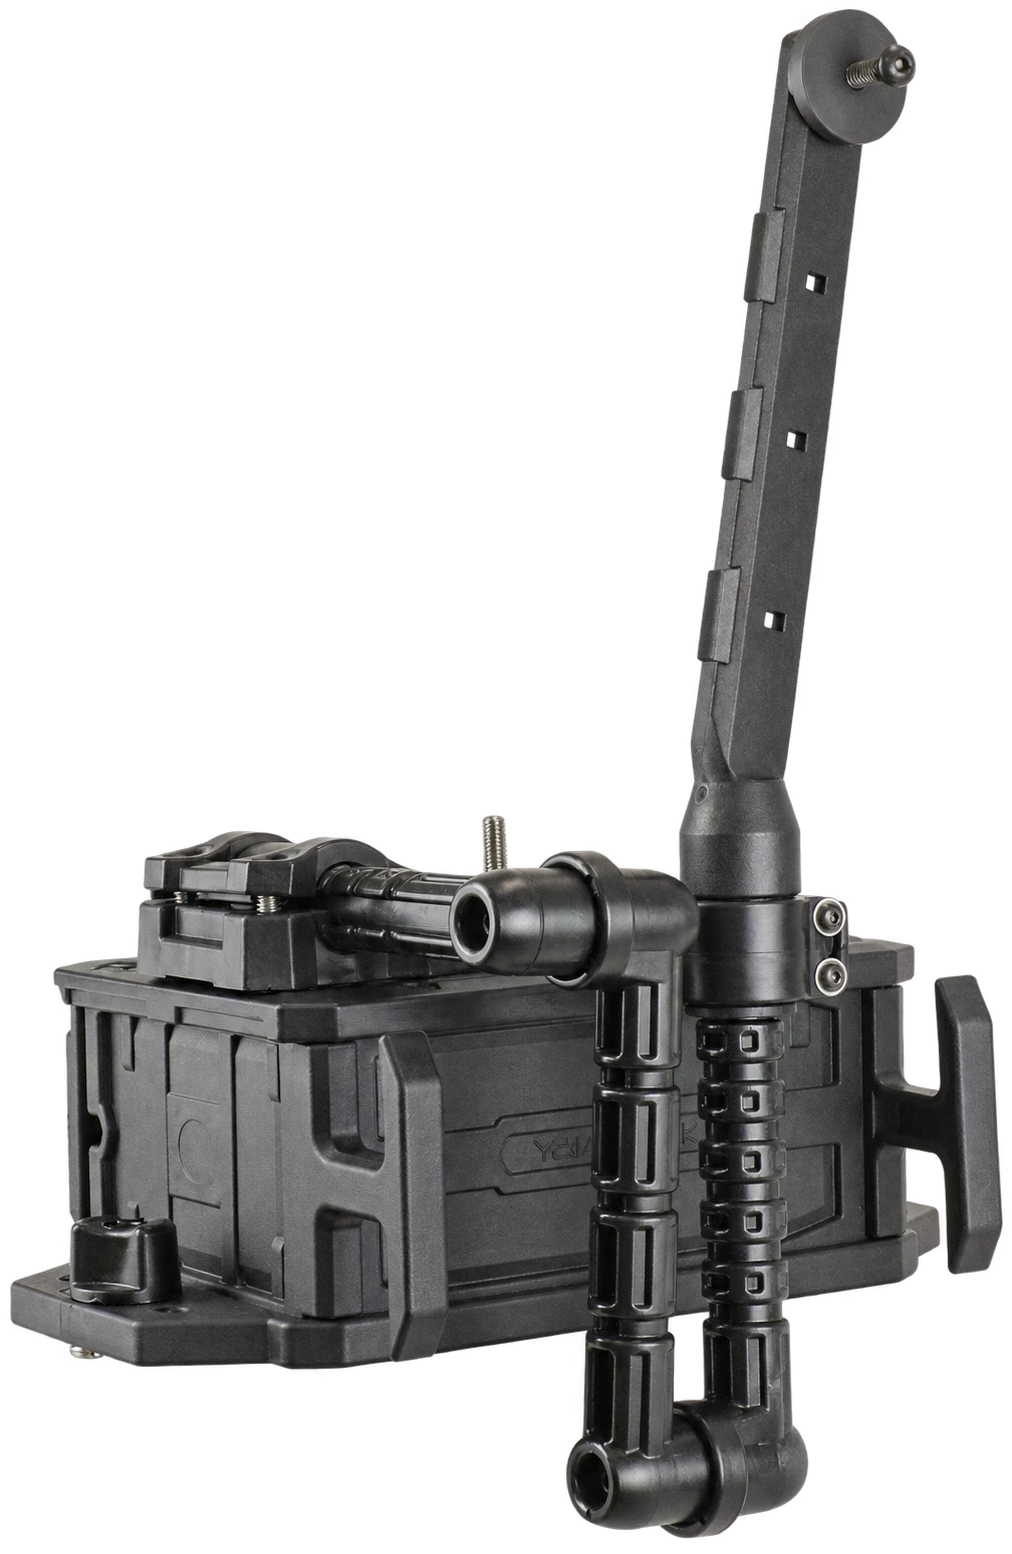
Combines the CellBlok battery compartment with a SwitchBlade arm that folds for stowing.
Fit & limits
Needs sufficient clear track and verified transducer hardware. Battery, display mount and track are not included.
- Match voltage and fuse
- Leave room for the connector
- Keep the pack dry and secured
03 / Battery & connections
Make space for power.
Match the battery to the display’s voltage and wiring requirements, then check the compartment with its plugs attached. Keep the pack restrained and dry, and plan runtime from the equipment you will actually use.
Nocqua describes this battery as water-resistant, not submersible. Keep the device-specified fuse in the power circuit; neither the box nor a connector replaces it.
Setup notes & sources
YakAttack specifically lists the Nocqua 10Ah pack as a CellBlok fit. Leave room for the lead and connector, not just the battery body. Its matching charger and component cable simplify the parts choice, but the fish finder still needs its own correctly connected power cable.
Follow Garmin’s voltage, polarity and fuse requirements; a matching plug does not supply circuit protection. Restrain the pack so its cable cannot carry its weight. Runtime changes with power draw and settings. Disconnect after use, dry the pack and connections, and charge with the specified charger in a dry location.
Sources: Garmin: Vivid 5, 7 and 9 installation instructions · YakAttack: CellBlok and SwitchBlade combo · Nocqua: 10Ah Pro Power Kit · Nocqua: battery care and runtime guidance · Garmin: STRIKER Vivid electrical specifications
A battery listed to fit CellBlok · Optional
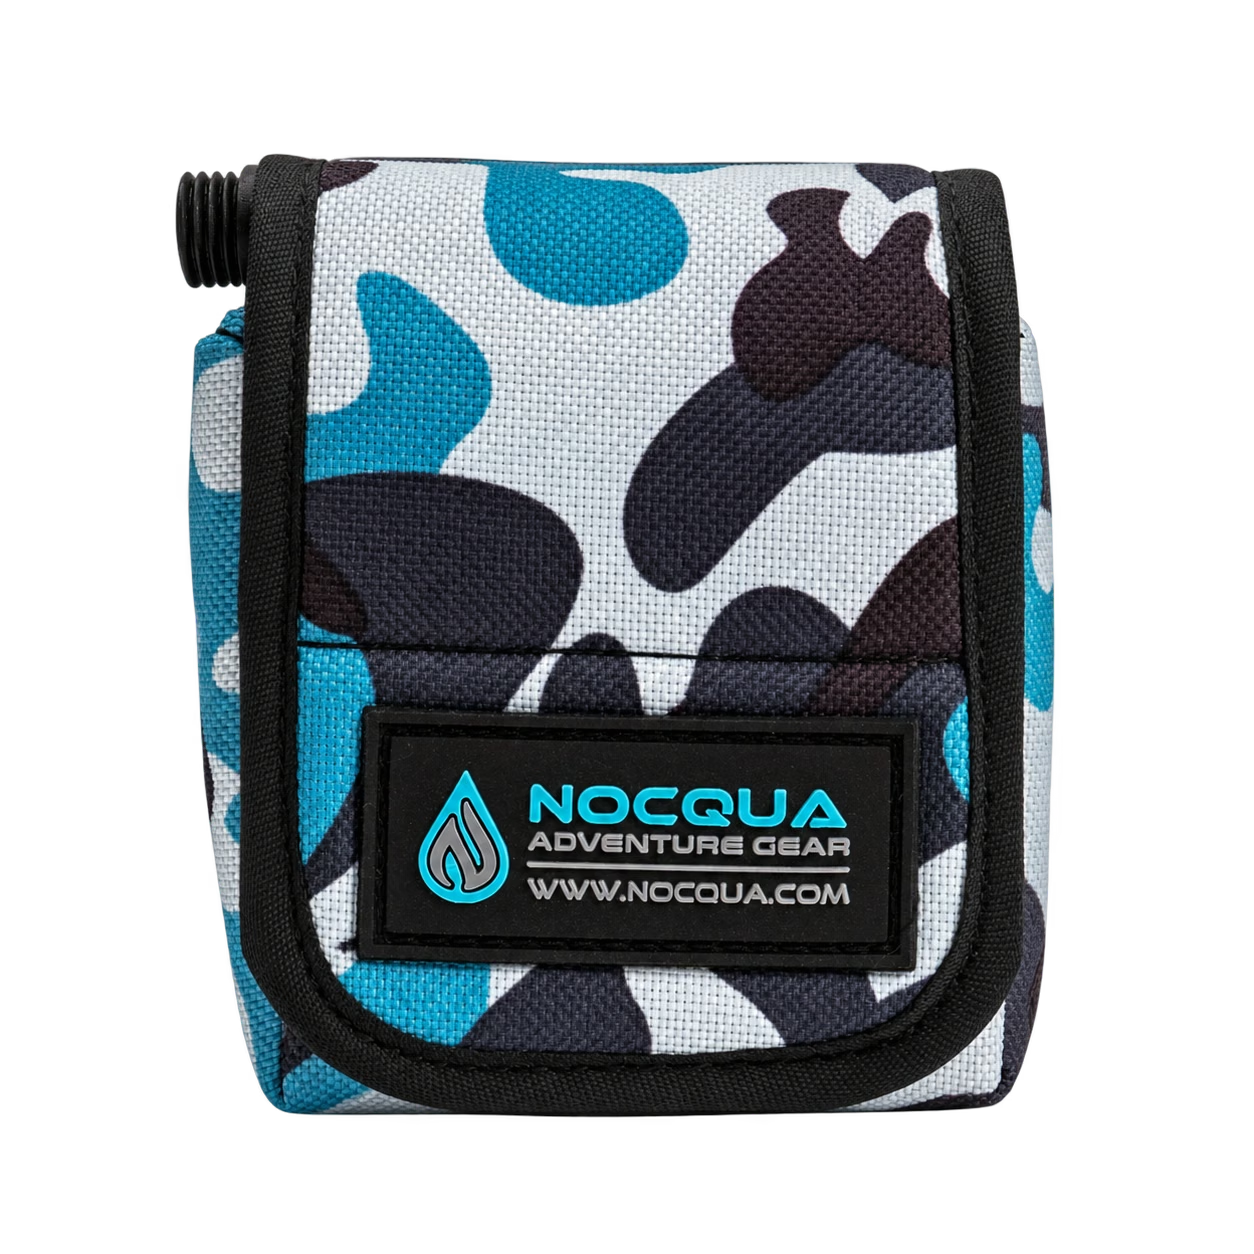
Nocqua Pro Power Kit 10Ah
A compact 10Ah pack with its matching charger and component wiring cable for a removable power arrangement.
Fit & limits
Check the display’s voltage, fuse and polarity requirements. Keep the pack dry and secured; capacity does not guarantee all-day runtime.
- No pinched or strained leads
- Cap disconnected plugs
- A fixed port only if needed
04 / Cables & pack-away
Plan the last connection first.
Leave enough cable for the screen and arm to move, then gather spare length away from pinch points. Decide whether everything lifts off together or the battery stays inside a separate enclosure before adding a panel socket.
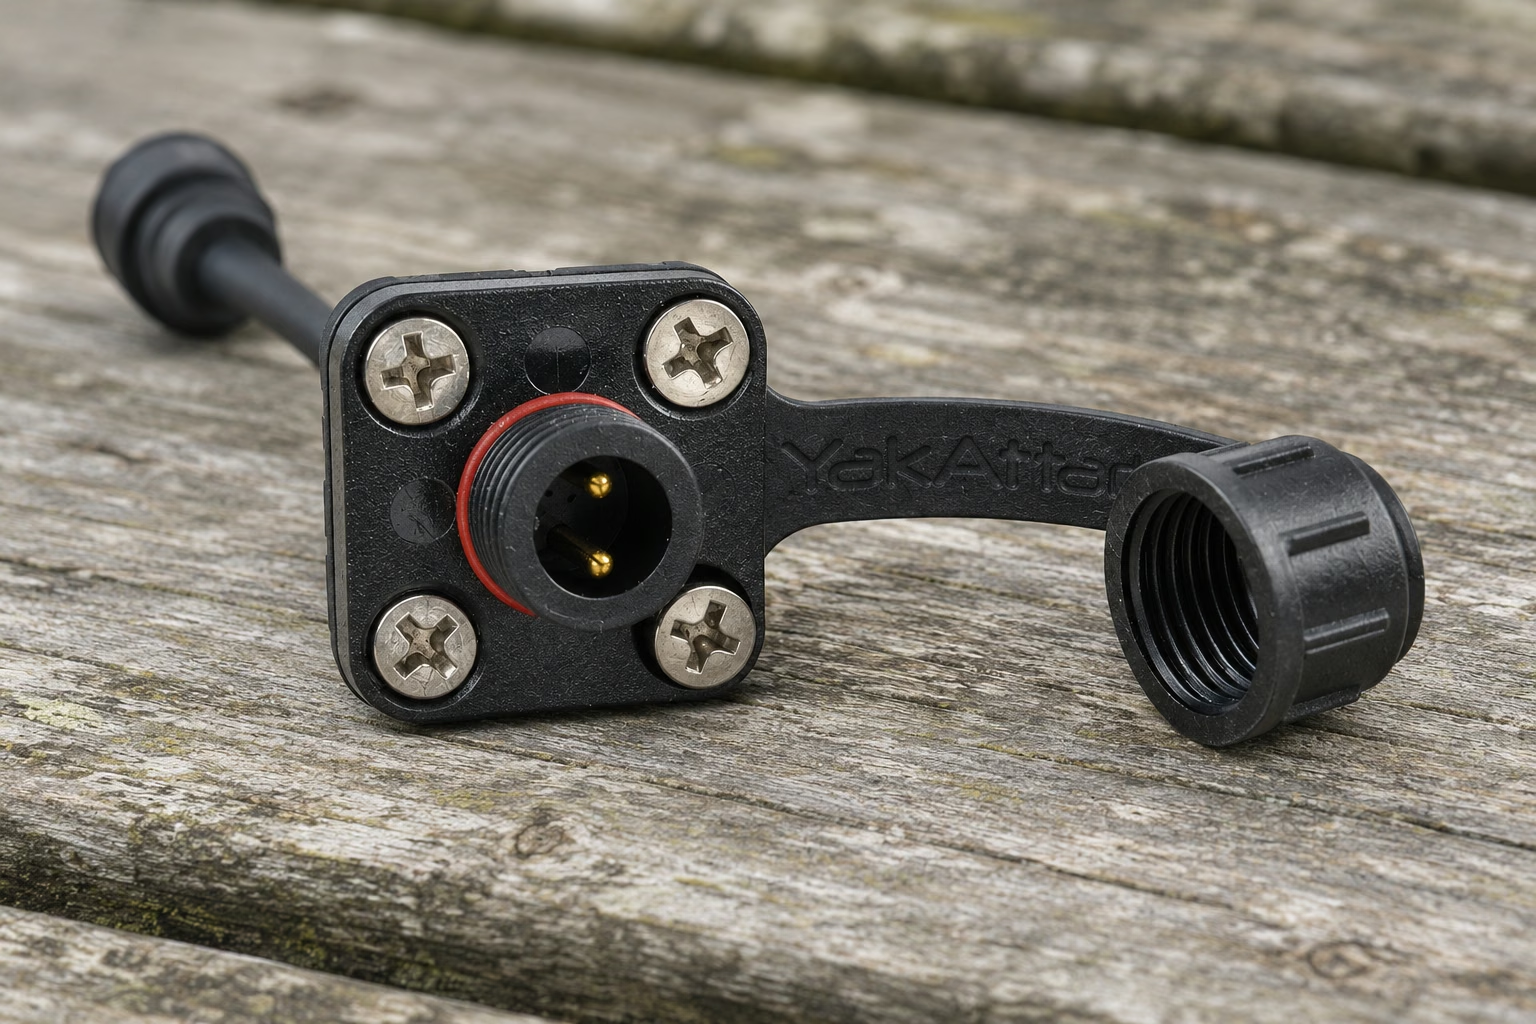
Skip the panel connector when the battery comes off with the assembly. It is an optional fixed-enclosure connection, not a universal socket or a waterproofing upgrade for the whole kayak.
Setup notes & sources
An assembly that lifts off together may need no through-hull port. Use the CellBlok’s cable wraps to organize spare length while leaving the arm free to fold. Keep cables away from pinching edges and do not shorten the transducer lead by cutting it.
A panel connector is useful when a battery remains inside a suitable separate enclosure and the display disconnects outside. YakAttack’s EMS-1002 matches its Nocqua/YakAttack plug system. Check the panel material, rear clearance and required opening before drilling. Cap unused ports and inspect and dry connections before storage.
Sources: YakAttack: CellBlok and SwitchBlade combo · Garmin: transom-mount transducer instructions · Nocqua: battery care and runtime guidance · YakAttack: Through Hull Panel Connector EMS-1002
Only for a separate fixed battery enclosure · Optional
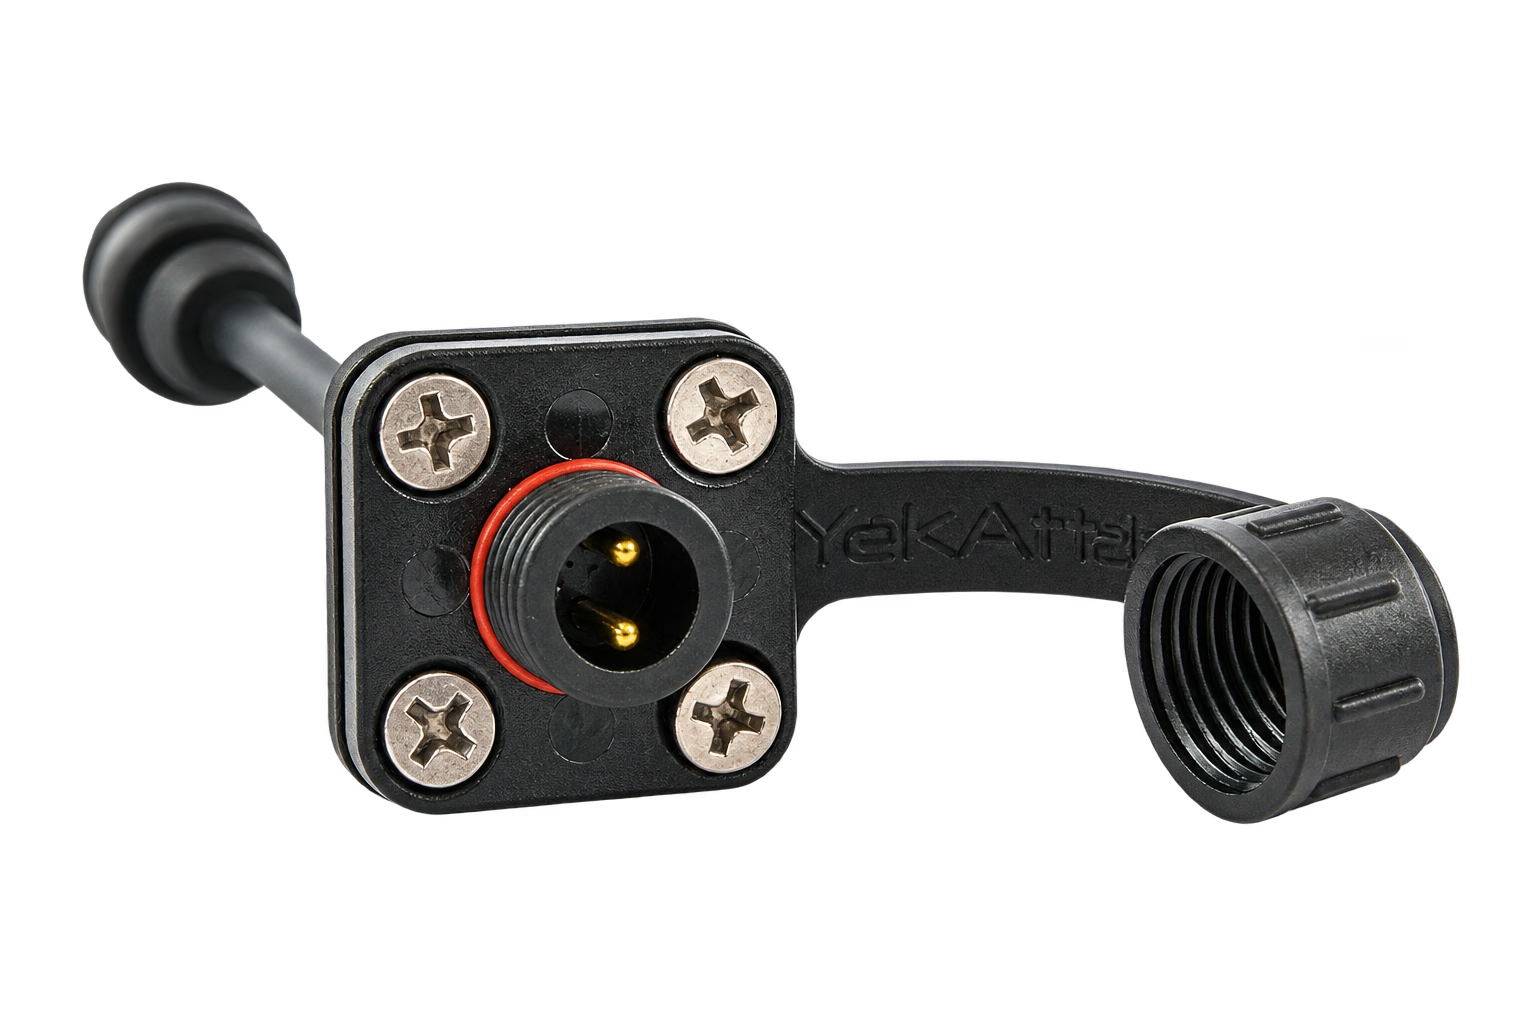
YakAttack Through Hull Panel Connector
Provides an external disconnect when a compatible Nocqua or YakAttack battery remains inside a suitable box or compartment.
Fit & limits
Requires the matching plug system and a drilled panel opening. Unnecessary for an all-on-CellBlok arrangement; does not include circuit protection.
YOUR STARTING CHECKLIST
Build the basics.
Add the rest when it helps.
Start with these.
- A display position that fits
Check reach, visibility, paddle and leg space from the seat.
- Verified mounting interfaces
Match the track, bracket and transducer hardware to the exact products and kayak.
- Suitable power and a dry place for it
Confirm voltage, polarity, fuse, battery restraint and connector space.
- A way to land and pack up
Check the arm’s full swing and the cable path before launching.
Add for a reason.
- A new display
Keep a suitable existing fish finder if it already meets your needs.
- A box-and-arm combo
Useful for a removable arrangement only when the available track and battery fit.
- A panel power socket
Useful when the battery remains inside a separate fixed enclosure; skip it when the full assembly lifts off.
Sources & further reading
Manufacturer instructions support the mounting, electrical and care limits below. These are planning options, not a universal installation kit or an on-water test. Product cards retain their original price observation dates. Layout illustrations show concepts; product photographs link to the exact reviews. Product prices retain the observation dates shown beside them.
- Garmin: STRIKER Vivid 5cv specifications ↗
Display dimensions and sonar functions. Regional package differs; the selected US package identity is retained in the individual product guide.
Source checked - Garmin: Vivid 5, 7 and 9 installation instructions ↗
Bracket, power connection and fused supply instructions; connector counts vary by model.
Source checked - YakAttack: Universal Mounting Plate FFP-1007 ↗
Blank drill-to-fit platform, separate display fasteners and track compatibility exceptions.
Source checked - YakAttack: CellBlok and SwitchBlade combo ↗
Required track space, separate components, compartment dimensions and listed Nocqua 10Ah battery fit.
Source checked - YakAttack: SwitchBlade deployment arm ↗
Folding mechanism, adjustment and compatible mounting-system guidance.
Source checked - Garmin: transom-mount transducer instructions ↗
Clear water flow, protection from launching and transport impacts, and the restriction against cutting the transducer cable.
Source checked - Nocqua: 10Ah Pro Power Kit ↗
Battery, matching charger and component wiring kit; current kit contents may differ from older packages.
Source checked - Nocqua: battery care and runtime guidance ↗
Water-resistance limit, charging and storage care, battery dimensions and runtime variables.
Source checked - Garmin: STRIKER Vivid electrical specifications ↗
Input-voltage and fuse requirements in the owner’s manual.
Source checked - YakAttack: Through Hull Panel Connector EMS-1002 ↗
Nocqua/YakAttack plug compatibility, installation opening, rear lead and cap.
Source checked