A LITTLE SPACE TO CREATE · 5 MIN READ
Small models.
A little room to paint.
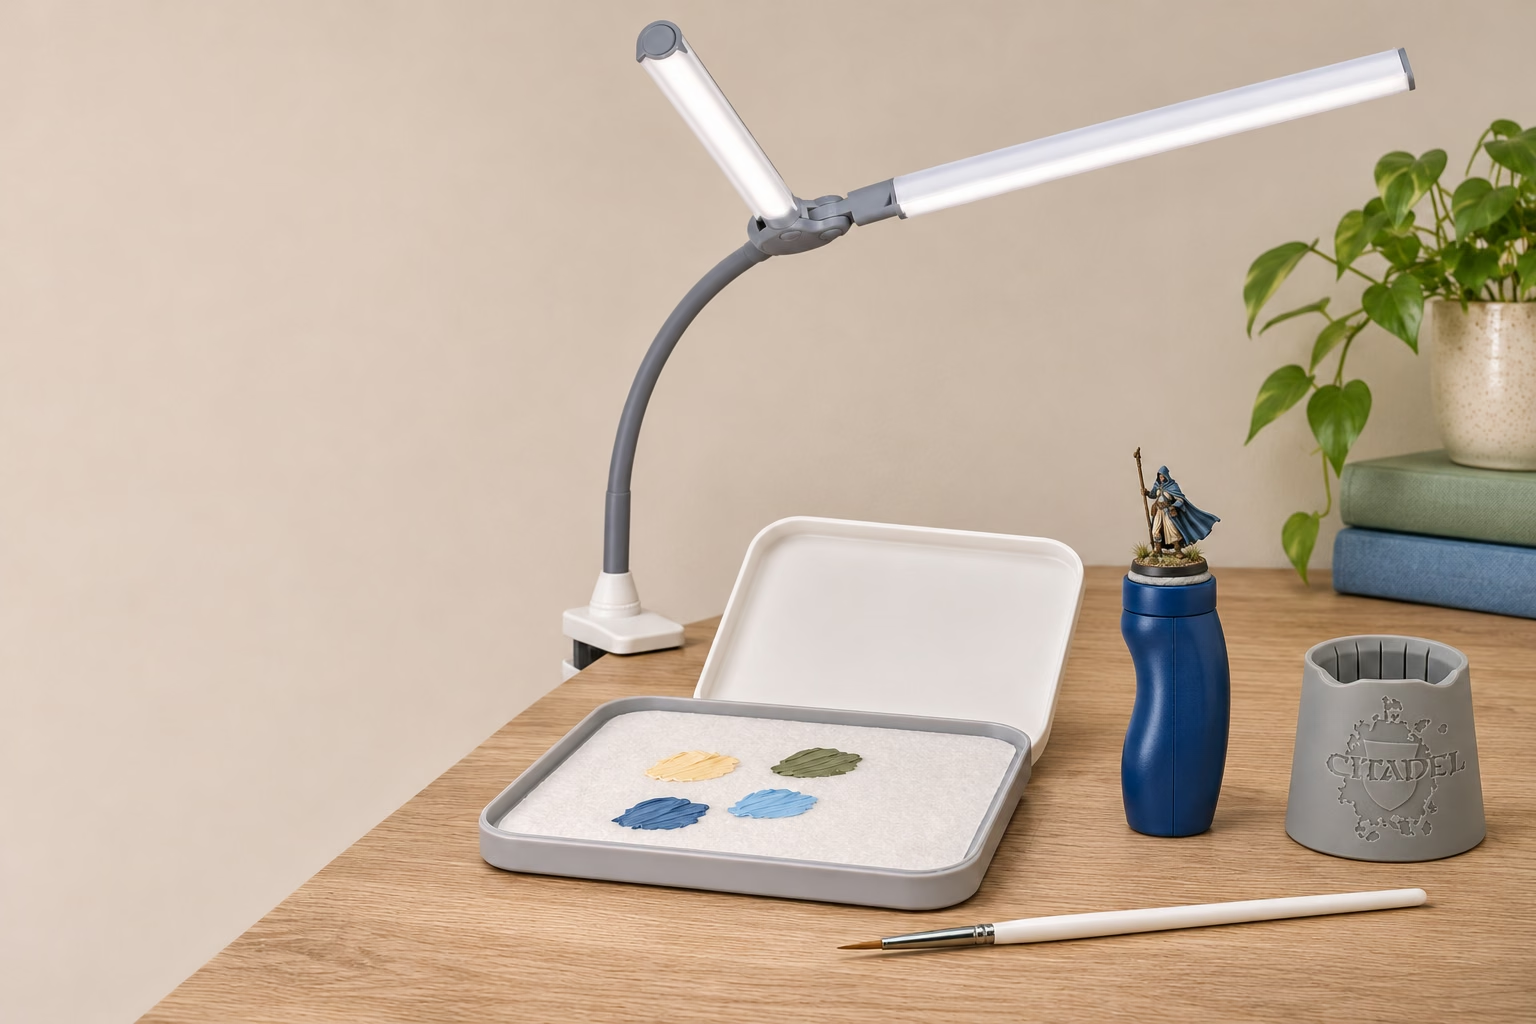
Good light. A few colors. Everything close enough to keep painting.
Make a planStart with a prepared miniature, a few acrylic paints and brushes you already own. These four parts make a small painting space easier to use; add a tool only where it helps your routine.
- Light where you work
- Room for your hands
- A reachable rinse area
01 / Light & workspace
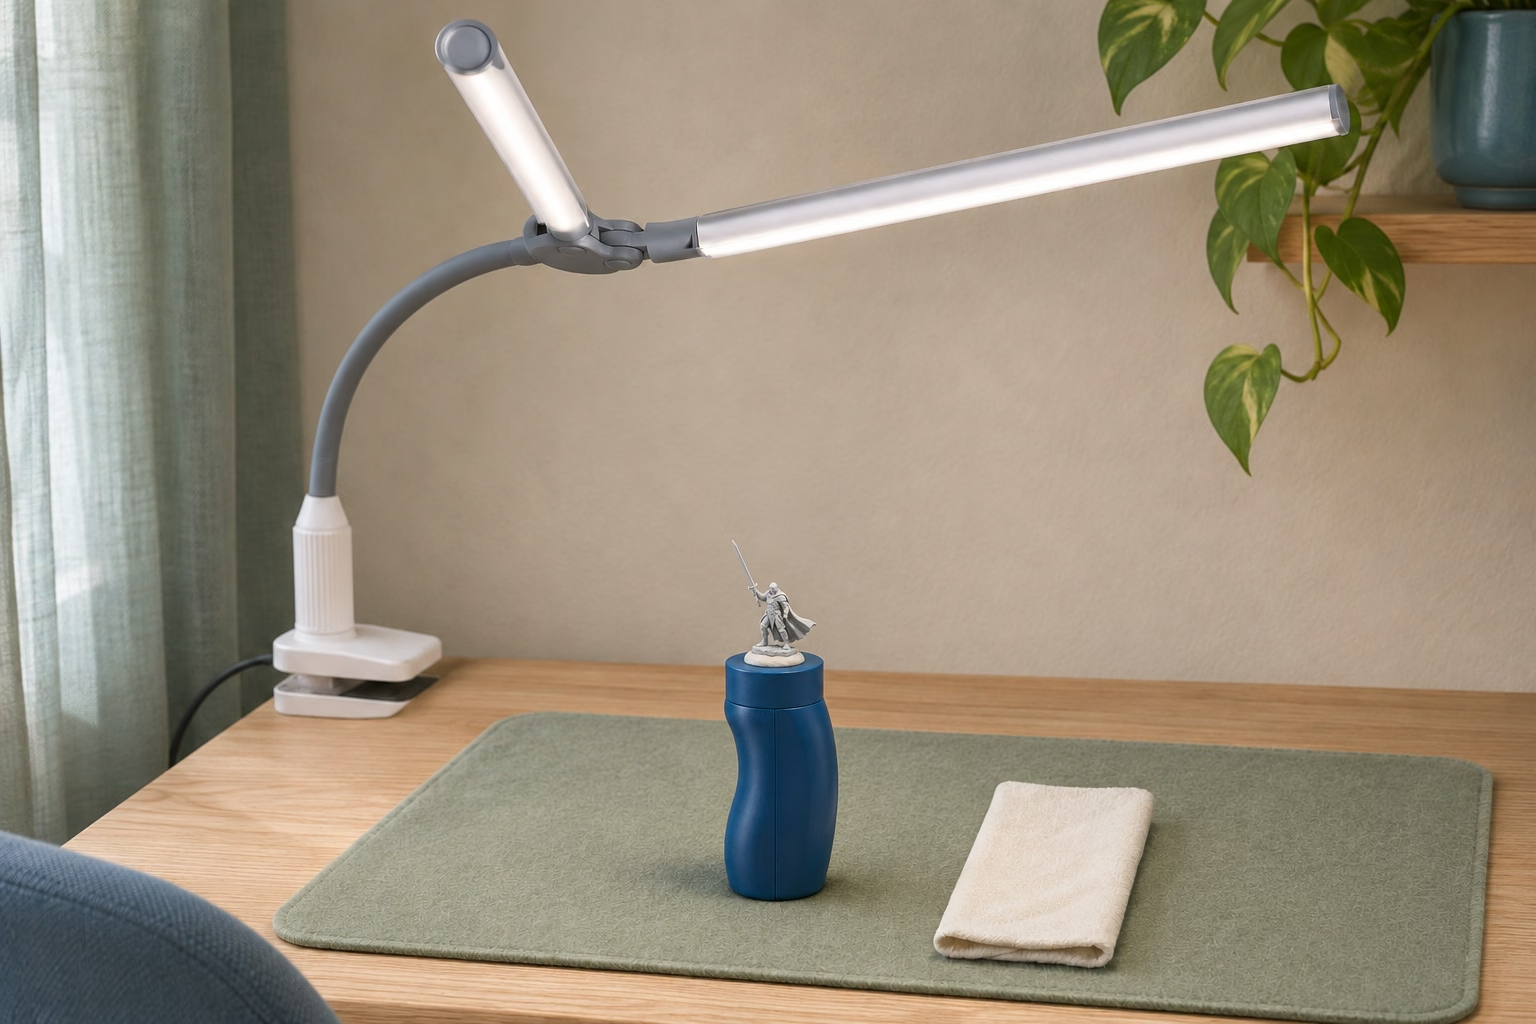
Light the model. Leave your hands some room.
Set out only the paints for this session. Keep the model in a clear, well-lit area, with the palette and rinse water close enough to reach without stretching across your work.
Check the desk edge and clamp fit before buying. Leave access below the tabletop, and route the lamp cable away from rinse water and moving hands.
Setup notes & sources
A compact station starts with clear space, not extra furniture. Protect the surface, put your current colors within reach and leave a place to rest your forearms. Keep the rinse pot to one side and drinking cups elsewhere.
Move the light until your working hand stops hiding the detail. The DuoPro Clamp Lamp has two adjustable shades and four brightness settings. Its clamp frees the tabletop, but needs a suitable, accessible desk edge. Try the lamp you already own before replacing it.
Sources: Warhammer: a painting space at home · Daylight: DuoPro Clamp Lamp
When your current light falls short · Optional
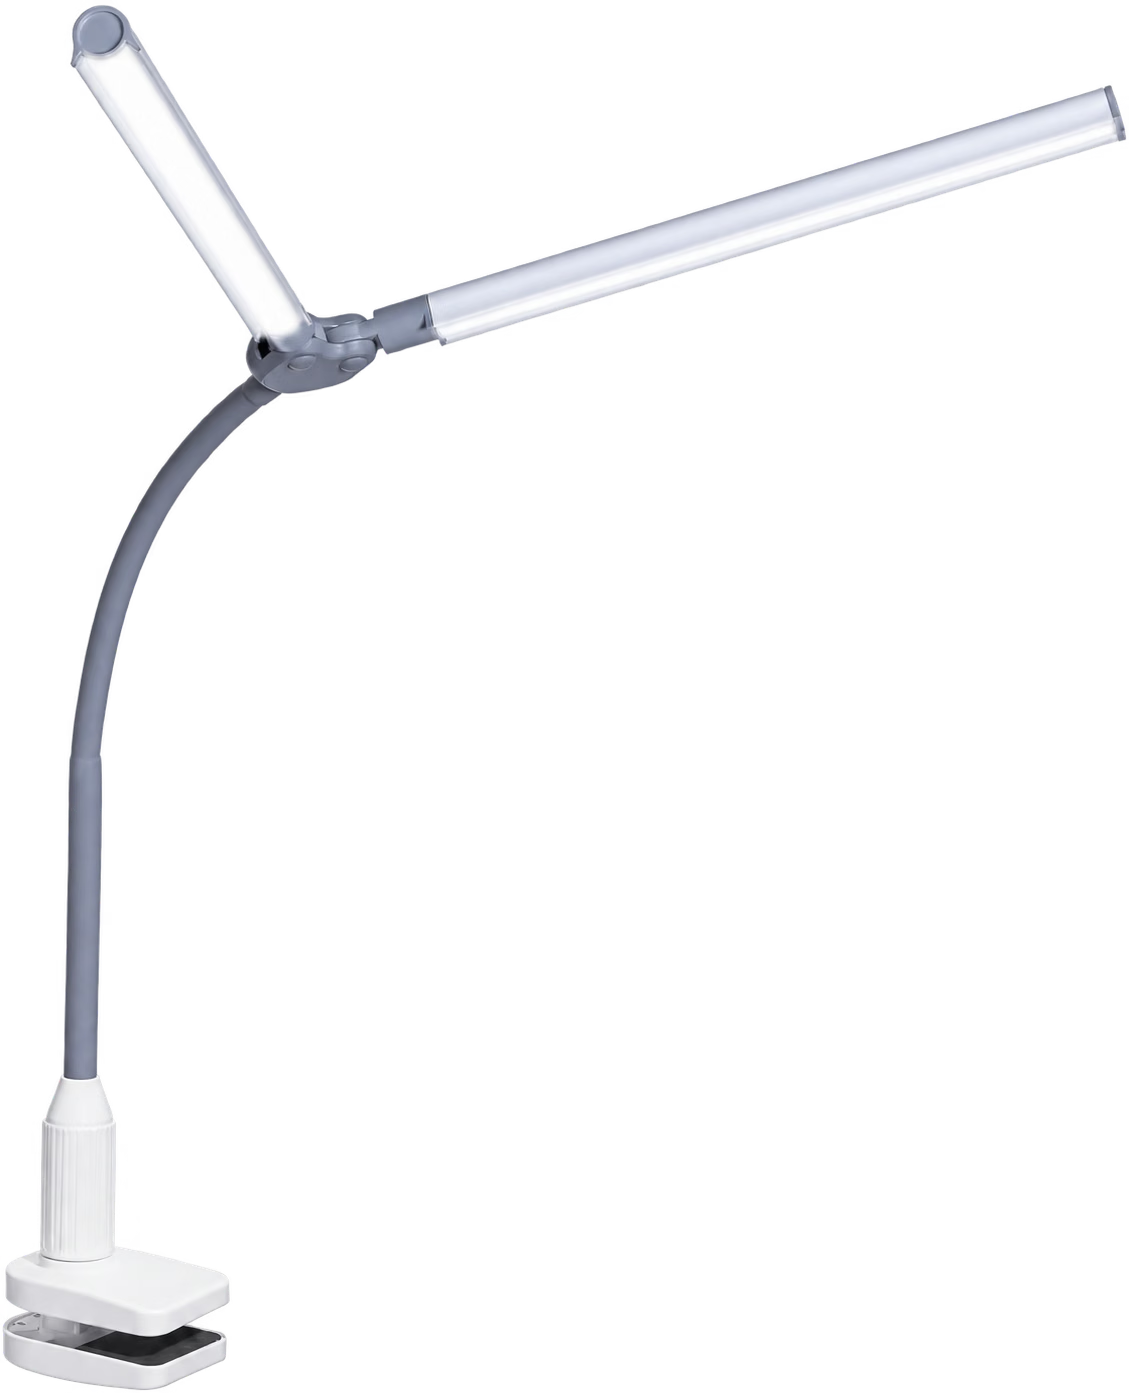
Daylight DuoPro Clamp Lamp
Two positionable shades let you arrange light around the small area you are painting.
Fit & limits
This is the UN1540 clamp version. Check the mounting edge and the 1.5 m cable reach; keep an existing lamp if it lights the work comfortably.
- Paper over damp foam
- Small color deposits
- Space for each mix
02 / Paint & palette
Keep a little paint ready to use.
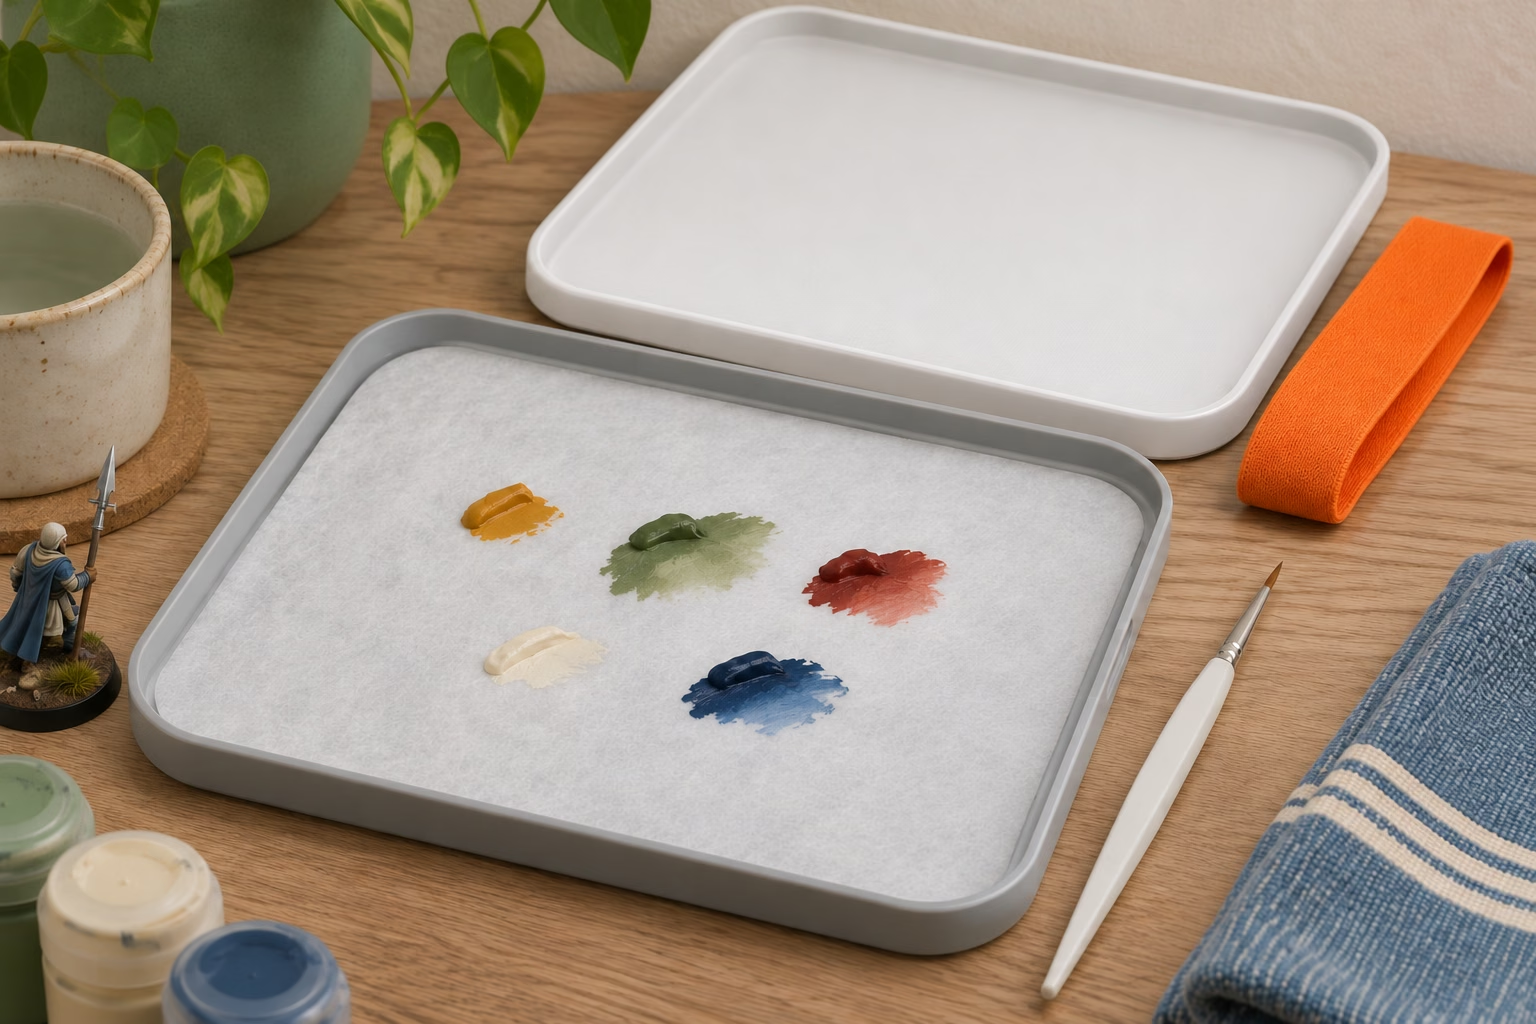
A wet palette gives small acrylic mixes a damp working surface. Keep the paper flat on the foam, leave mixing space between colors and check the paint consistency before it reaches the miniature.
A wet palette helps manage acrylic paint; it does not set the right thinning ratio for every paint. Follow the palette instructions and check each mix on the brush.
Setup notes & sources
The Painter Lite uses a hydration sheet over water-holding foam inside a shallow case. The selected WPPL50 set has 50 disposable sheets and two foam pads; start with one pad and one sheet. Paint belongs on the paper, not directly on the foam.
Use a few small color deposits and leave room to mix beside them. The 20 × 15 cm case suits a compact station, but the water level and paint still need attention. Close it between sessions, clean it regularly and keep it level when moving.
Sources: Redgrass: Painter Lite WPPL50 · Redgrass: wet-palette construction
A compact mixing surface · Optional
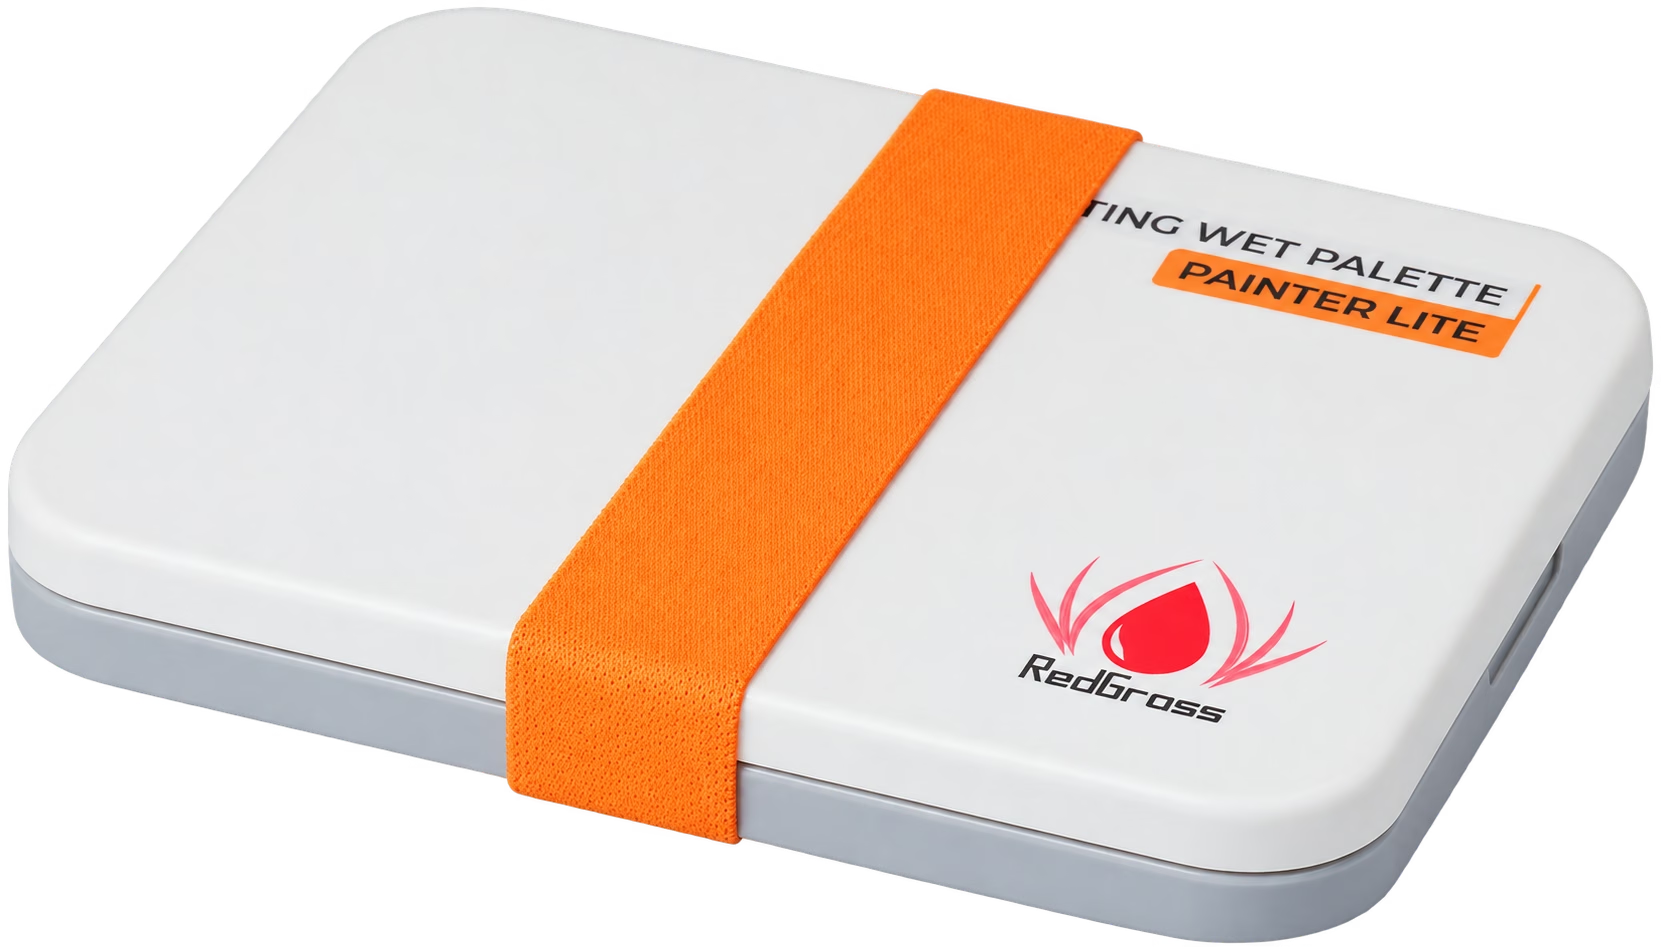
A shallow case keeps the active paint area close to the model without filling the desk.
Fit & limits
WPPL50 includes paper sheets and foam. A dry palette you already own is enough to begin; this is useful when small acrylic mixes dry before you finish them.
- Putty under the base
- A cap that turns
- Paint near the tip
03 / Holding & brush control
Turn the model. Keep a comfortable grip.
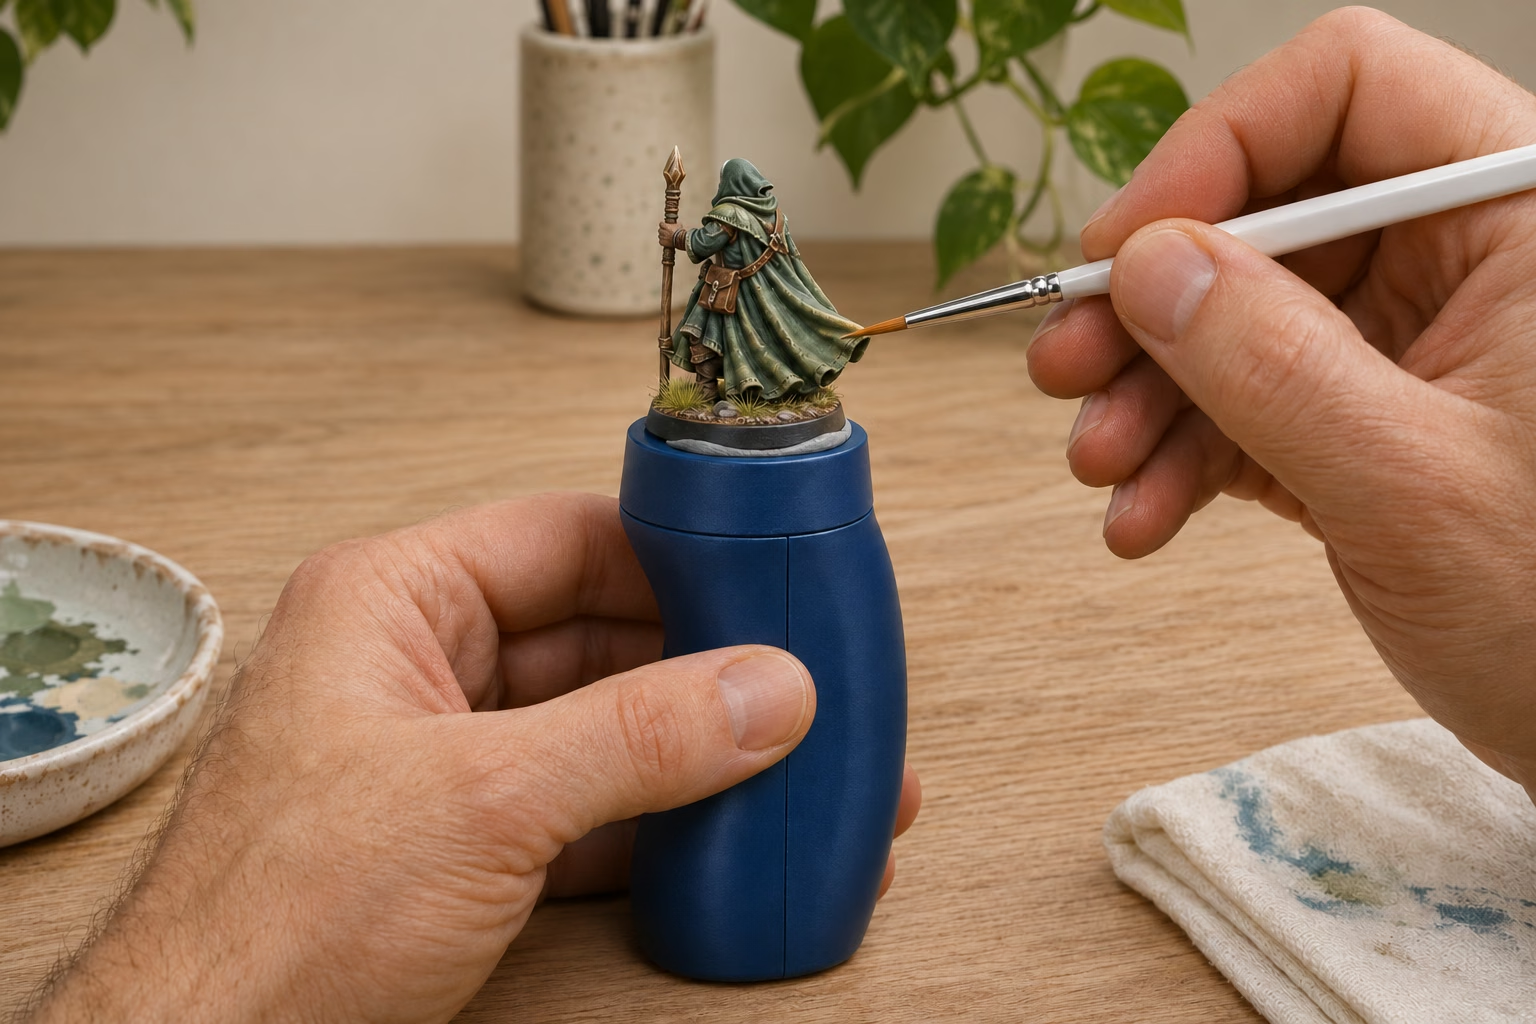
Hold the base or a painting handle instead of the fresh paint. Turn the miniature toward the brush, choose a brush for the area and keep paint near the bristle tip.
The standard RGG360 uses putty, not clamp jaws. Large or heavy models may need a different holding method; do not assume every base will fit securely.
Setup notes & sources
The RGG360 v2 secures a model's base with mounting putty on a rotating cap. Turn that cap to reach another face while keeping the handle in your hand. Check the putty grip before tilting the model. A holder you already find comfortable may be all you need.
A useful brush selection covers broad areas and small details. The original Army Painter Mega Brush Set includes ten brushes, with different shapes for different jobs. It is an expansion option; a whole set is unnecessary when a couple of existing brushes already suit the model.
Sources: Redgrass: RGG360 v2 handle · The Army Painter: original Mega Brush Set
For rotating the model in one grip · Optional
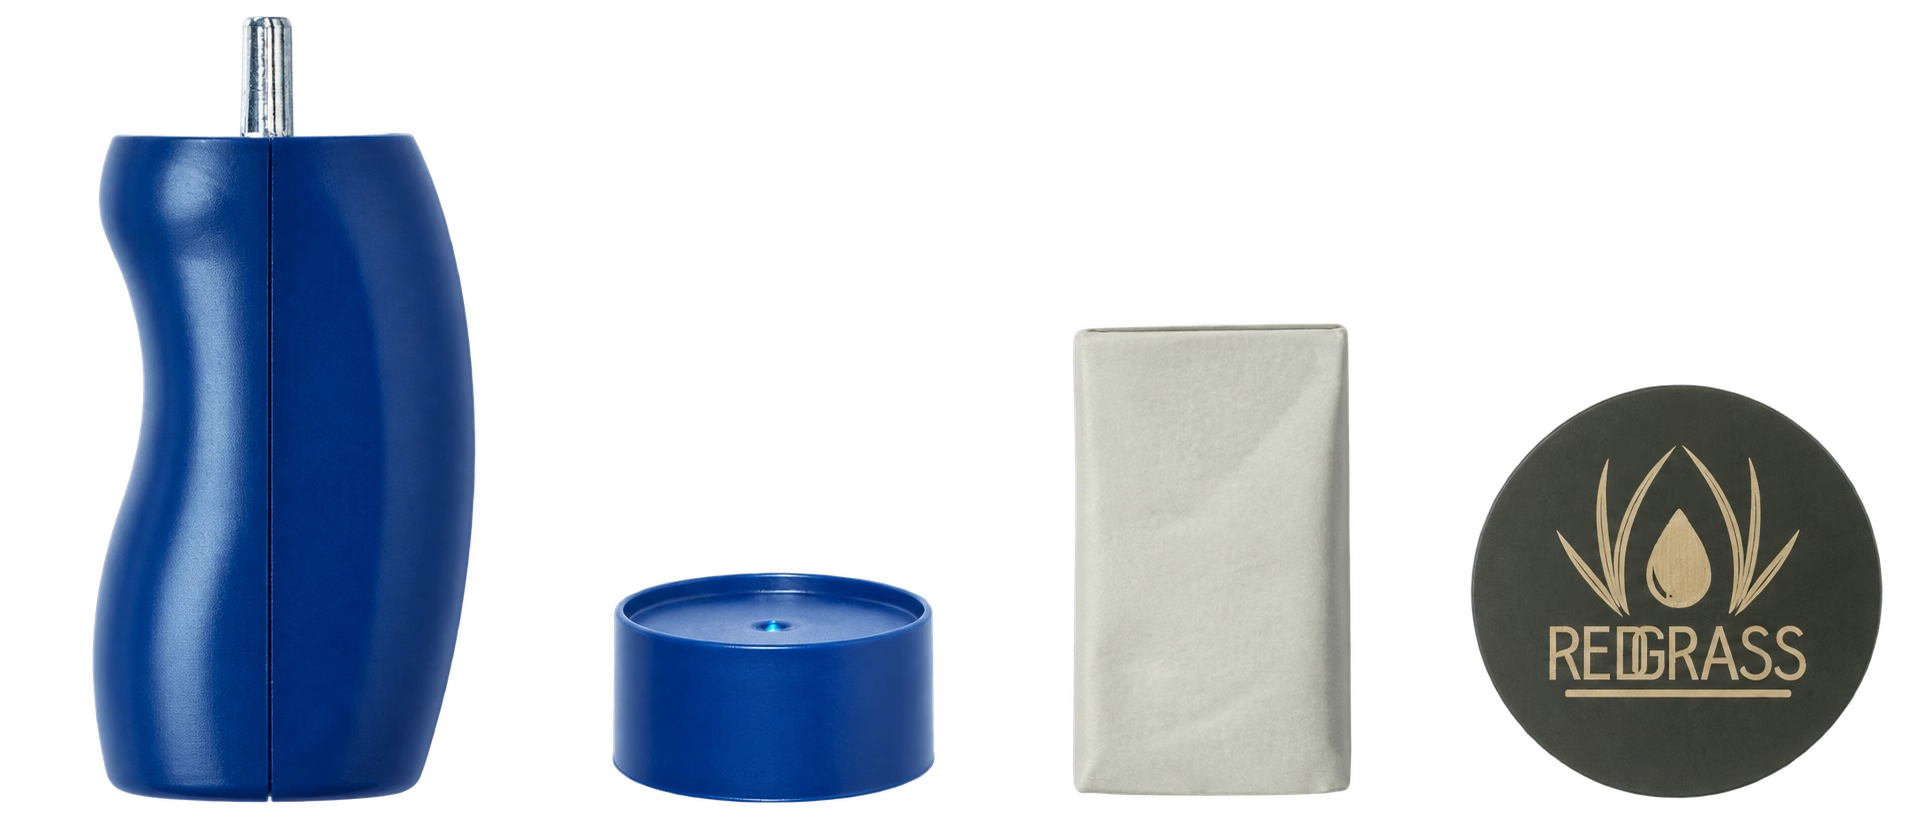
The removable 360° cap lets you change the working angle without holding the painted surface.
Fit & limits
Blue v2 with standard cap and grey putty. The included metal docking plate works with the magnetic bottom; extra caps are separate accessories.
When you need more brush shapes · Optional
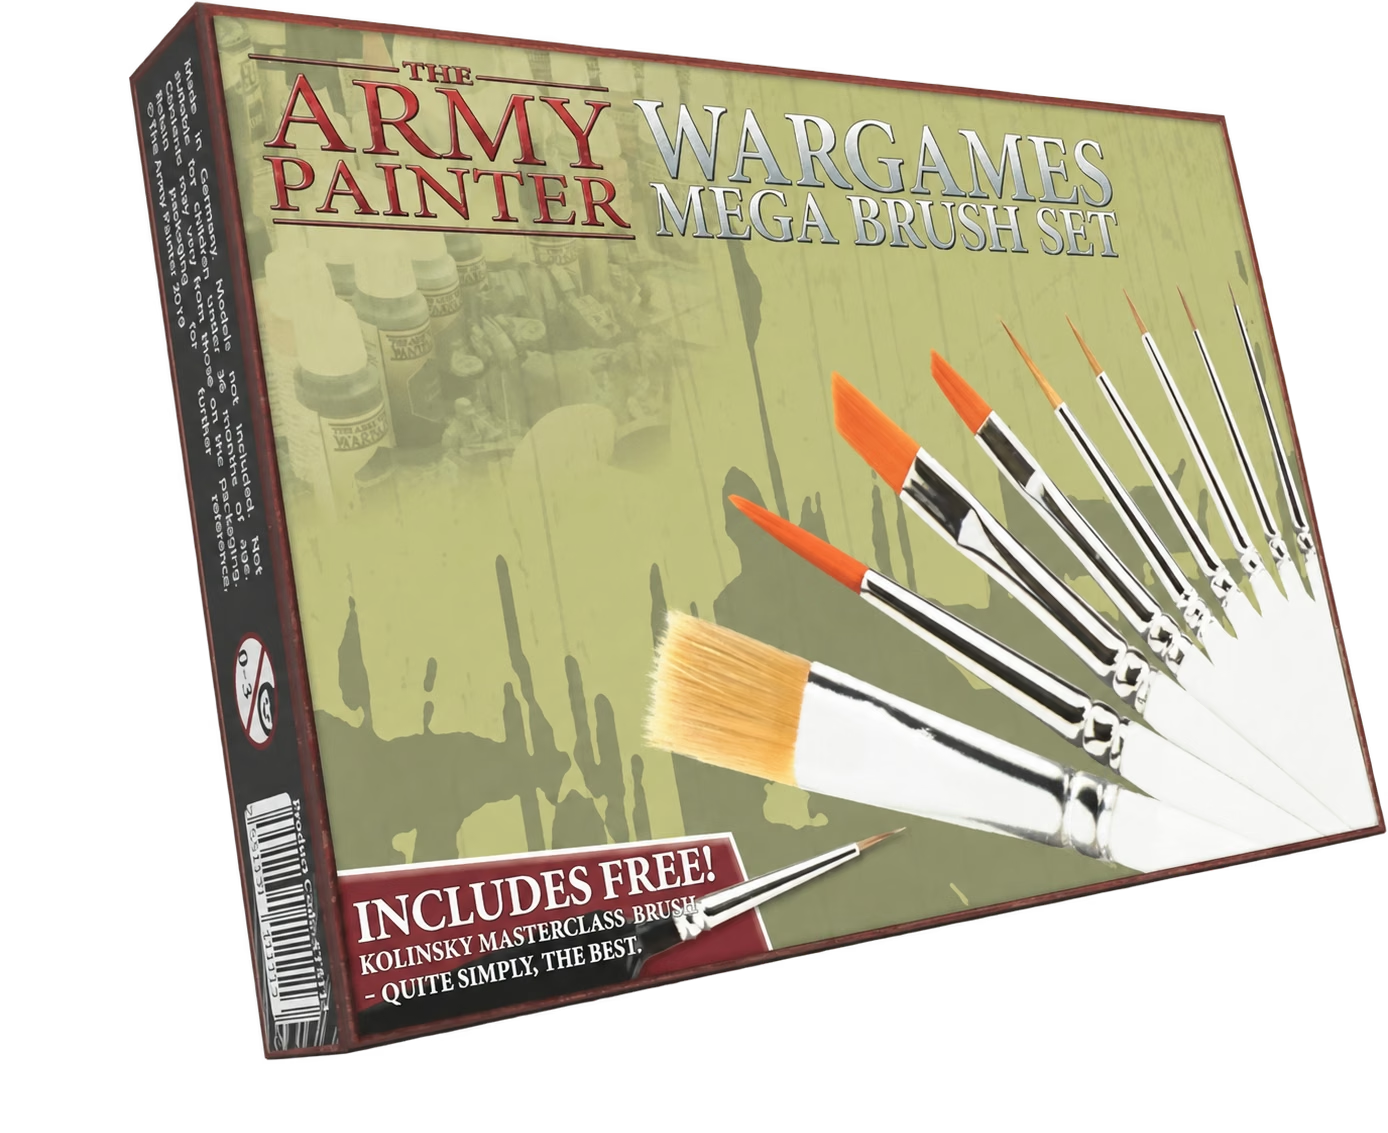
The original ten-brush assortment spans coverage, detail and drybrushing.
Fit & limits
Check the ST5113 assortment against the brushes you own. Several detail handles have triangular grips; the set is not ten identical round brushes.
- A separate rinse cup
- Clean before paint dries
- Reshape for next time
04 / Rinsing & brush care
Give cleanup its own little corner.
Keep rinse water separate from the clean palette and drinking cups. Rinse as you work, clean the brushes at the end and reshape the points before storing them for the next session.
Rinse promptly rather than leaving paint to dry in the bristles. Rest a brush across the rim or lay it aside; do not leave it standing on its point in the water.
Setup notes & sources
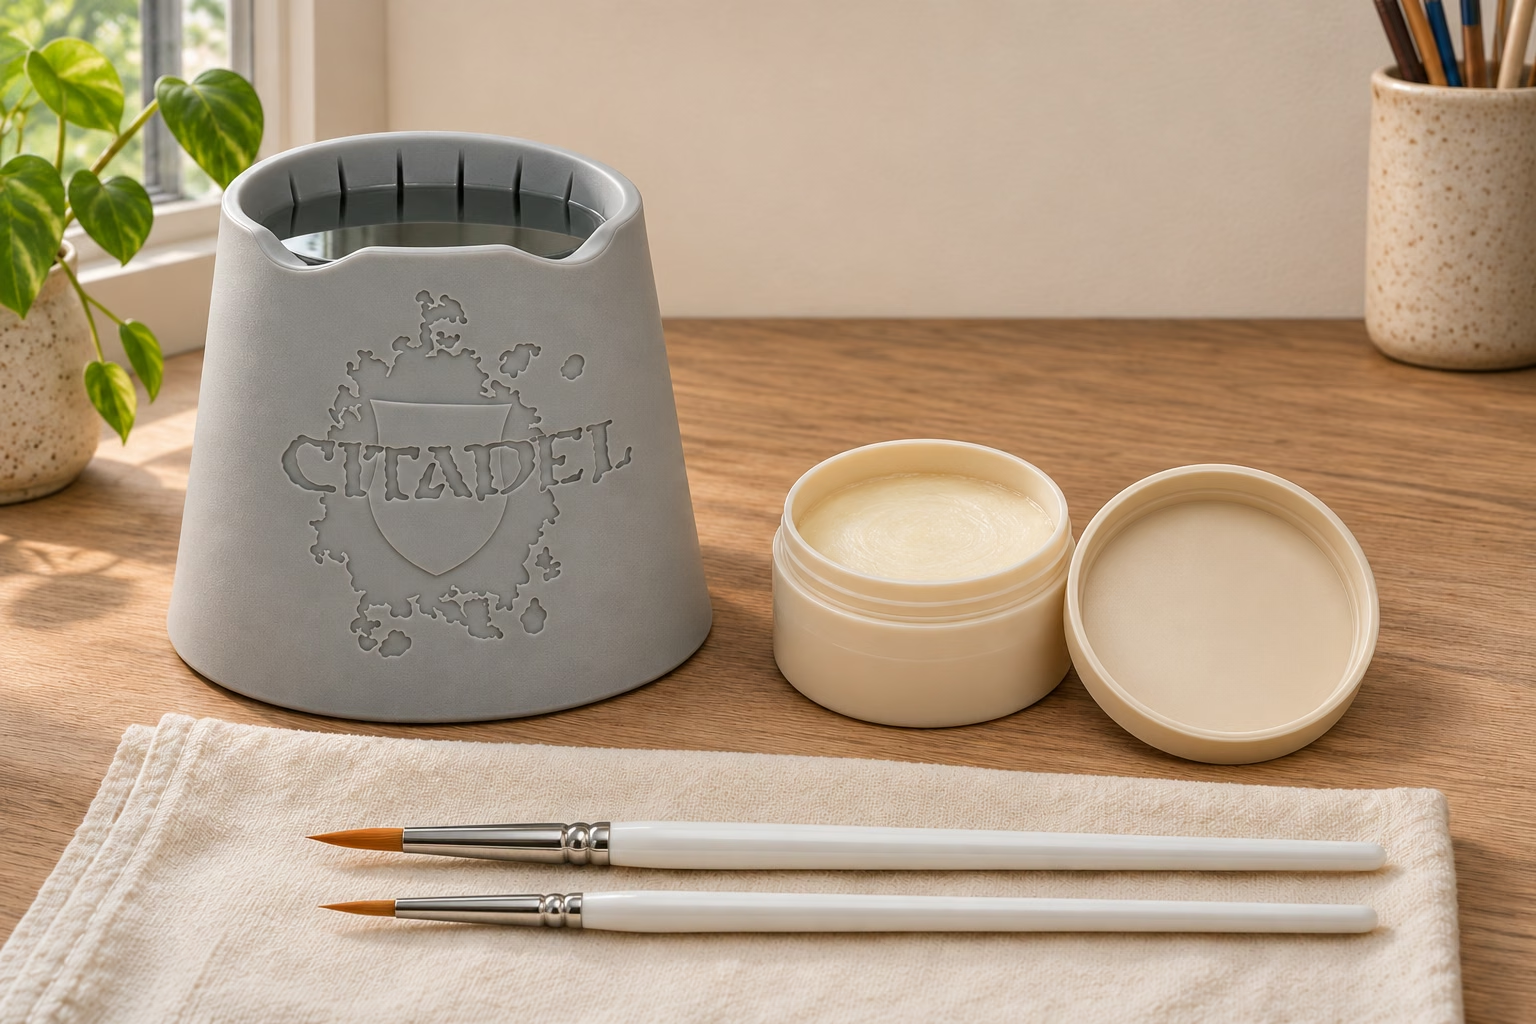
A dedicated rinse cup is enough to start. The Citadel Water Pot adds a shaped rim for resting a brush and a textured interior. Swish gently; a fine point does not need to be pressed into the bottom. Keep a towel nearby for blotting before returning to the paint.
For a fuller cleanup, The Masters is a solid cleaner activated with water. Its instructions call for rinsing, working up a lather, rinsing again and repeating as needed. Follow the brush maker's care guidance, then reshape the bristles.
Sources: Warhammer: a painting space at home · The Army Painter: original Mega Brush Set · General Pencil: The Masters cleaner · The Masters: brush-care instructions
A dedicated place to rinse · Optional
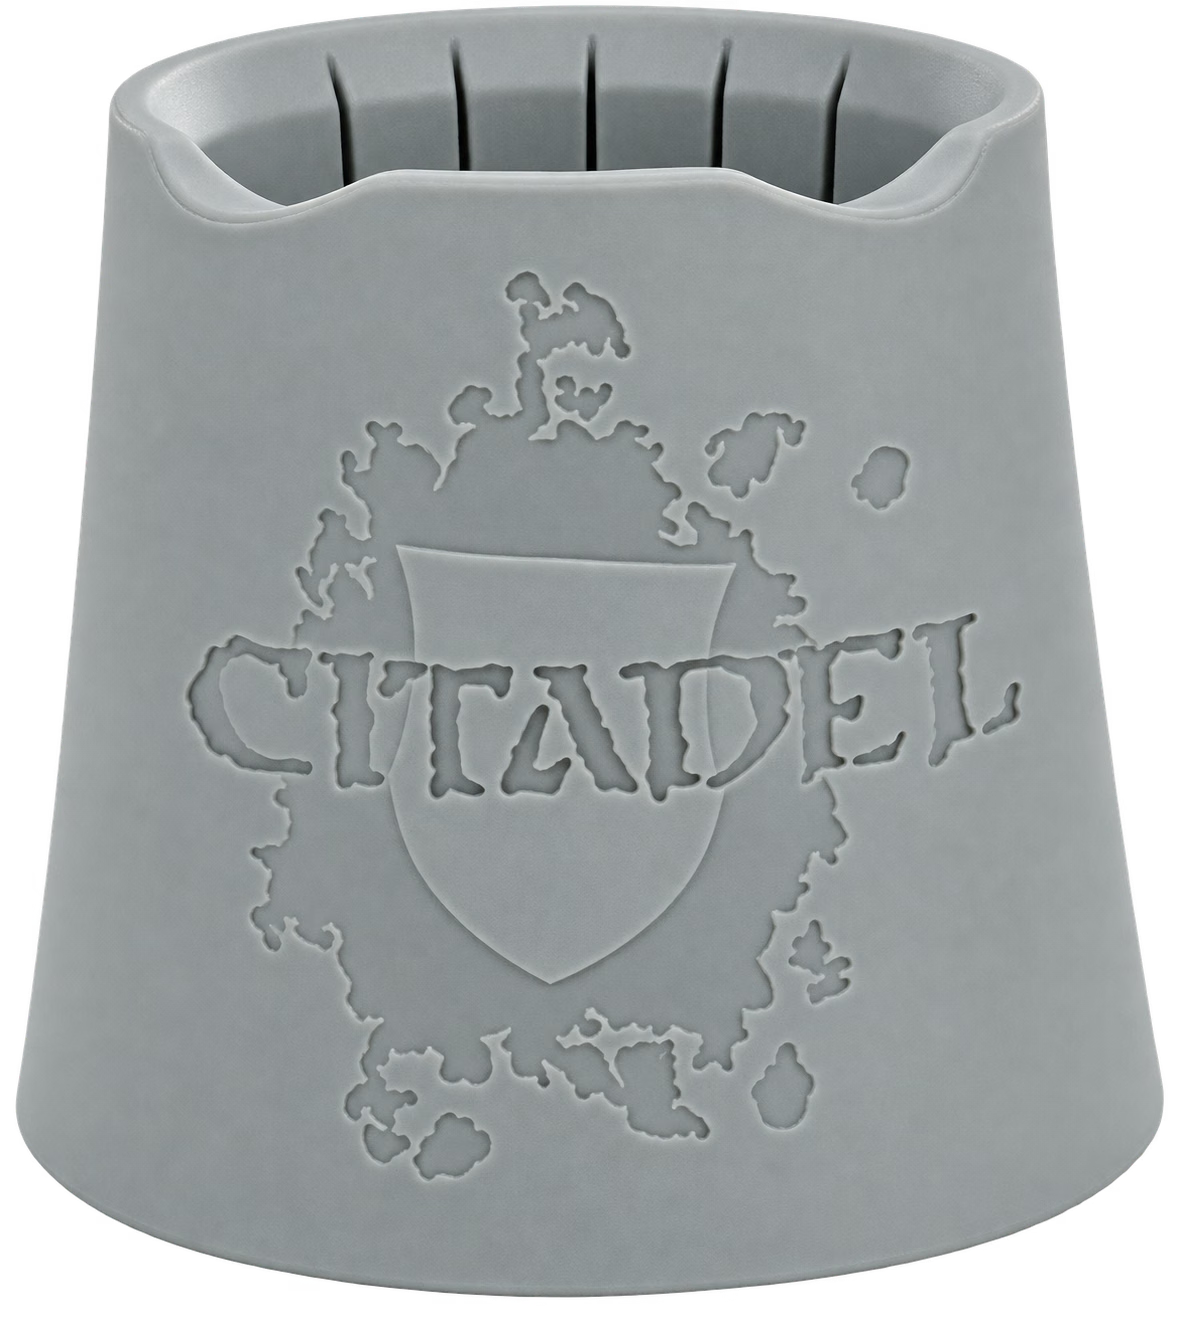
Citadel Water Pot
The sculpted rim gives a brush a place to rest between steps.
Fit & limits
The grey Citadel pot is open, with no travel lid. A stable rinse cup you already own can do the basic job.
For the end-of-session clean · Optional
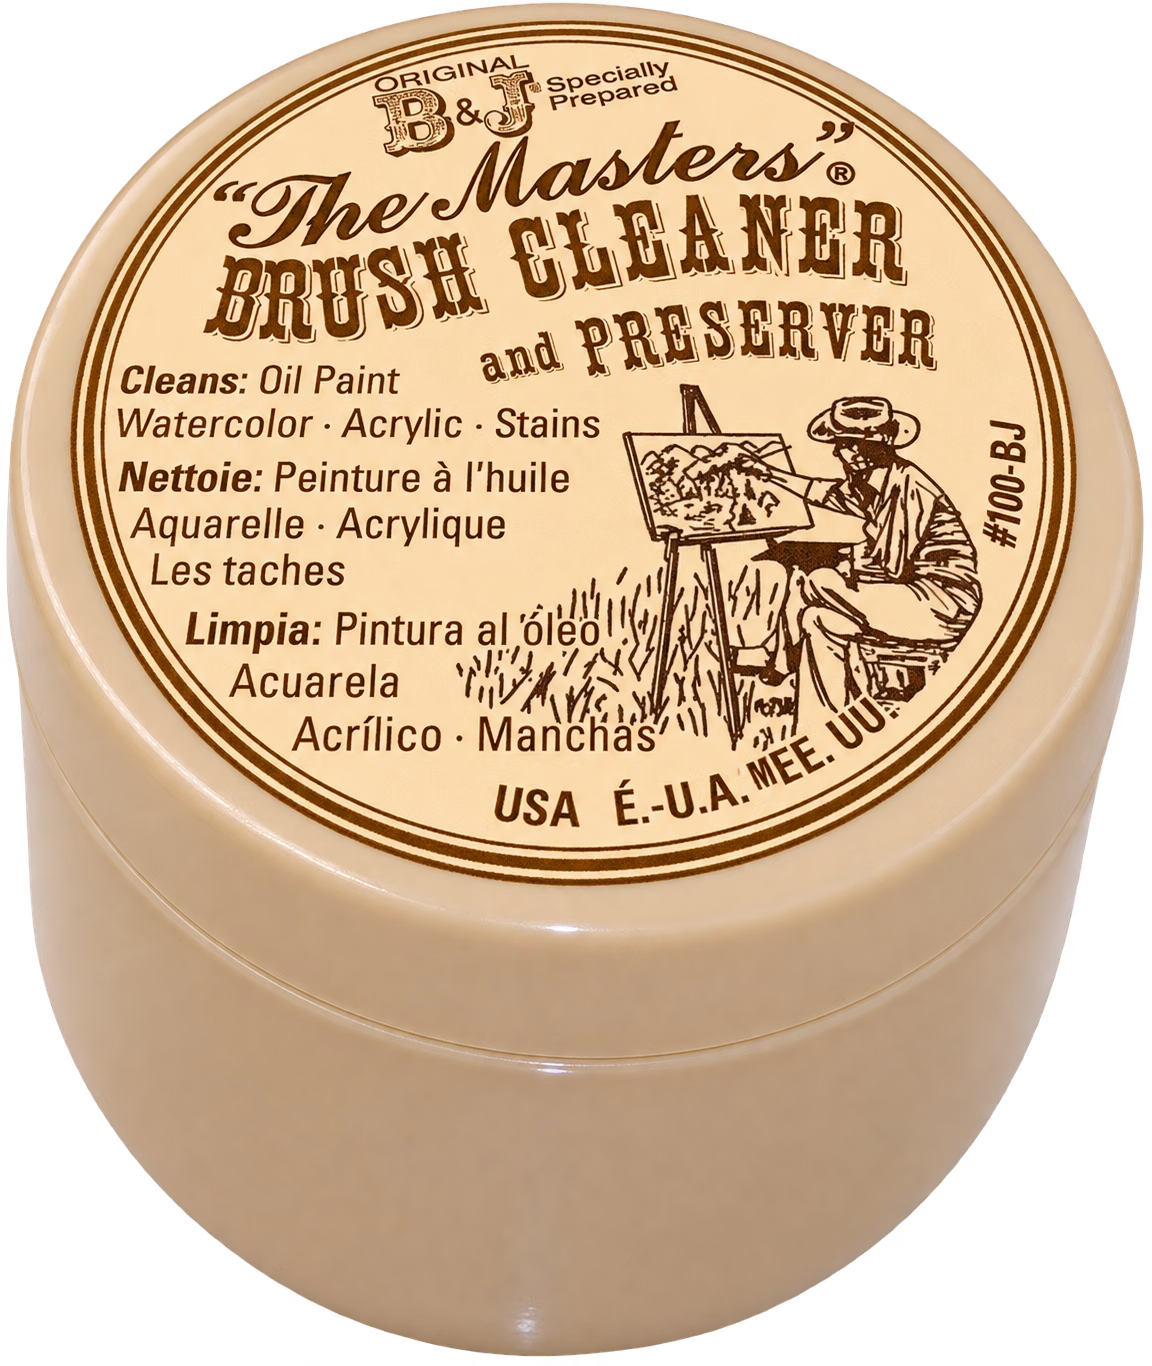
The Masters Brush Cleaner & Preserver
A small solid cake for cleaning and reshaping painting brushes with water.
Fit & limits
This is the 1 oz jar by net weight, not a liquid refill. Follow its directions and your brush maker's care instructions.
YOUR STARTING CHECKLIST
Build the basics.
Add the rest when it helps.
Start with these.
- A clear place to paint
Protect the surface, light the model and keep your working tools within easy reach.
- Just enough for this session
Set out a prepared model, a few suitable acrylic paints, a palette and brushes for the areas you will paint.
- Water and a simple finish
Use a dedicated rinse cup and cloth. Clean the brushes and put the work away when you finish.
Add for a reason.
- More adjustable light
Add the clamp lamp when existing lighting leaves the detail in shadow and the desk edge suits the clamp.
- Longer mixing time and a different grip
Try a wet palette for small acrylic mixes or a rotating handle when either solves a specific difficulty.
- More brushes and dedicated care tools
Expand the brush range as your projects need it. A shaped water pot and solid cleaner are useful conveniences.
Sources & further reading
Product details come from manufacturer guidance and the exact variants in our reviews. The layout and tool choices are editorial suggestions for brush-painting with water-based acrylics. Layout illustrations show concepts; product photographs link to the exact reviews. Product prices retain the observation dates shown beside them.
- Warhammer: a painting space at home ↗
Compact painting-space guidance: select the session's paints, add lighting, and separate rinse water from drinks.
Source checked - Daylight: DuoPro Clamp Lamp ↗
Twin shades, four brightness settings, flexible arm and 1.5 m cable. Listed packaging dimensions are not lamp dimensions.
Source checked - Redgrass: Painter Lite WPPL50 ↗
Exact WPPL50 set: 20 × 15 cm case, ABS and TPE, 50 paper sheets, two foam pads and a strap.
Source checked - Redgrass: wet-palette construction ↗
Foam reservoir below the paint surface; Painter Lite's supplied paper is disposable, distinct from the reusable membrane.
Source checked - Redgrass: RGG360 v2 handle ↗
Rotating and swappable cap, mounting putty, magnetic docking and included metal plate.
Source checked - The Army Painter: original Mega Brush Set ↗
Nine listed brushes plus the bonus Kolinsky brush: ten in total. Includes the manufacturer's brush-loading and cleaning guidance.
Source checked - General Pencil: The Masters cleaner ↗
Water-activated brush cleaner; selected review variant is the 1 oz solid cake.
Source checked - The Masters: brush-care instructions ↗
Manufacturer instructions for rinsing, lathering, repeating and shaping; identifies the 1 oz jar as item 100-BJ.
Source checked