PACKED LUNCHES · 4 MIN READ
A cold lunch that fits.
If the sandwich fits until the ice packs go in, start with the whole stack. You can try it on the kitchen counter before buying a bigger bag.
Make a planA lunch bag does two jobs on a commute. It carries the meal without tipping it, and it makes room to keep perishable food cold. Here’s how to work out which part of your setup needs changing.
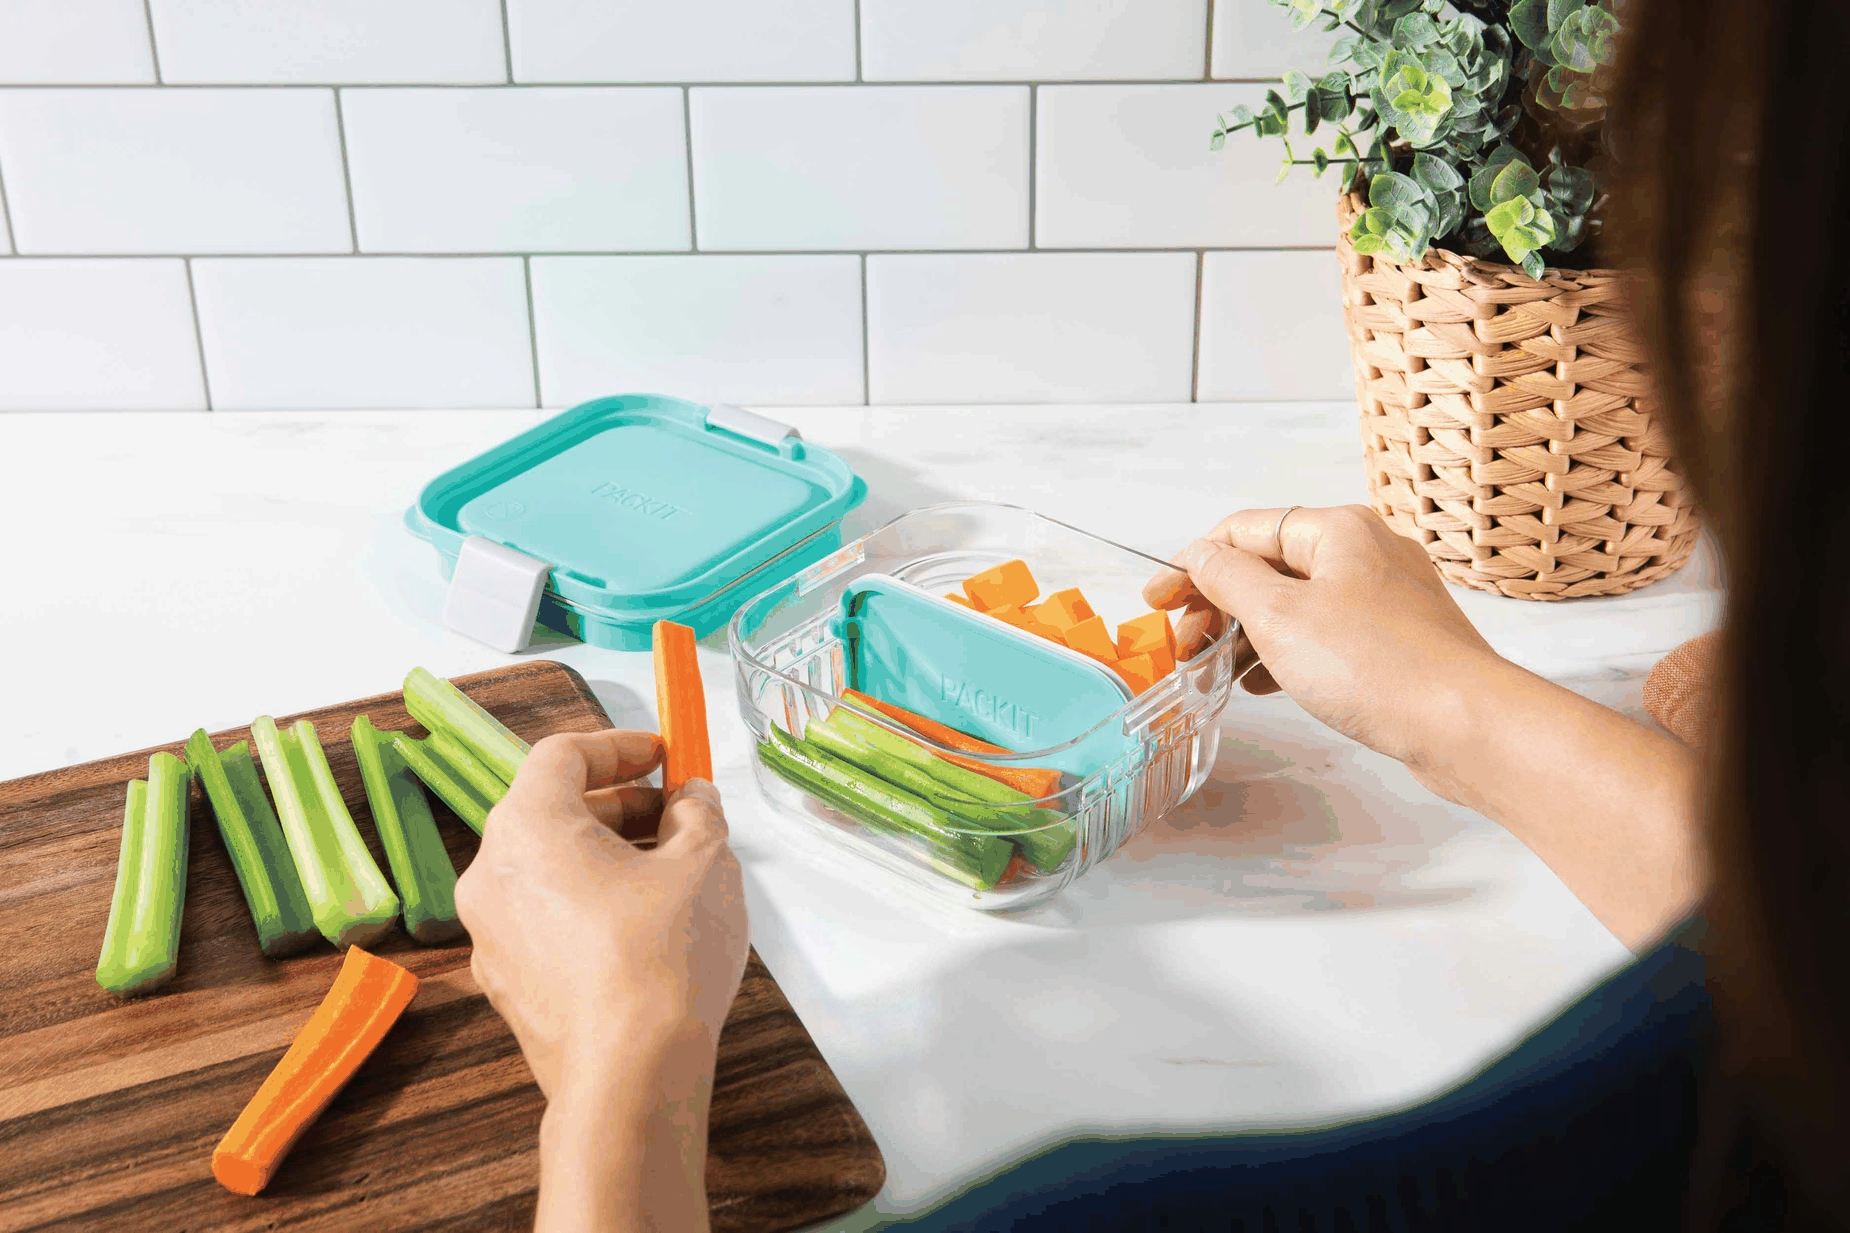
- Fasten the lid clips
- Keep the container level
- Check the opening
01 / The container
Try the lid through the opening.
The widest part of a container is often its lid. Try it with the clips fastened and the meal sitting upright.
Try this with your current container first. A smaller box helps only if it still holds the portion you want.
Setup notes & sources
Set your usual filled container on the counter. Add the drink or second tub you actually carry. Lower the container through the bag opening in the same position you’ll carry it. If you have to turn it on its side, a wider opening may help more than a taller bag.
For a small lunch of fruit and a sandwich half, a single divided box can save the space two lids would take. Leave the divider out on days you want one open compartment.
Sources: PackIt · MOD Snack Bento · Lifewit · Medium black lunch bag
A divided snack container · Optional
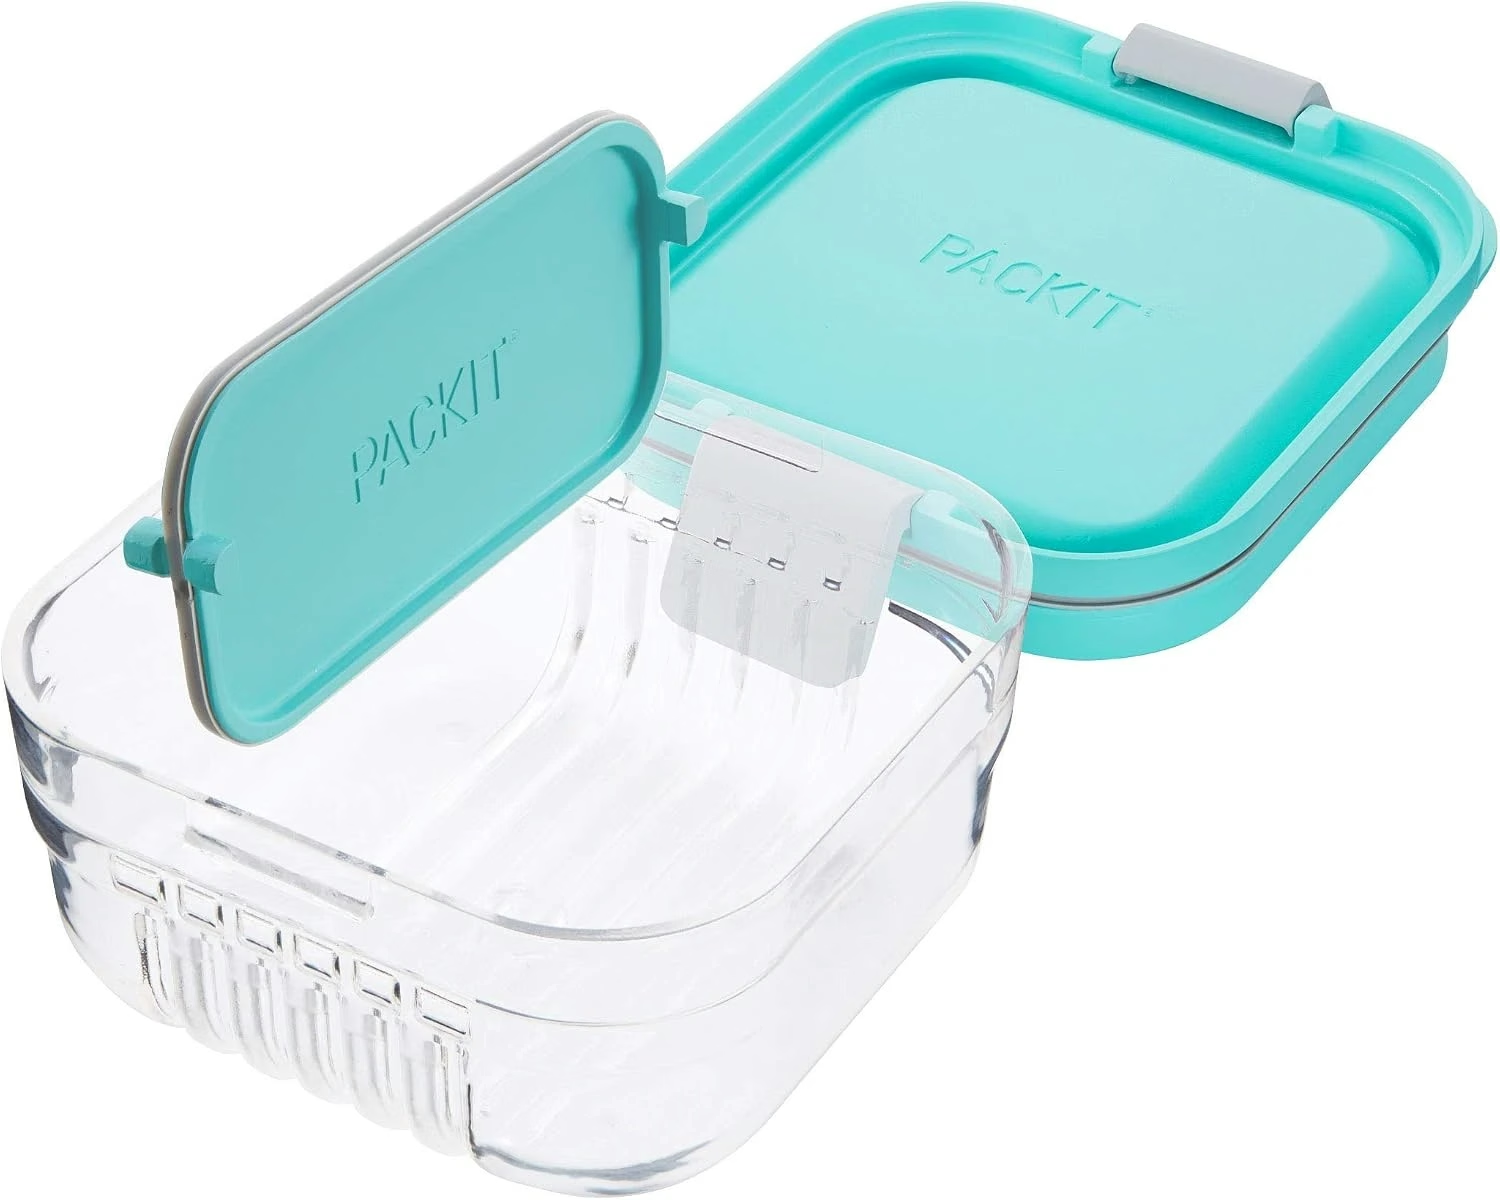
PackIt MOD Snack Bento
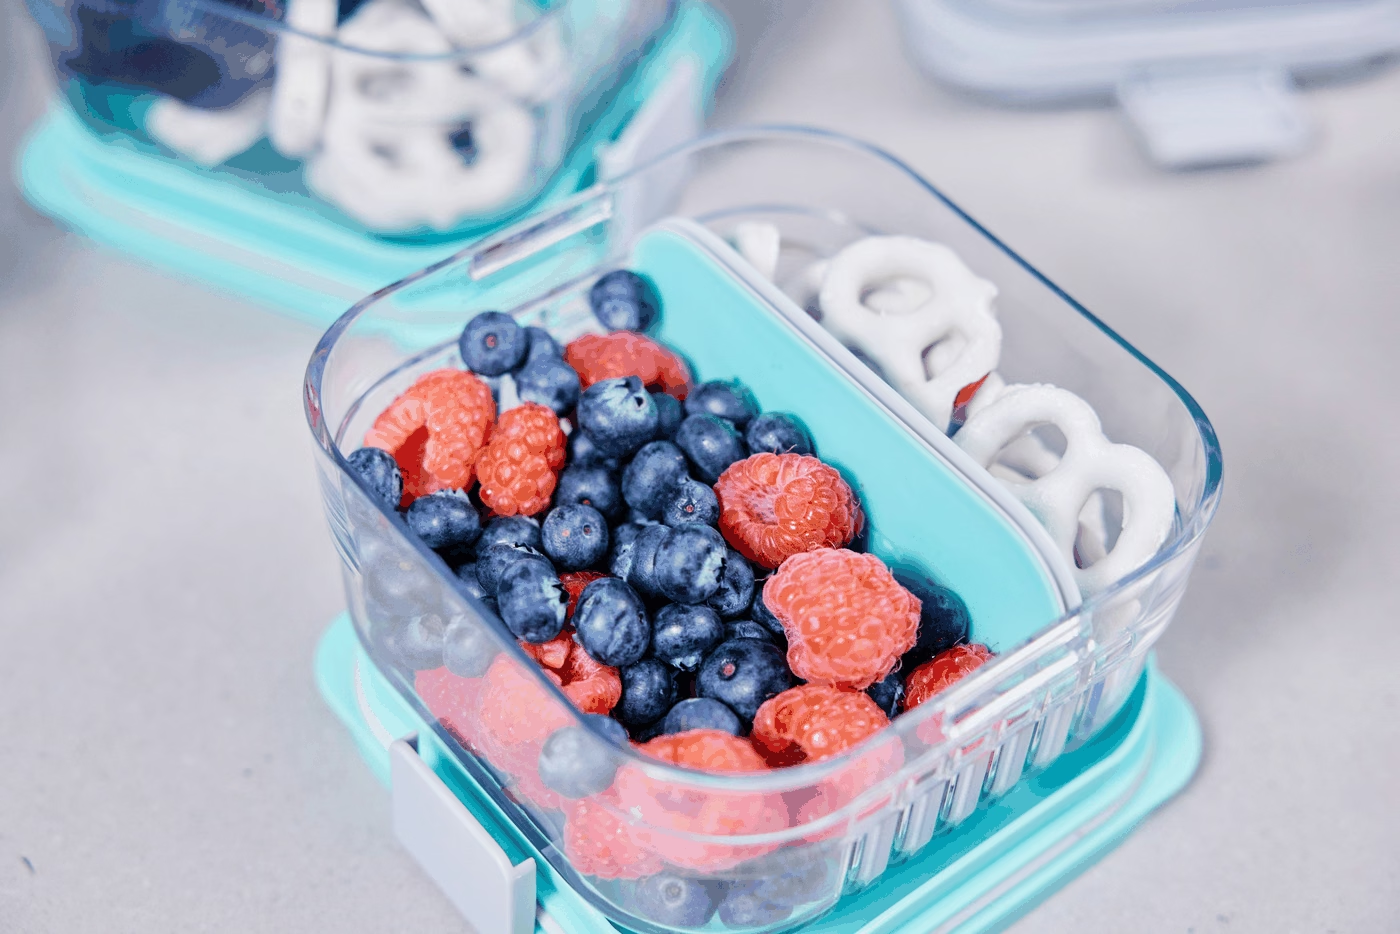
One removable divider gives berries and crackers their own space in the same box.
Fit & limits
PackIt lists a 2.5-cup capacity. Match that to your usual portion before choosing the snack size.
A wider opening · Optional
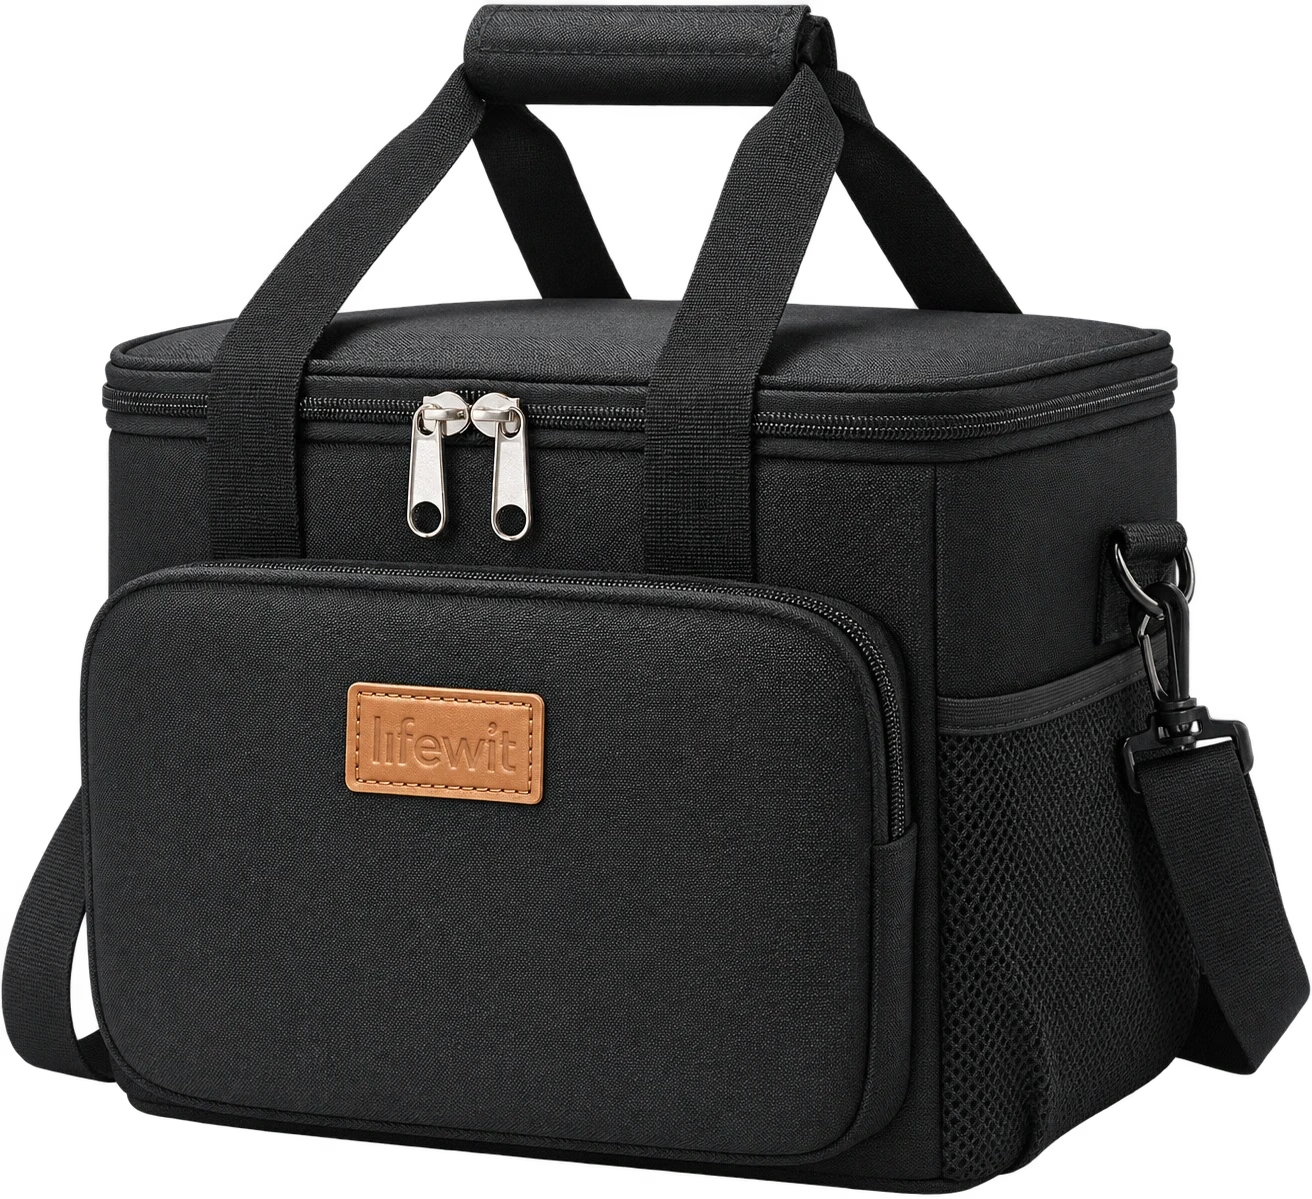
Lifewit Medium Lunch Bag
The Medium Lifewit opens across the top so you can lower a rigid lunch container into it.
Fit & limits
Test the container and frozen packs together. The bag’s soft sides give less protection to loose fruit.
- Start with chilled food
- Freeze both cold sources
- Close the loaded bag
02 / The cold packs
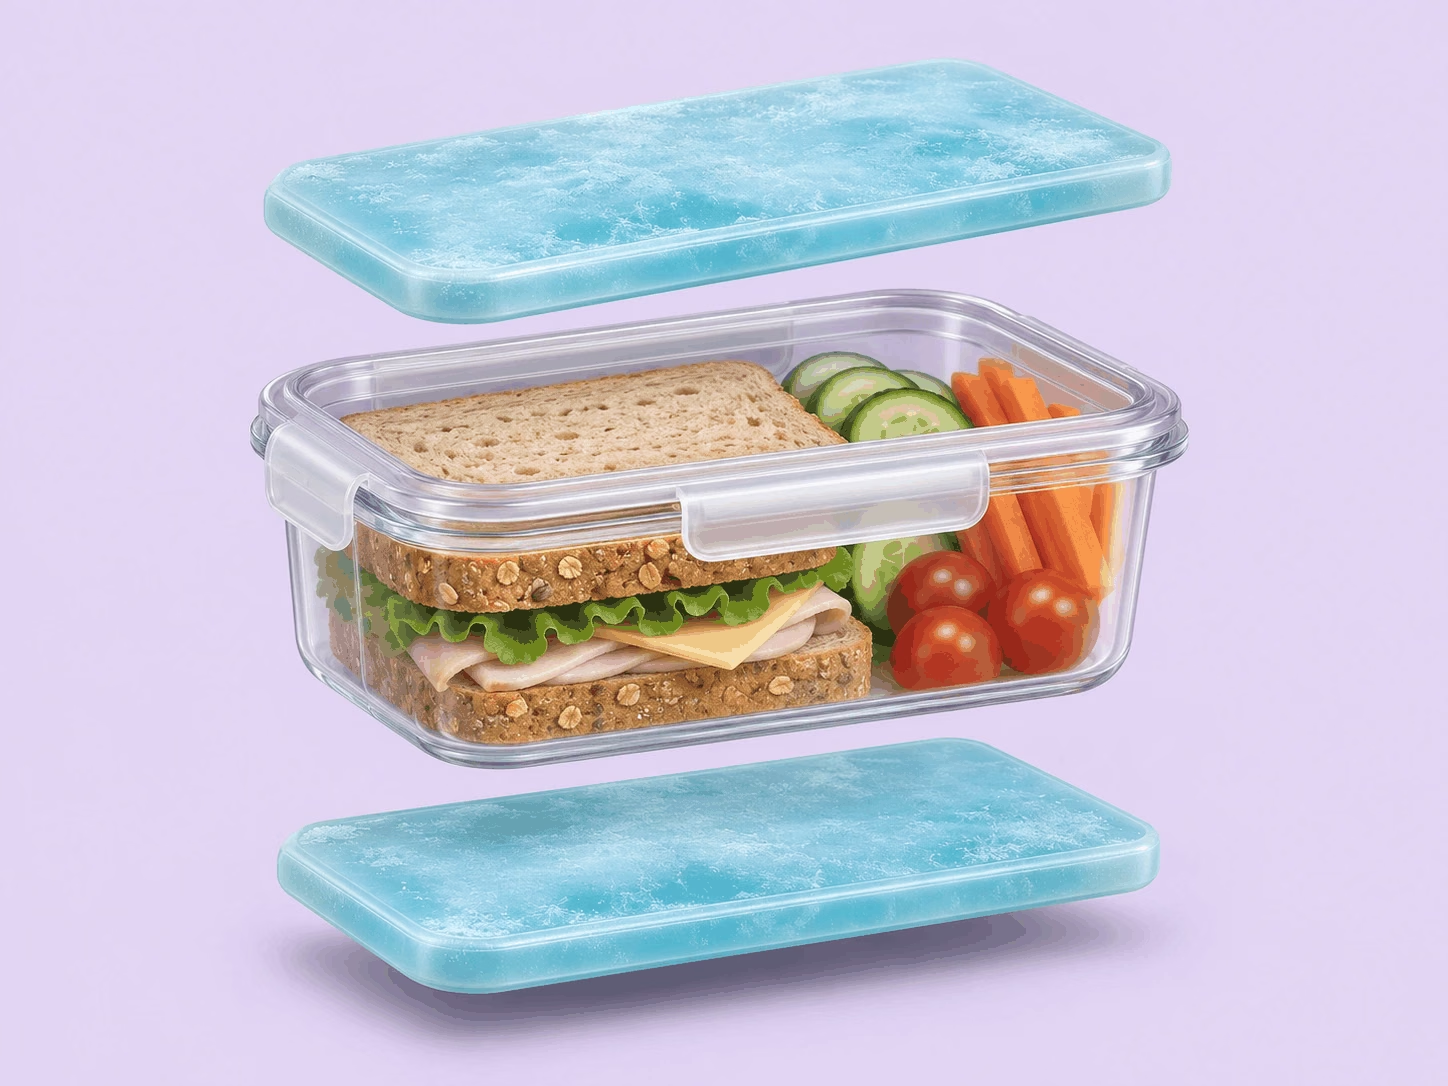
Leave space above and below the food.
For perishable food such as yogurt or a turkey sandwich, USDA recommends an insulated bag with at least two cold sources. Put one below the food and one above.
Two flat XL packs add about an inch to the height of the box. If the base is too narrow for a 7 × 4¾ in pack, try the 6½ × 4¼ in Bentgo.
Setup notes & sources
Here’s what that means at the zipper. Two Fit + Fresh XL packs add about one inch to the height of a box when one lies below the box and one above. Each pack also needs a flat area 7 inches long and 4¾ inches wide.
Cut two paper rectangles to those dimensions to check the footprint. Then use your actual frozen packs to test the height. Close the zipper with the lunch in place. If the lid bows or the zip pulls tight, try a lower container or packs with a smaller footprint.
Sources: USDA · Packing a lunch with two cold sources · Fit + Fresh · Blue Cool Coolers XL · Bentgo · Reusable Chillers
Thin pack for a broad base
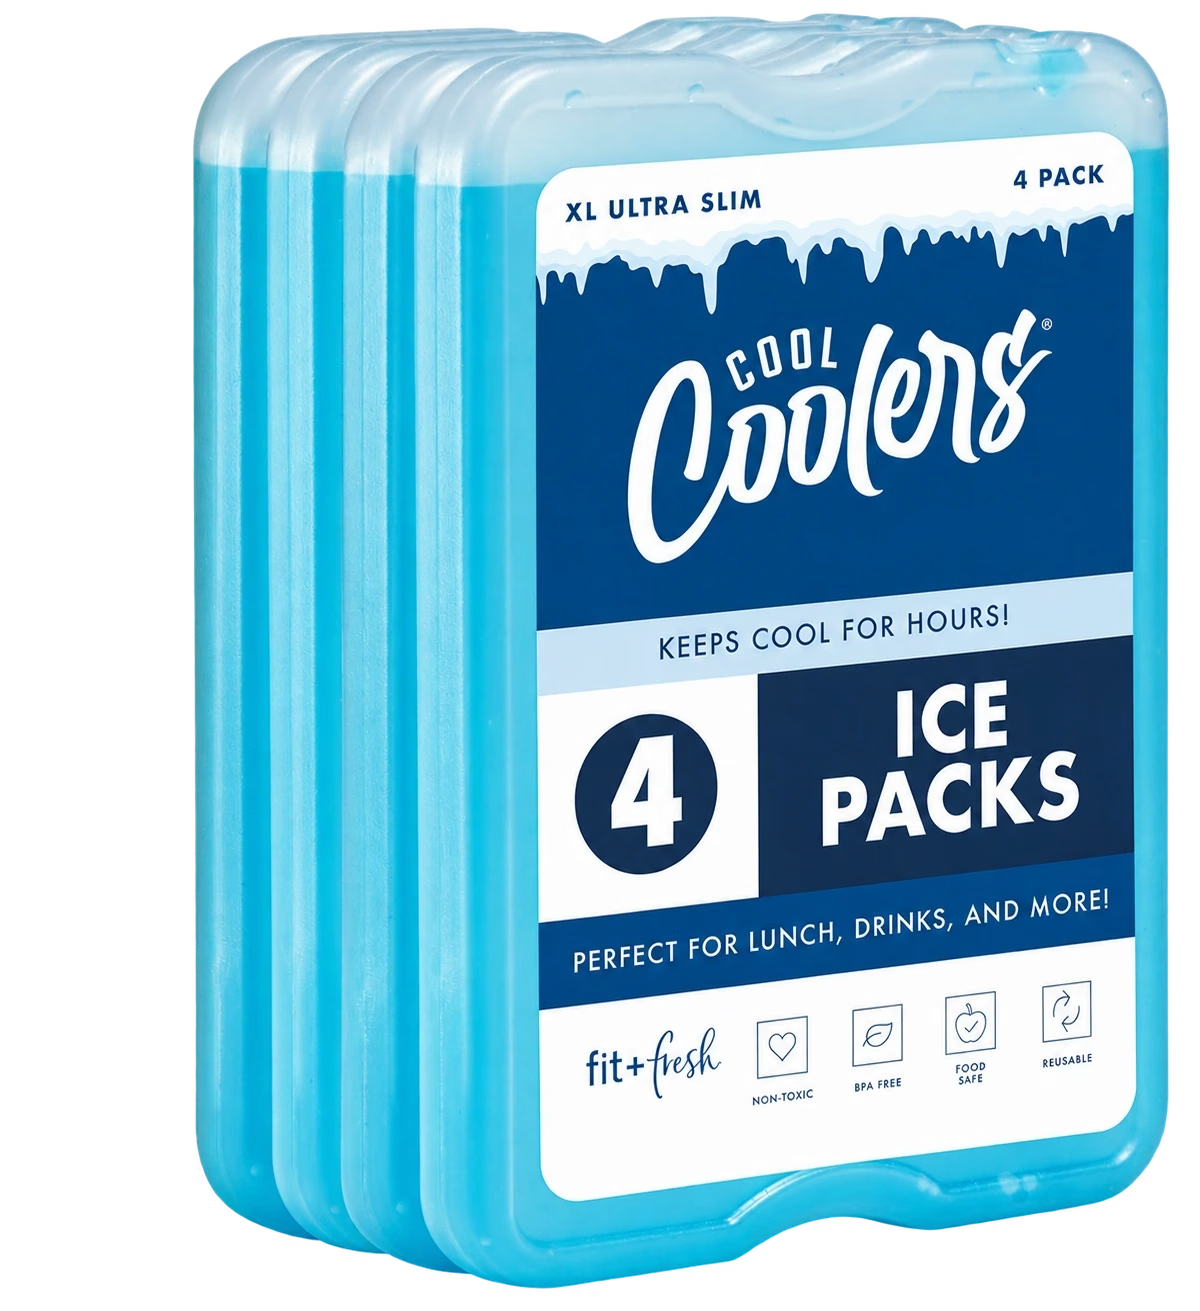
Fit & Fresh Cool Coolers XL
Each XL pack is half an inch thick. A pair uses little vertical space around a low, wide container.
Fit & limits
Allow 7 × 4¾ in of flat space for each pack. The rigid corners need to clear the bag lining.
Smaller footprint · Optional
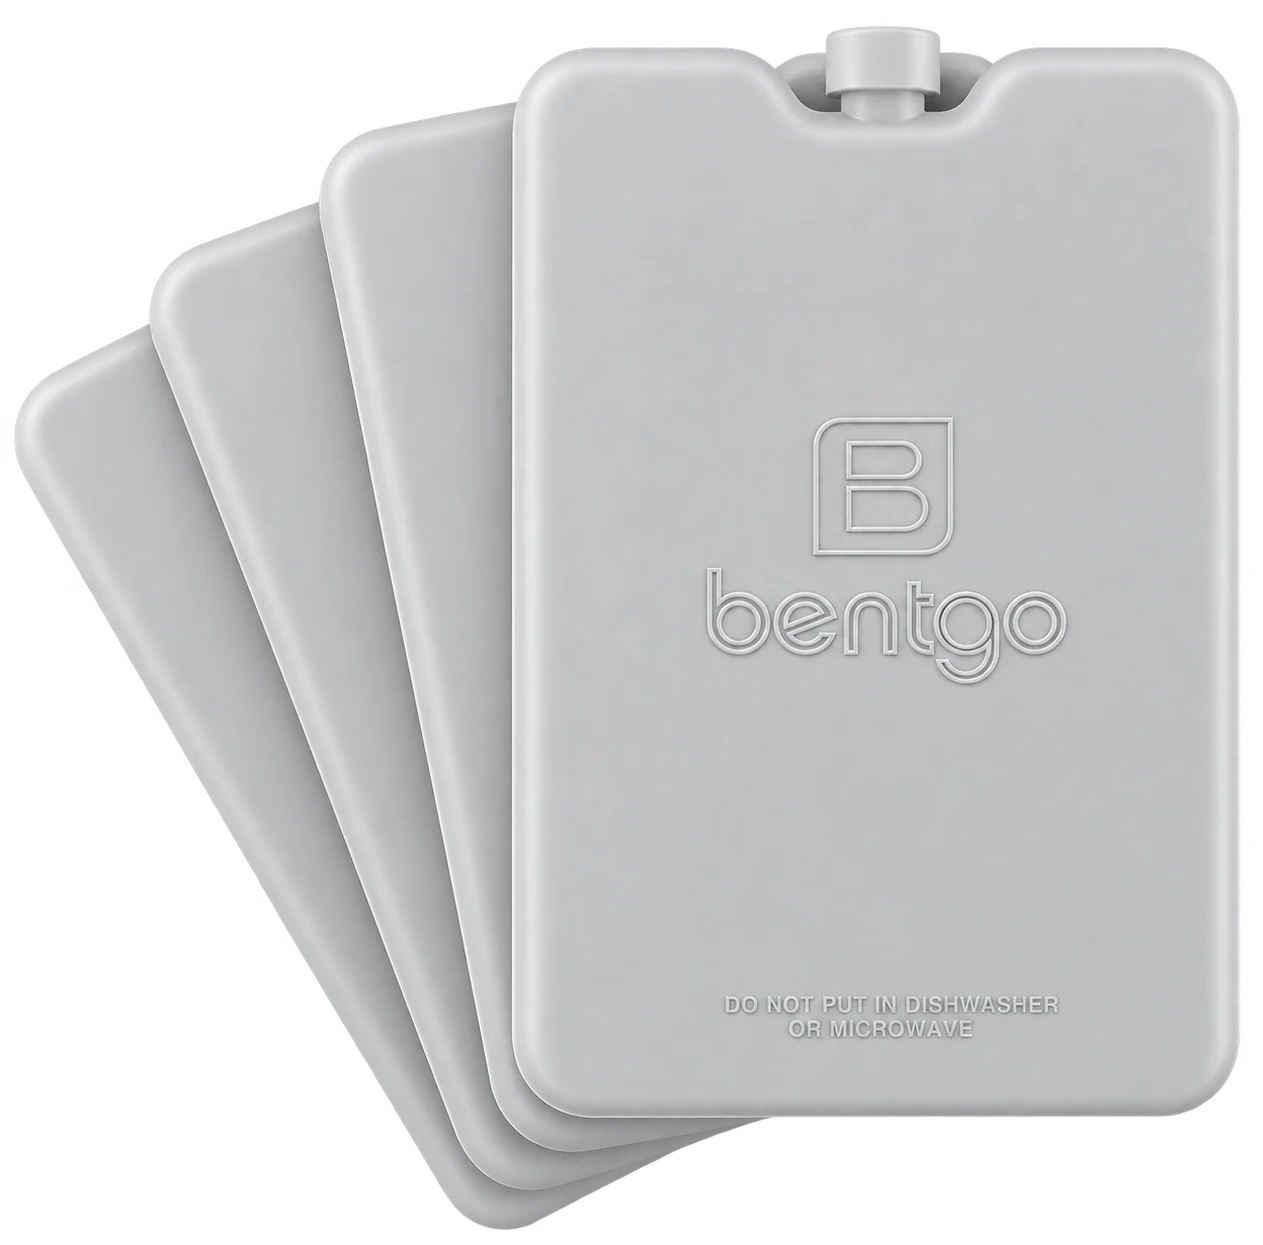
Bentgo Chillers
A Bentgo Chiller is 6½ × 4¼ in across, useful where the XL pack nudges the zipper seam.
Fit & limits
Each is 0.6 in thick. Two laid flat add about 1.2 in to the height of the container.
- Empty and dry the bag
- Check folded clearance
- Freeze it overnight
03 / The freezer
Choose what goes back in the freezer.
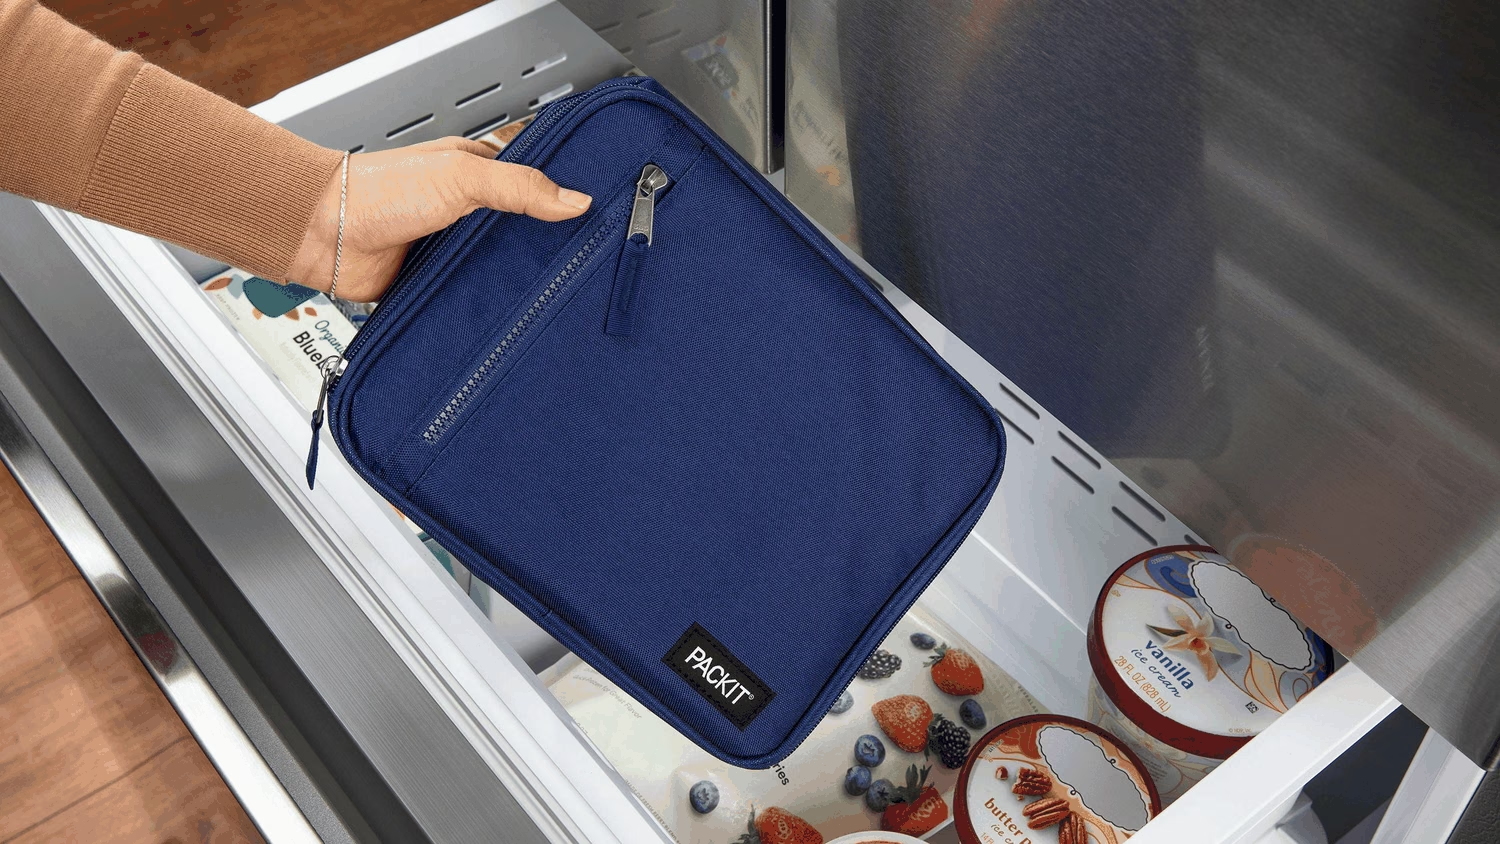
Slim packs slide into a narrow gap. With a freezable bag, the bag itself needs a shelf or drawer overnight.
Open your freezer drawer before ordering. The easier option is the one you can put away every night.
Setup notes & sources
The PackIt Classic has gel built into its walls. Empty and dry it, fold it, then freeze it overnight. Its folded size is 10¼ × 8 inches across and 2 inches thick. Try that footprint beside whatever usually lives in your freezer.
A conventional insulated bag can stay on a hook while its packs refreeze. That can be easier in a shared freezer, or when you carry lunch on consecutive days and want a spare frozen pair ready. Pack perishable food cold and refrigerate it when you reach a fridge.
Sources: USDA · Packing a lunch with two cold sources · PackIt · Freezable Classic Lunch Box
Freezable bag · Optional
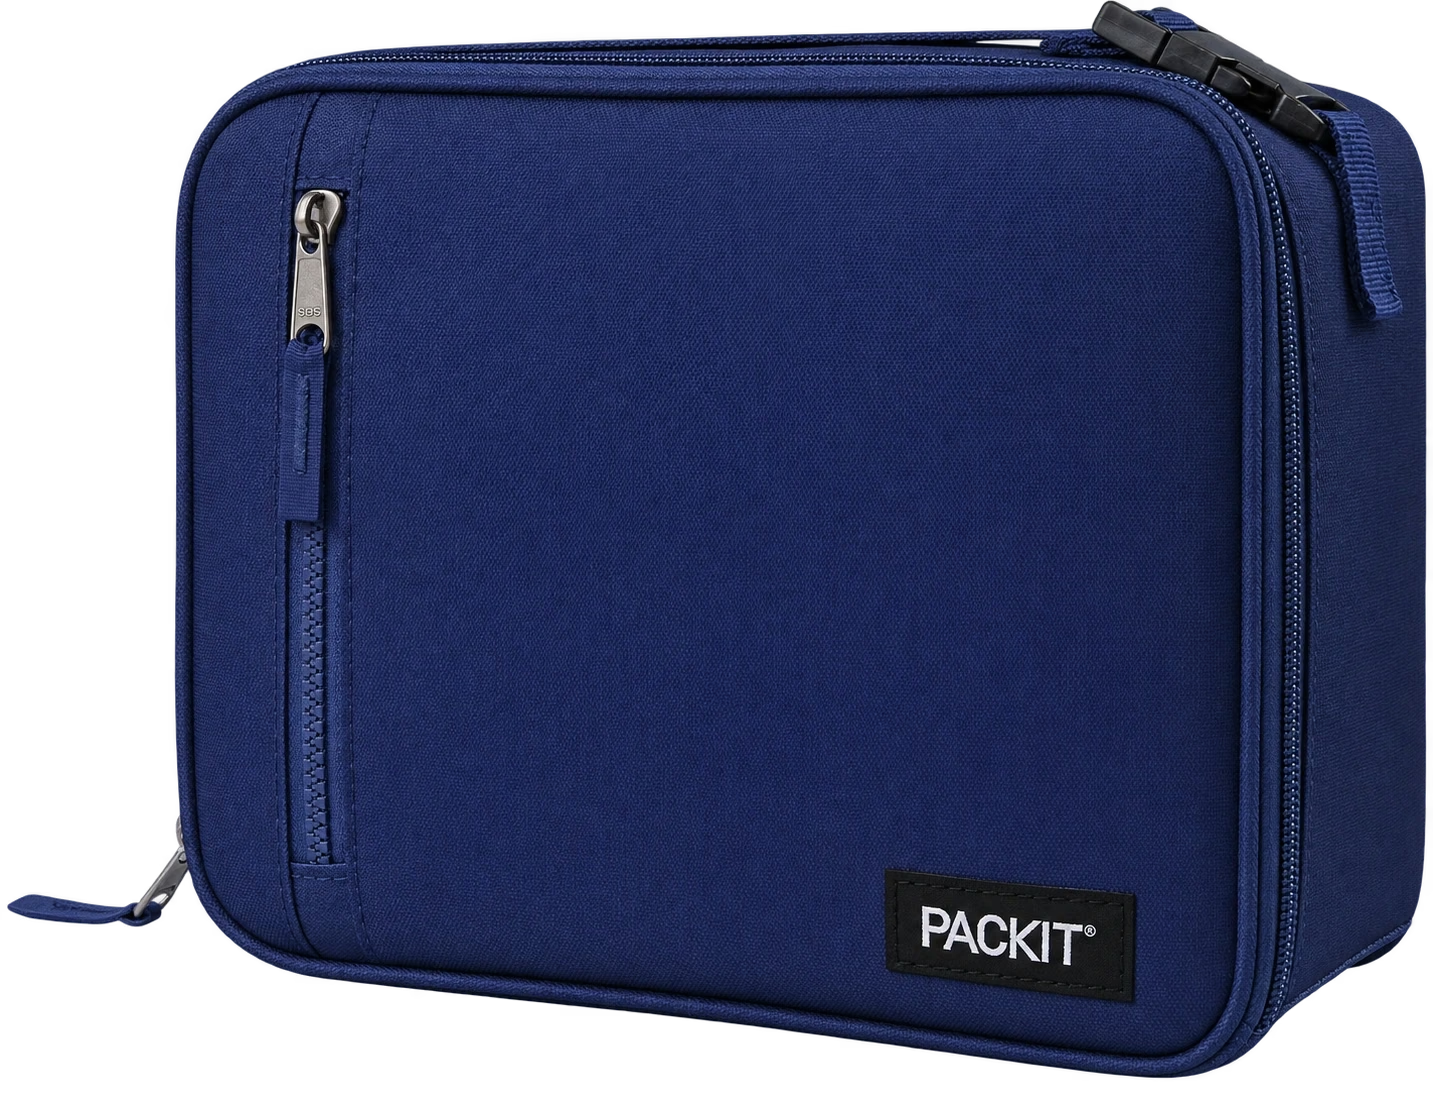
The Classic’s cooling gel is built into the walls and the horizontal zipper lets you load the lunch upright.
Fit & limits
PackIt lists its MOD Snack Bento among compatible containers. Reserve freezer room for the entire folded bag.
YOUR STARTING CHECKLIST
Build the basics.
Add the rest when it helps.
Start with these.
- Do a trial pack
Close your usual container, add the frozen cold sources and zip the bag with the food level.
- Pack perishables cold
Take meat, dairy and other refrigerated foods from the fridge just before packing. Place the frozen cold sources above and below.
Add for a reason.
- For a tight freezer
Rotate two pairs of slim packs if one pair often needs more time to freeze.
- For a narrow bag opening
Try lowering the lidded box into the bag before committing to a new container or bag.
Sources & further reading
The packing advice comes from USDA. Container, ice-pack and folded-bag dimensions come from their manufacturers. Layout illustrations show concepts; product photographs link to the exact reviews. Product prices retain the observation dates shown beside them.
- USDA · Packing a lunch with two cold sources ↗
Cold-source placement for perishable meals in an insulated bag.
Source checked - PackIt · MOD Snack Bento ↗
Snack container with one movable divider and a locking lid.
Source checked - Fit + Fresh · Blue Cool Coolers XL ↗
Dimensions for one rigid XL pack.
Source checked - Bentgo · Reusable Chillers ↗
Footprint and thickness of each pack in the four-pack.
Source checked - PackIt · Freezable Classic Lunch Box ↗
Built-in gel, folded dimensions, freezer directions and suitable containers.
Source checked - Lifewit · Medium black lunch bag ↗
Exact Medium variant and main-compartment opening.
Source checked